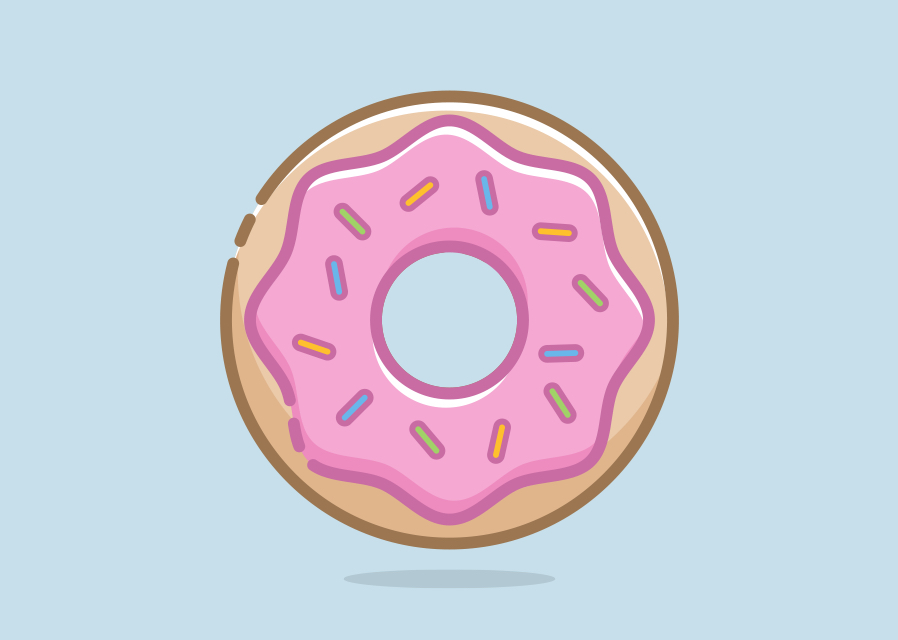
Create a Mouthwatering Donut Icon with Illustrator
Using offset layers and dashed strokes for a retro effect
This step by step tutorial will teach you how to draw a mouthwatering donut icon in Adobe Illustrator using basic shapes and filters, then offset its layers and use dashed strokes effectively to give the donut a fun retro effect.
Step 1
Launch Illustrator and create a new 800 x 600 pixel RGB document.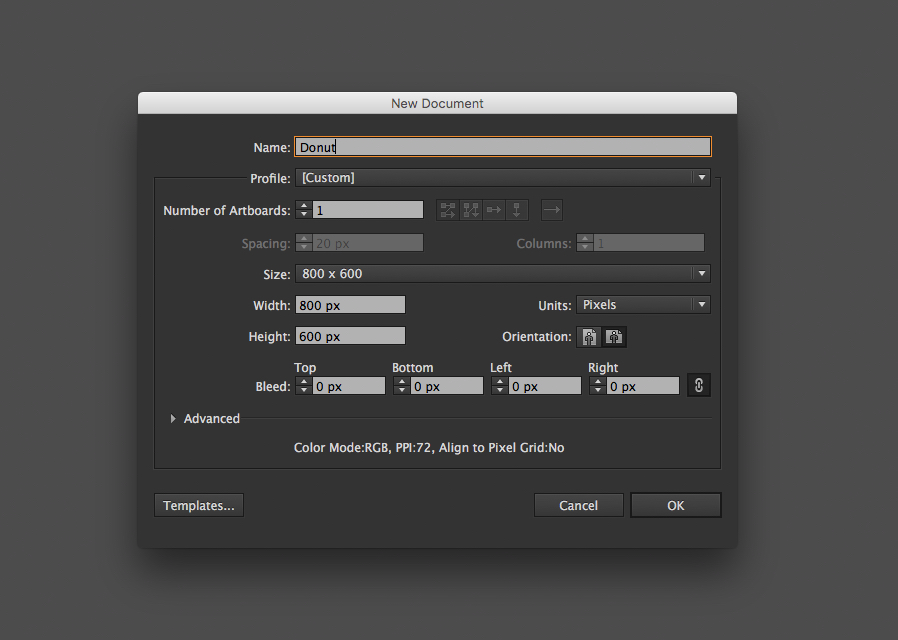
Step 2
Draw a new 380 x 380 pixel circle in the center of the document using the Ellipse tool and set the fill to #EACBA9.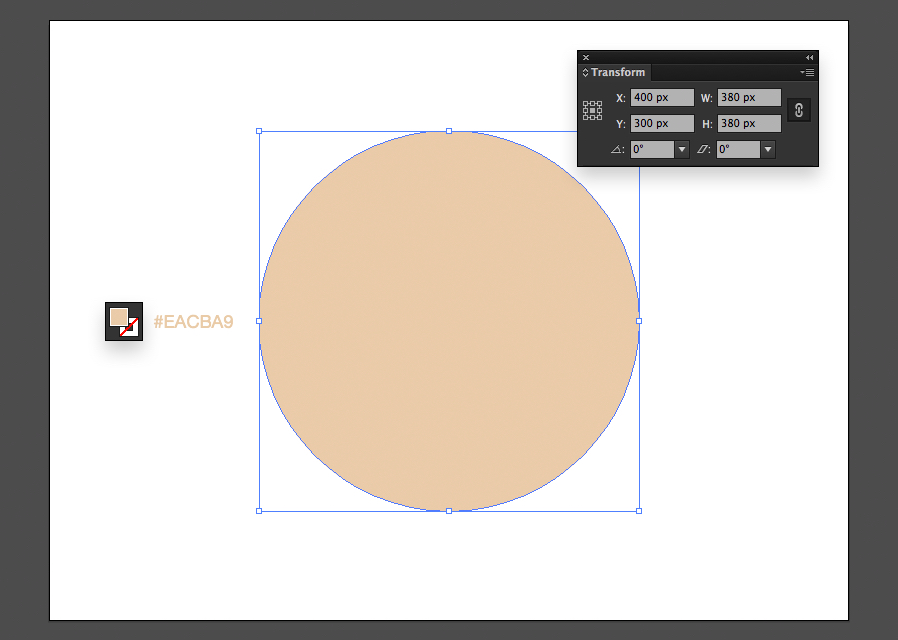
Step 3
Draw another smaller circle aligned to the center of the first circle. Width and height 125 pixels.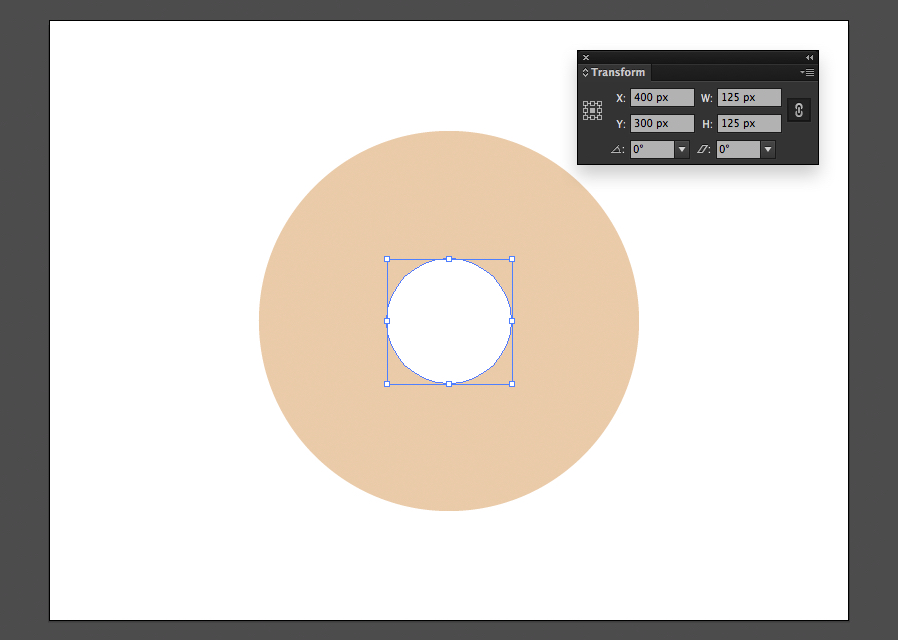
Step 4
Select both circles and subtract the smaller circle from the large one using the Pathfinder.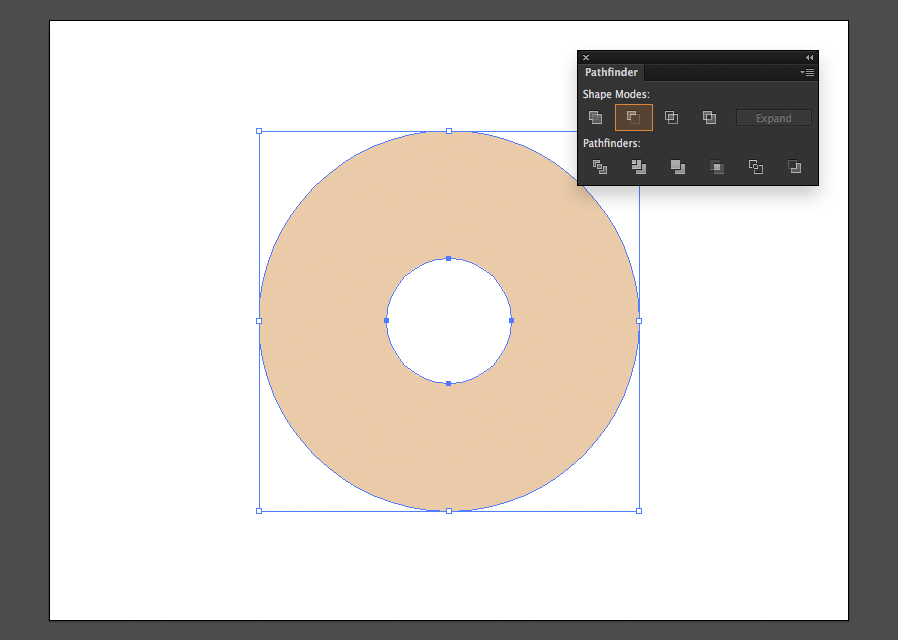
Step 5
Copy and paste the shape in place, remove the fill from the top shape and give it a 10 point stroke with the color #9B7651 instead.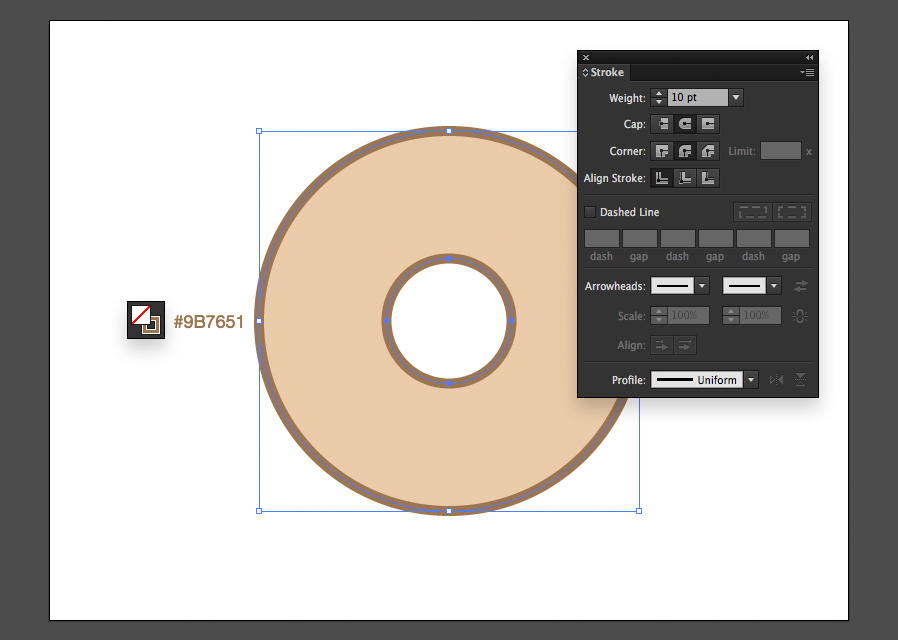
Step 6
Copy and paste the original donut shape in place again, set the fill to black and the stroke to none.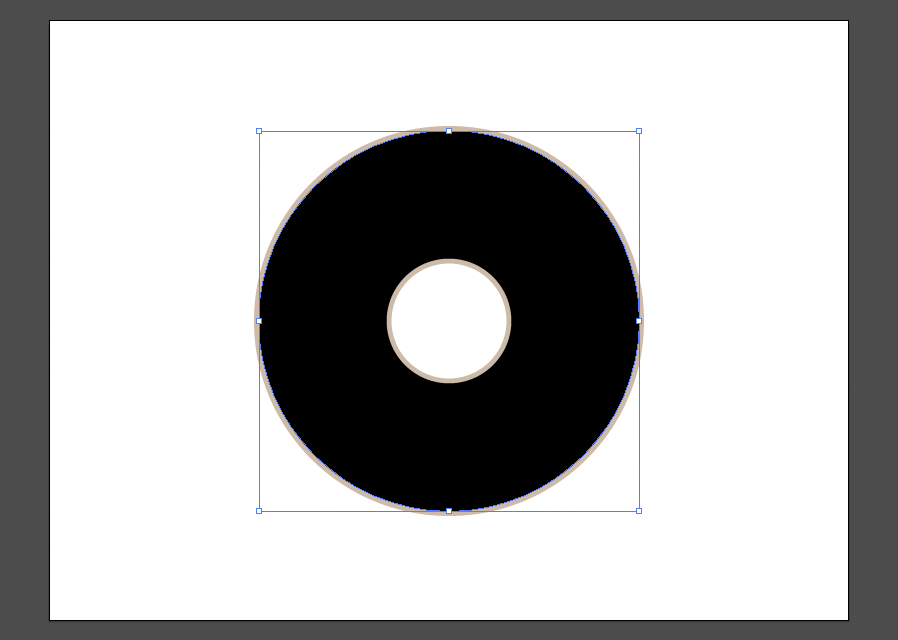
Step 7
Duplicate the black shape in place, and use the keyboard arrow keys to nudge the top shape up 40 pixels and right 10 pixels.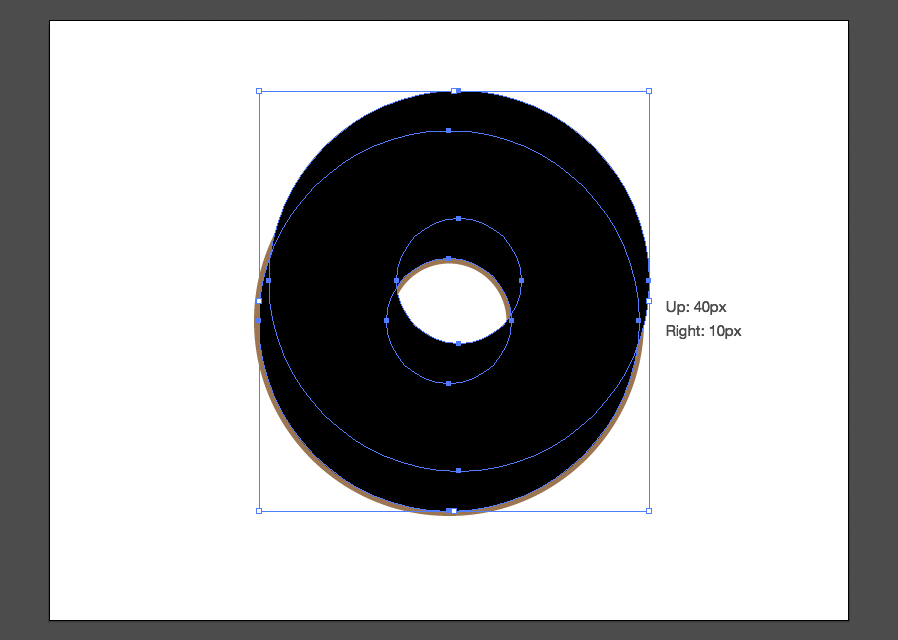
Step 8
Select both black shapes and subtract them.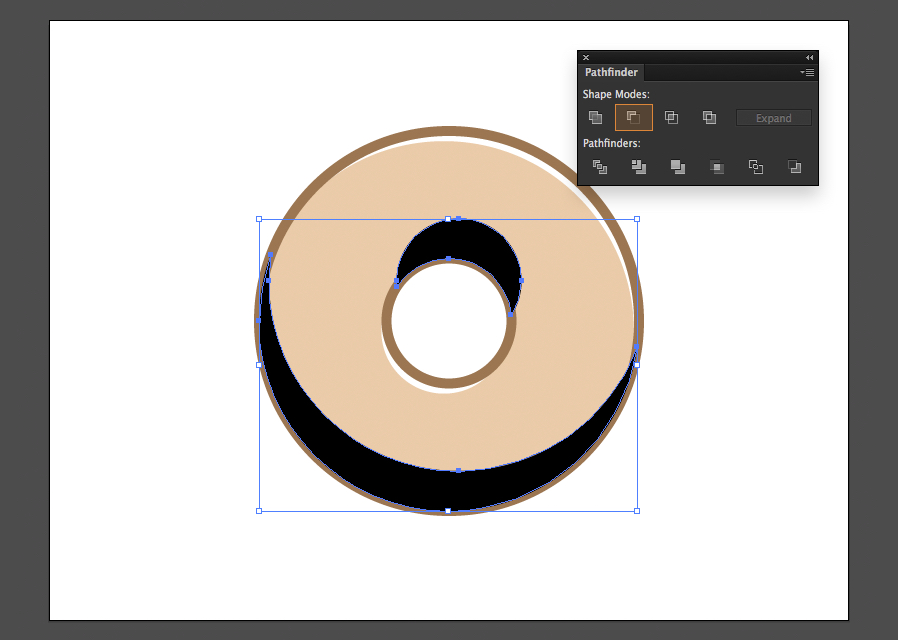
Step 9
Set the Blending Mode to Soft Light and the Opacity to 50% using the Transparency window. Then position the black shape between the original donut shape and the stroke layer.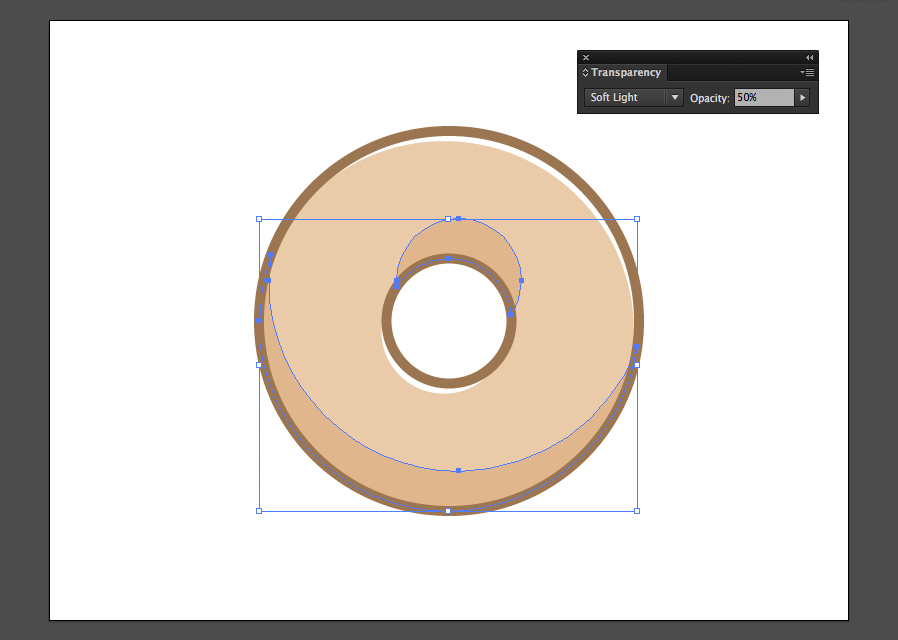
Step 10
Similar to the last few steps, duplicate the original donut shape again and set the fill to white this time.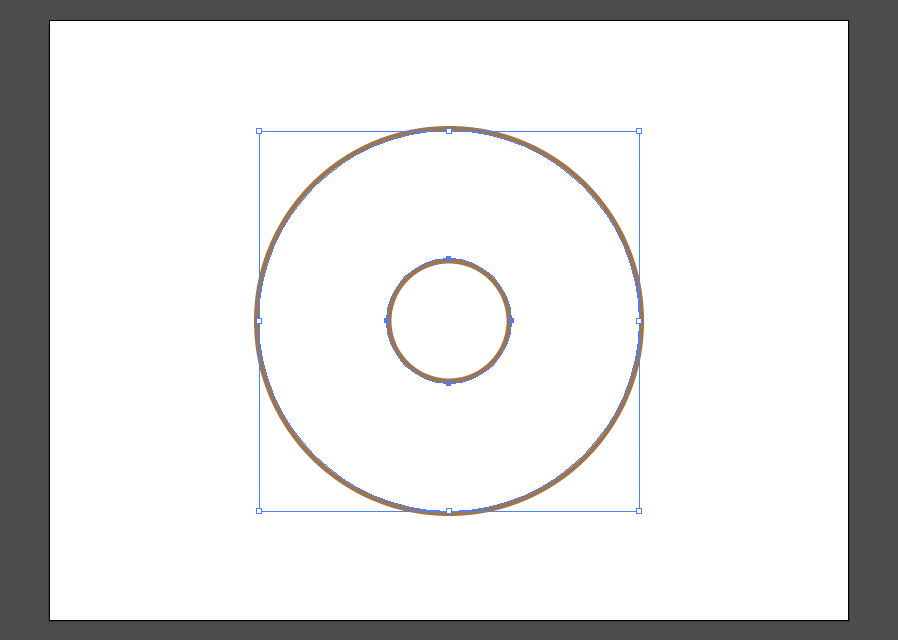
Step 11
Duplicate the white shape in place and use the keyboard arrow keys to nudge it down 12 pixels and left 3 pixels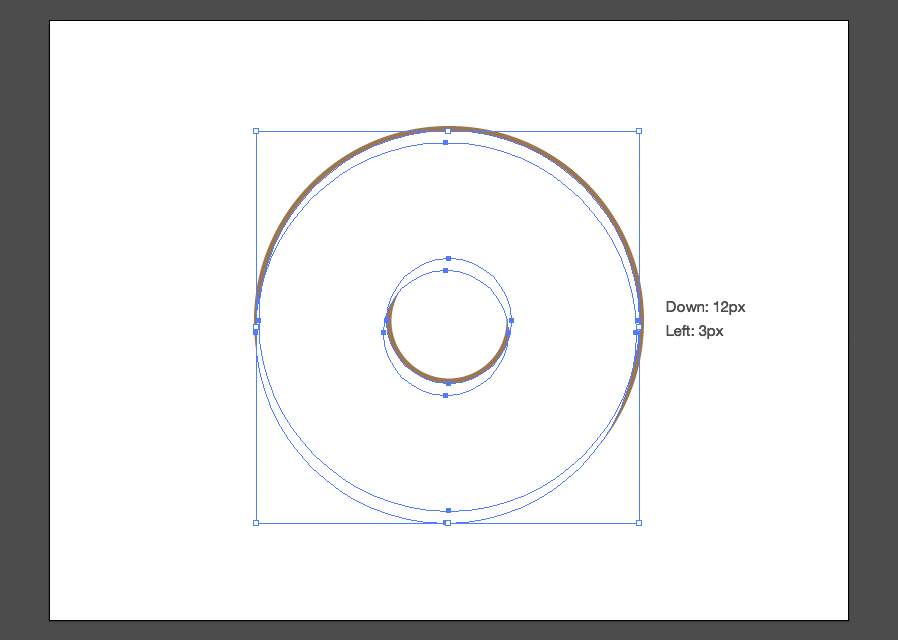
Step 12
Select both white shapes and subtract them. Position the white shape between the original donut shape and the stroke layer.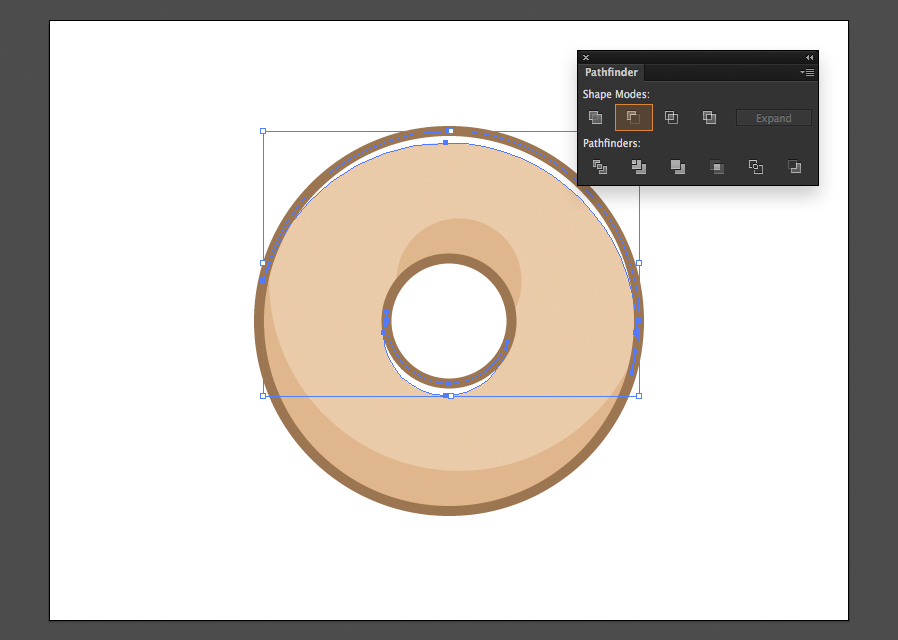
Step 13
Draw a new circle shape aligned to the center of the donut, set the fill to pink #F4A8D2.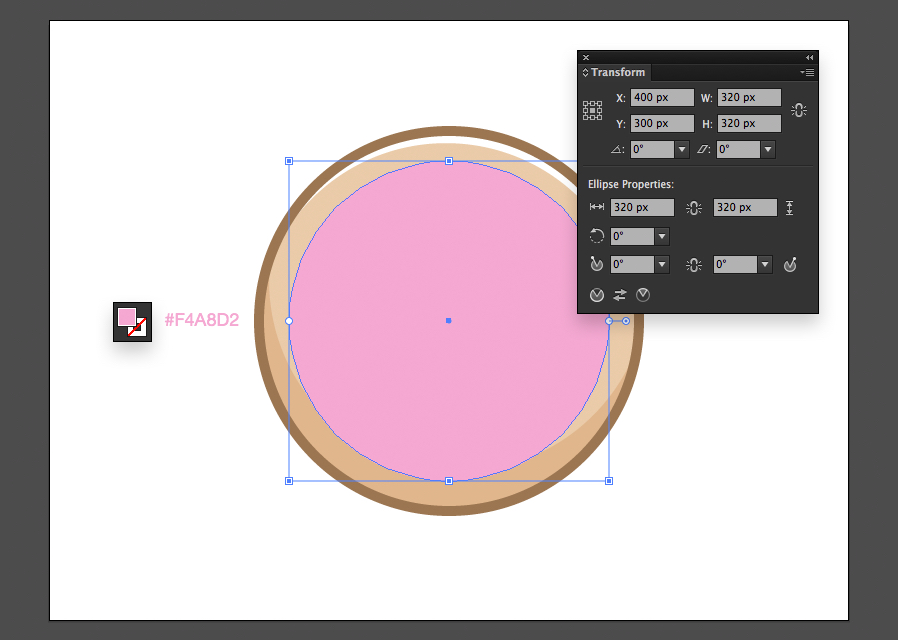
Step 14
Select the pink circle and apply Effect > Distort & Transform > Zig Zag.. with the settings shown below.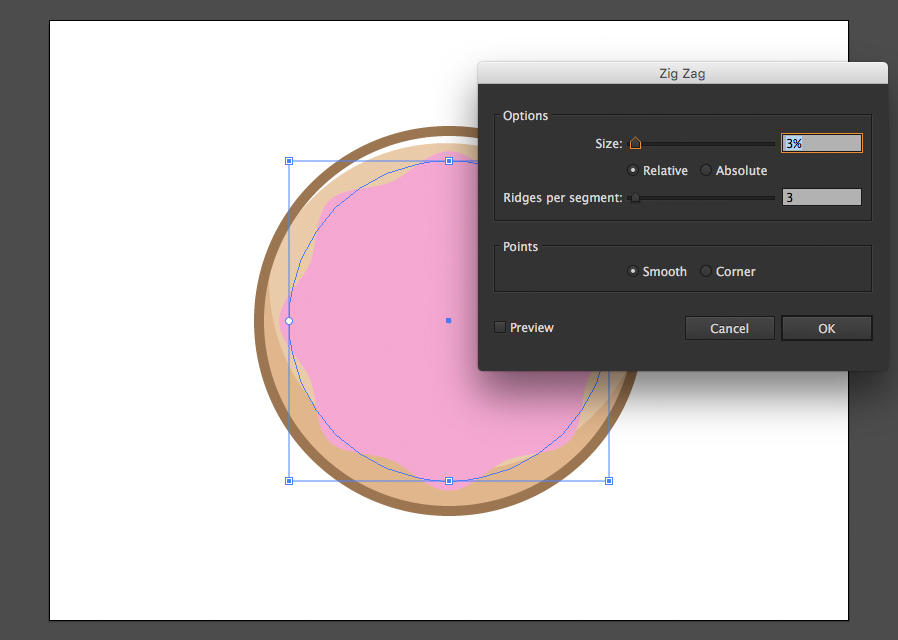
Step 15
Select Expand Appearance from the Object menu to flatten the Zig Zag effect.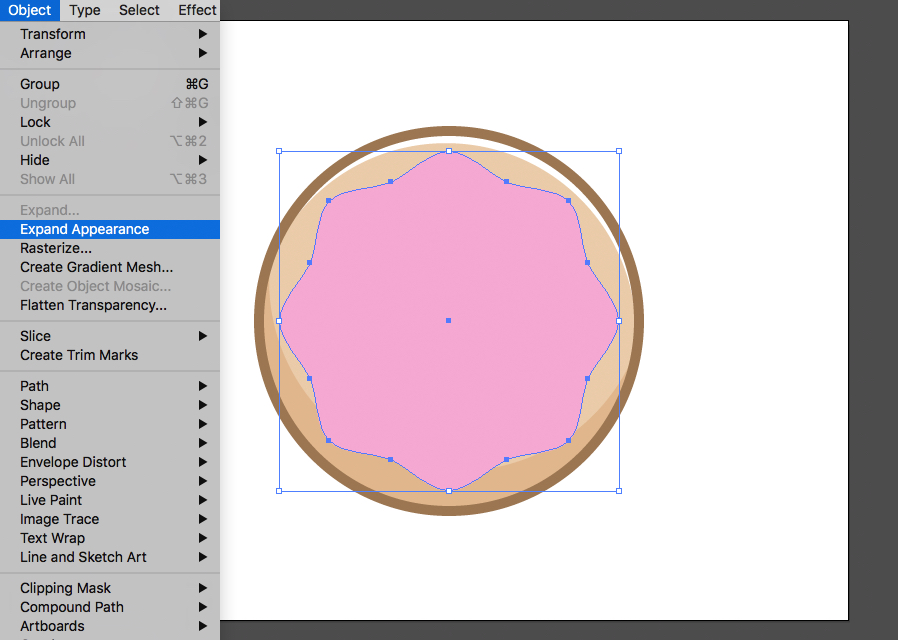
Step 16
Draw another small circle, same as last time. Width and height 125 pixels.
Step 17
Subtract the small circle from the pink shape.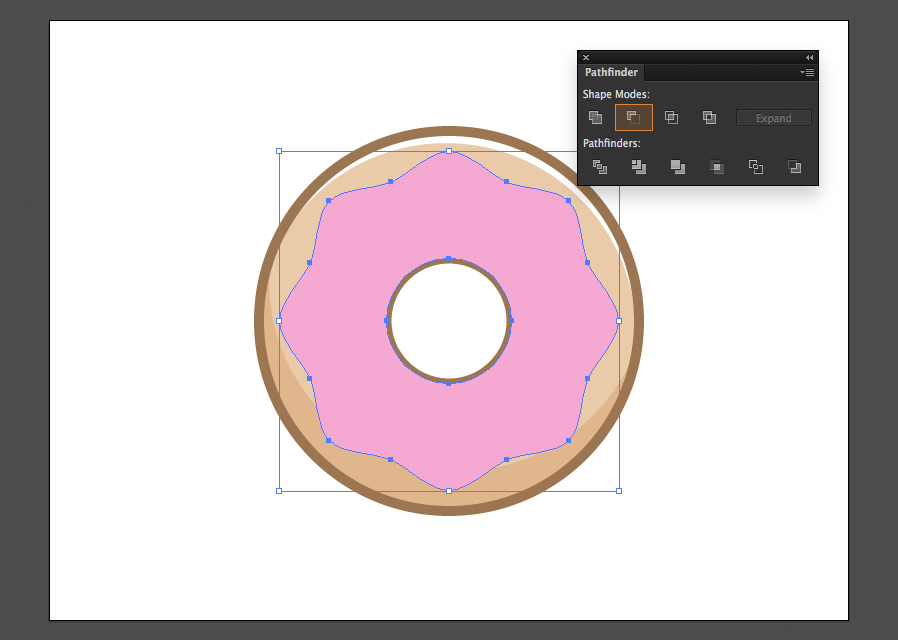
Step 18
Copy and paste the pink shape in place. Remove the fill from the top shape and give it a 10 point stroke with the color #9B7651 instead.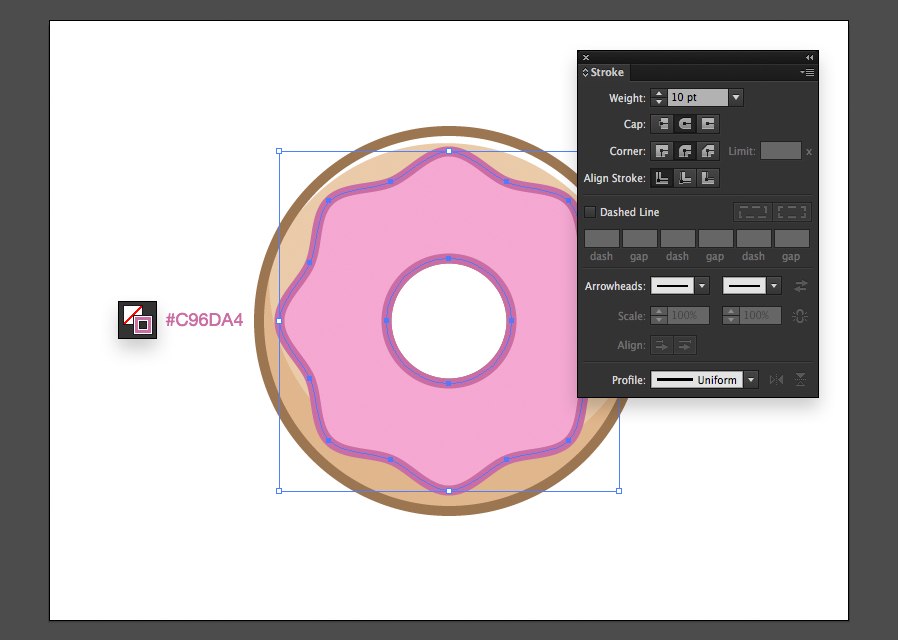
Step 19
Copy and paste the original pink shape in place again, set the fill to black and the stroke to none.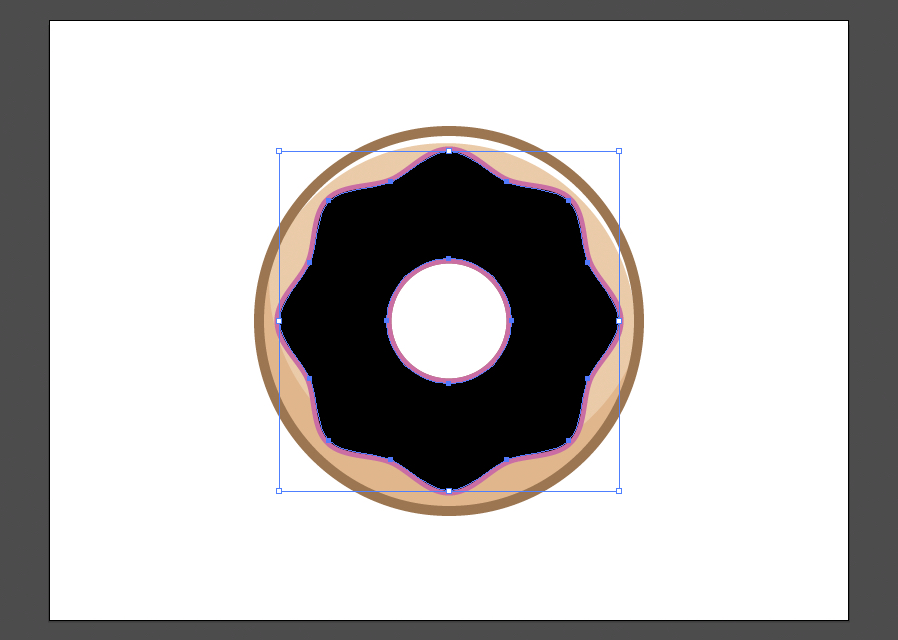
Step 20
Duplicate the black shape in place, and use the keyboard arrow keys to nudge the top shape up 16 pixels and right 4 pixels.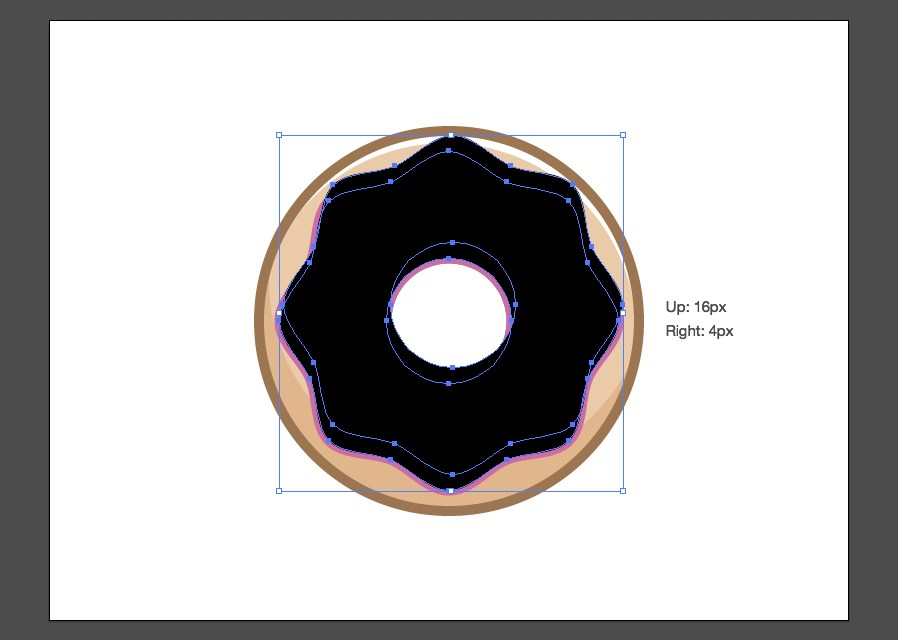
Step 21
Select both black shapes and subtract them.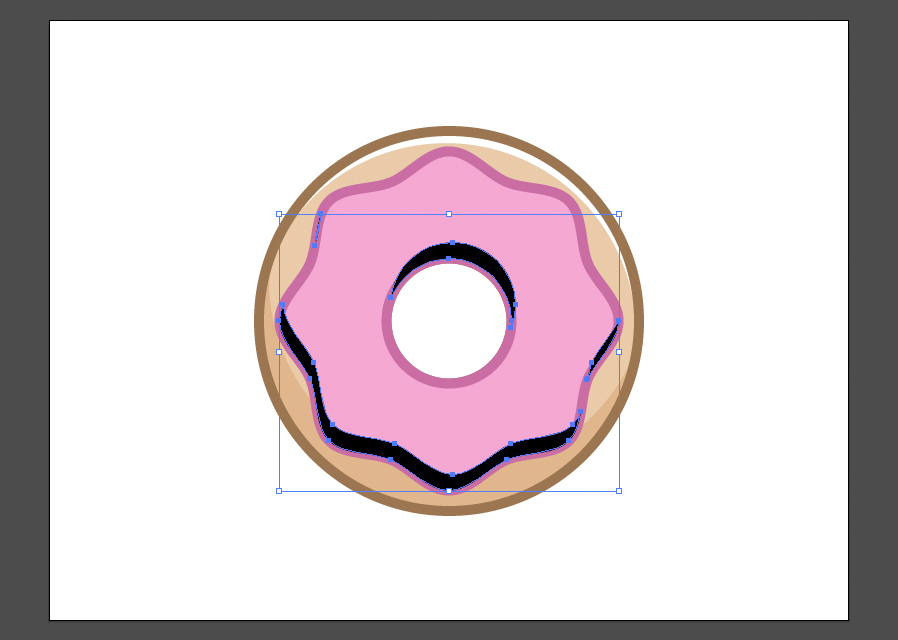
Step 22
Set the Blending Mode to Soft Light and the Opacity to 50% using the Transparency window. Then position the black shape between the pink shape and the its stroke layer.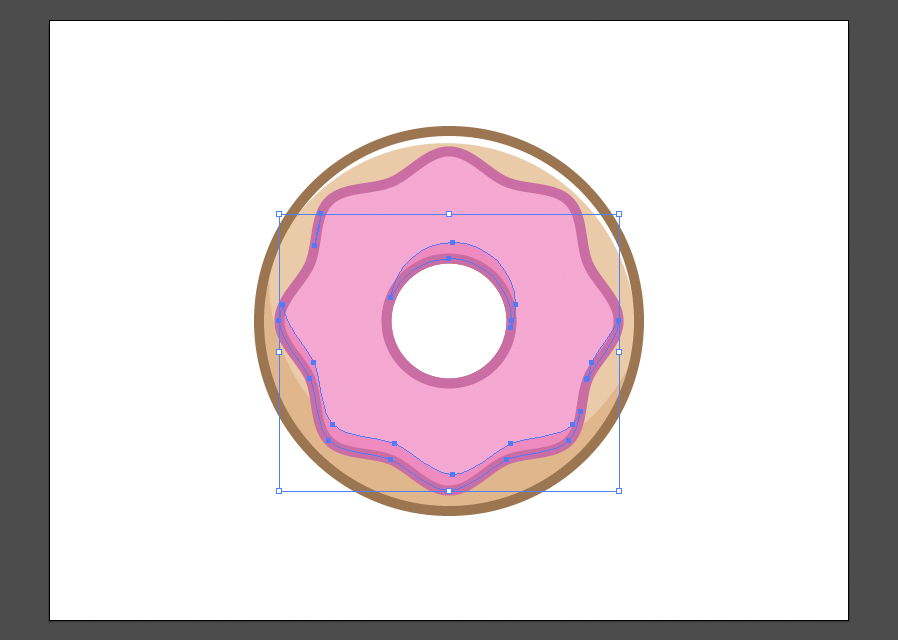
Step 23
Copy and paste the original pink shape in place again, set the fill to white and the stroke to none.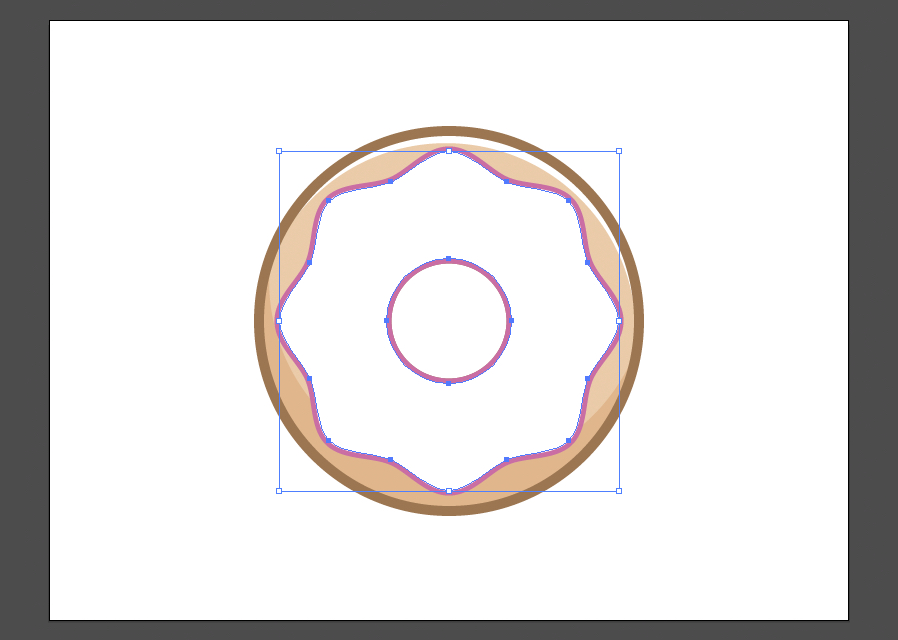
Step 24
Duplicate the white shape in place, and use the keyboard arrow keys to nudge the top shape down 12 pixels and left 3 pixels.
Step 25
Select both white shapes and subtract them.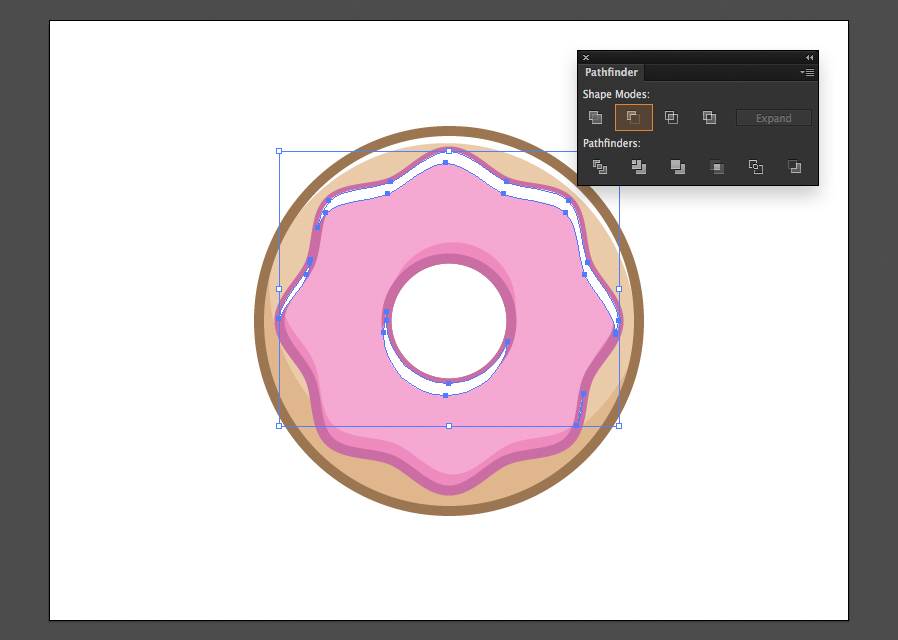
Step 26
Position the white shape between the original pink shape and its stroke layer.
Step 27
Use the Line Segment tool to draw a short line at an angle, roughly 25 pixels long. Set the stroke to 10 points.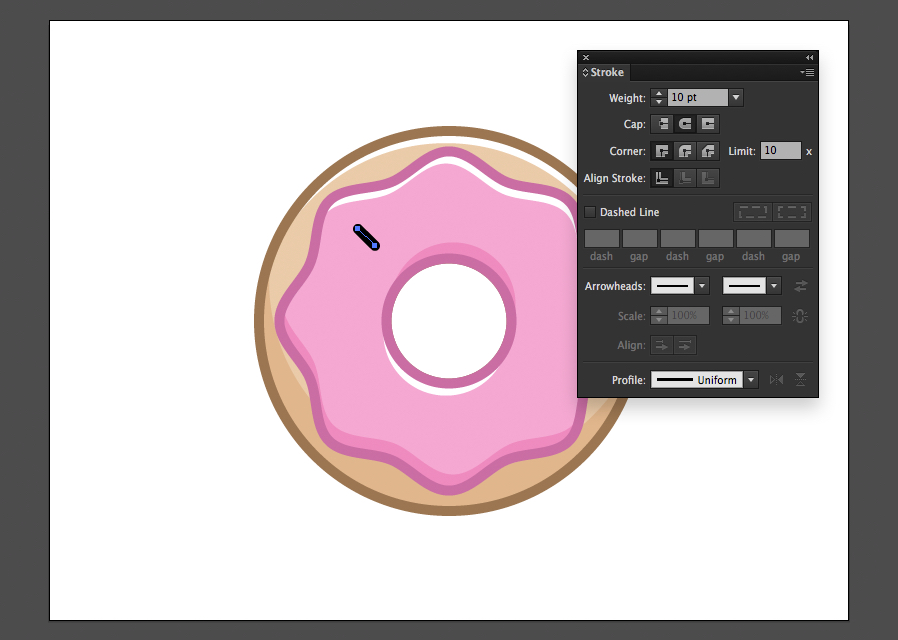
Step 28
Select Expand from the Object menu, check the Stroke option and click OK.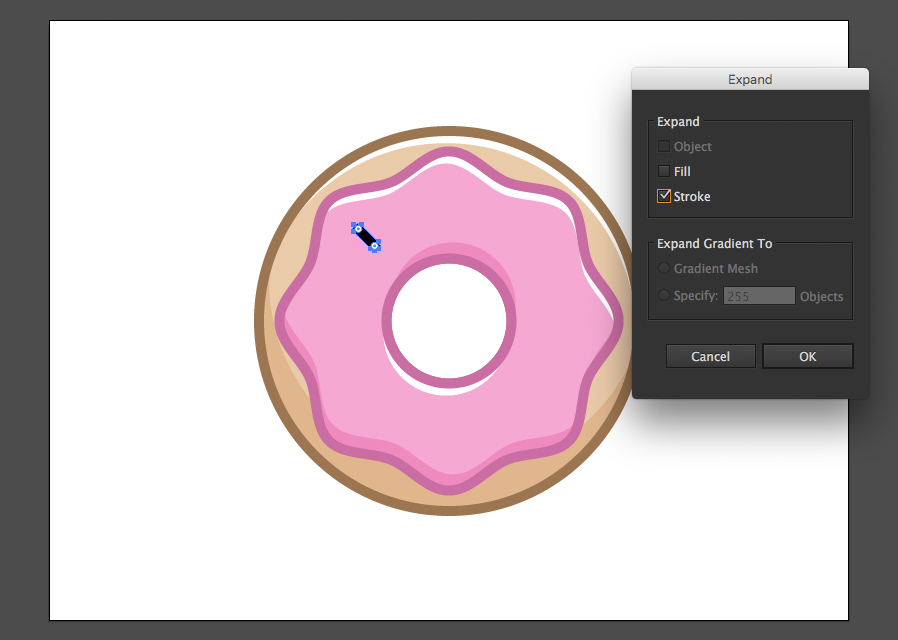
Step 29
Set the fill color to green #A1D367 and add a 5 point stroke with #C96DA4 to create the first sprinkle.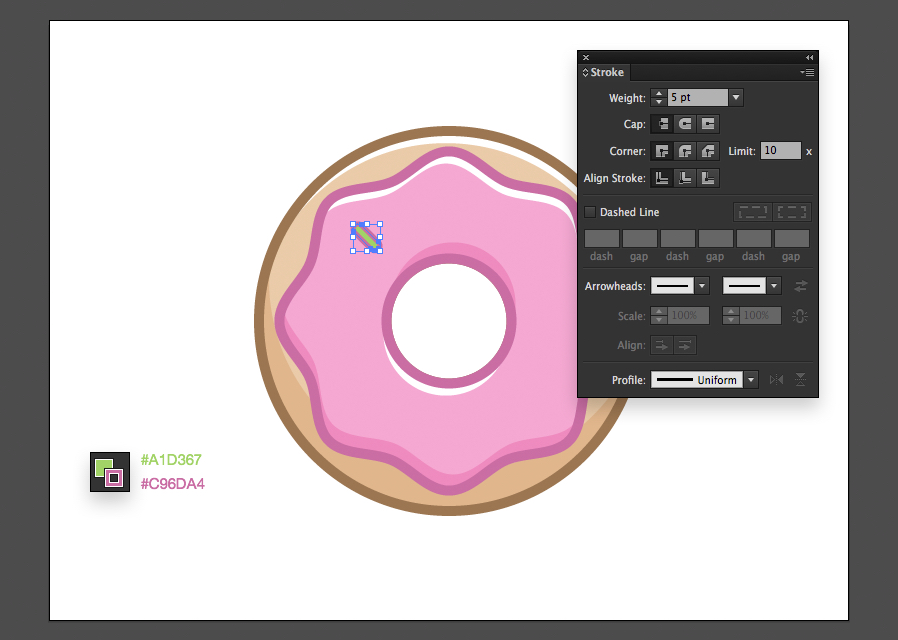
Step 30
Copy and paste the sprinkle, change the position and rotation slightly then switch the fill color to yellow #FFC02E.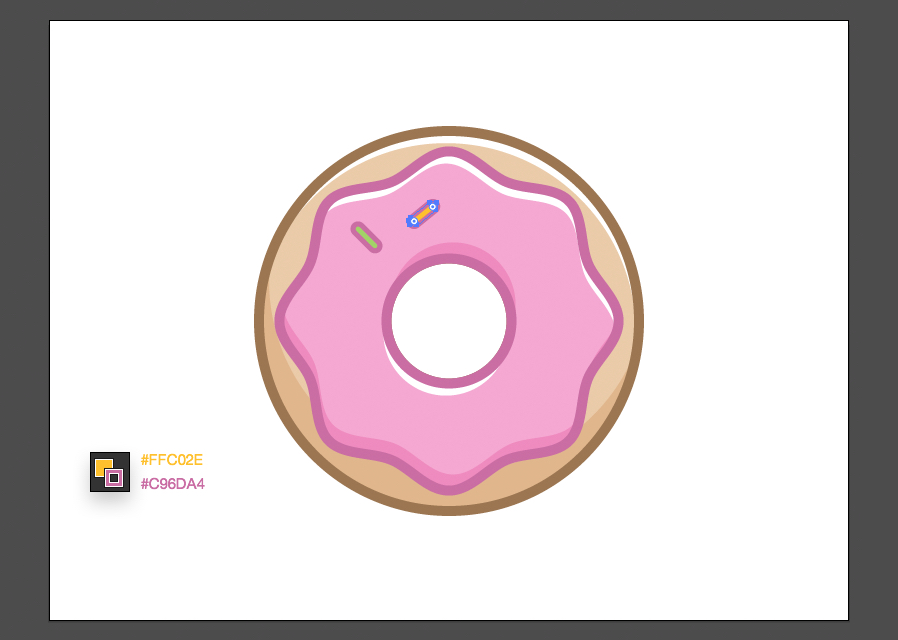
Step 31
Copy and paste the sprinkle, change the position and rotation slightly then switch the fill color to blue #6BB4E7.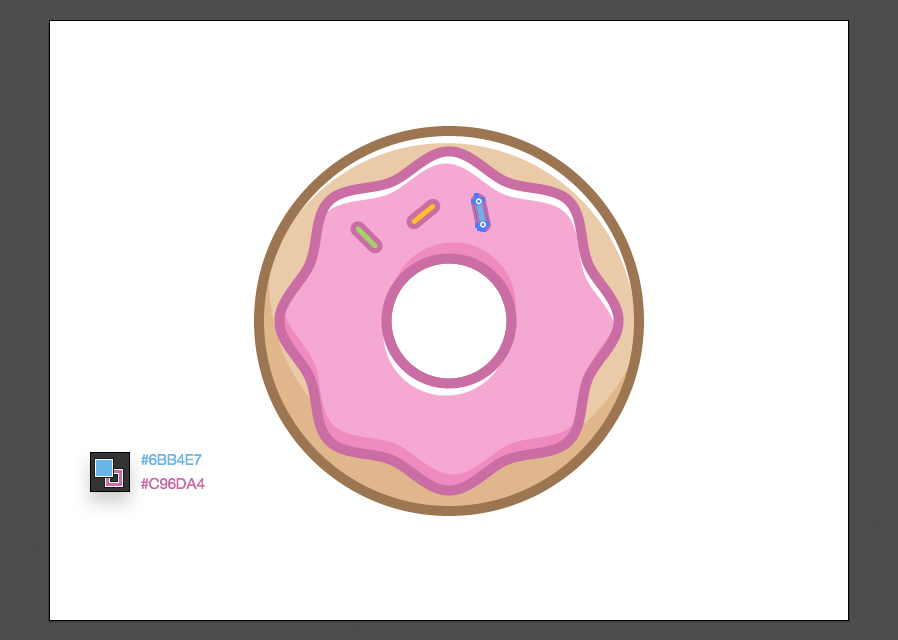
Step 32
Repeat the last 3 steps until the donut is covered with sprinkles, in this example I used 12 sprinkles in total.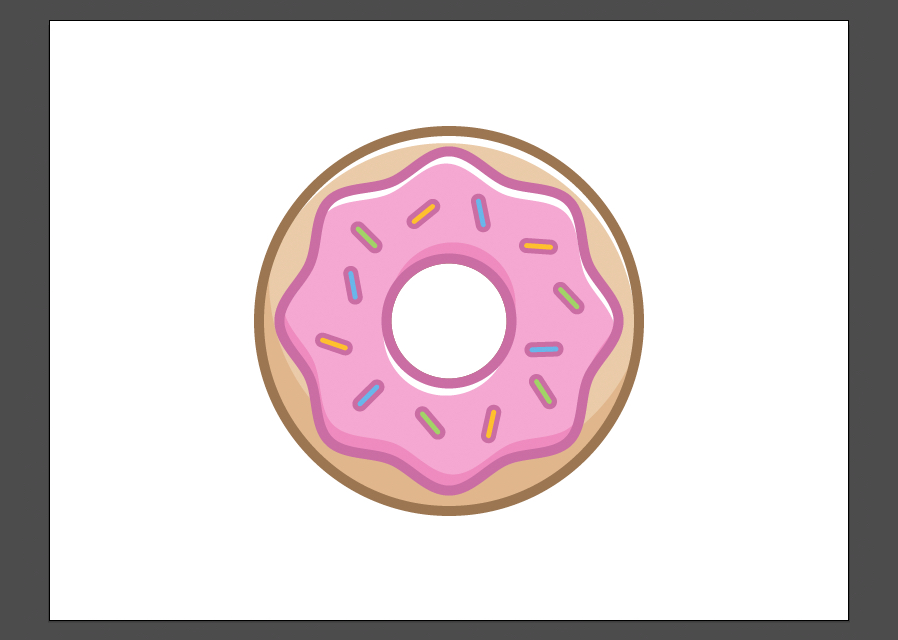
Step 33
Now we can add some finishing touches. Select the main donut stroke layer, select round end caps and enter 190, 20, 20, 20, 1000 pt into the dashed line fields.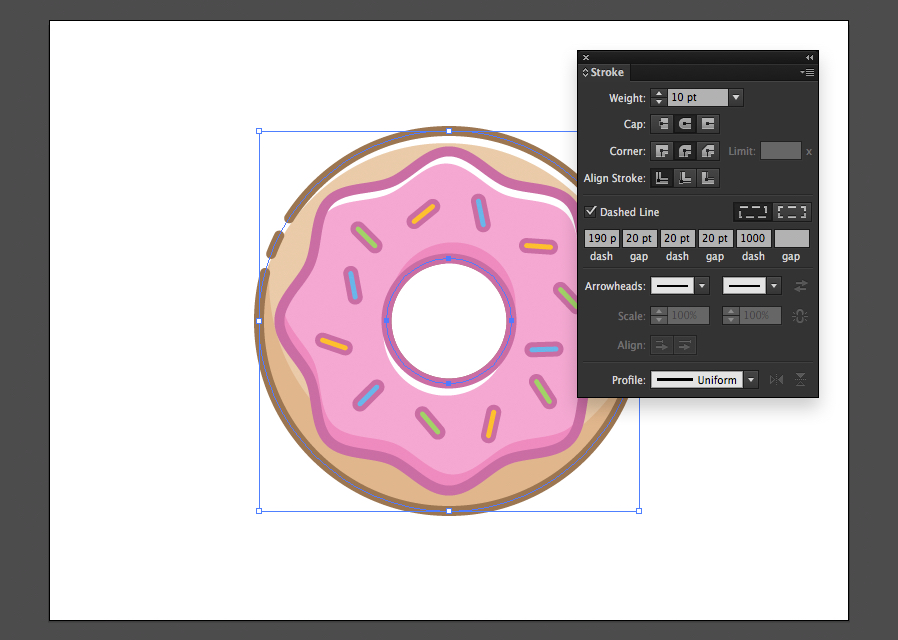
Step 34
Select the pink icing stroke layer, select round end caps and enter 540, 20, 20, 20, 1000 pt into the dashed line fields.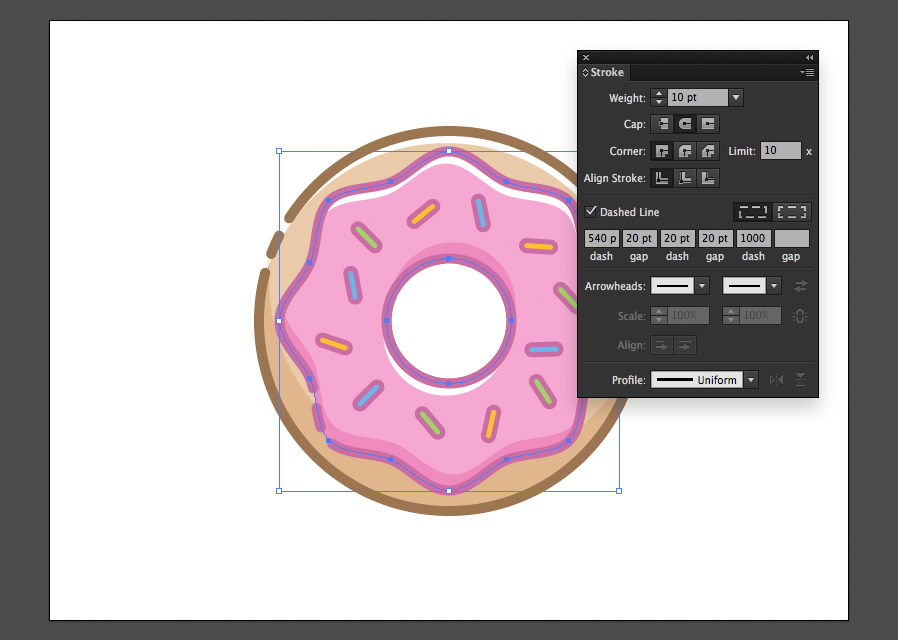
Step 35
Draw a black oval shape below the donut 180 x 16 pixels for the shadow, and align it horizontally to the center of the donut.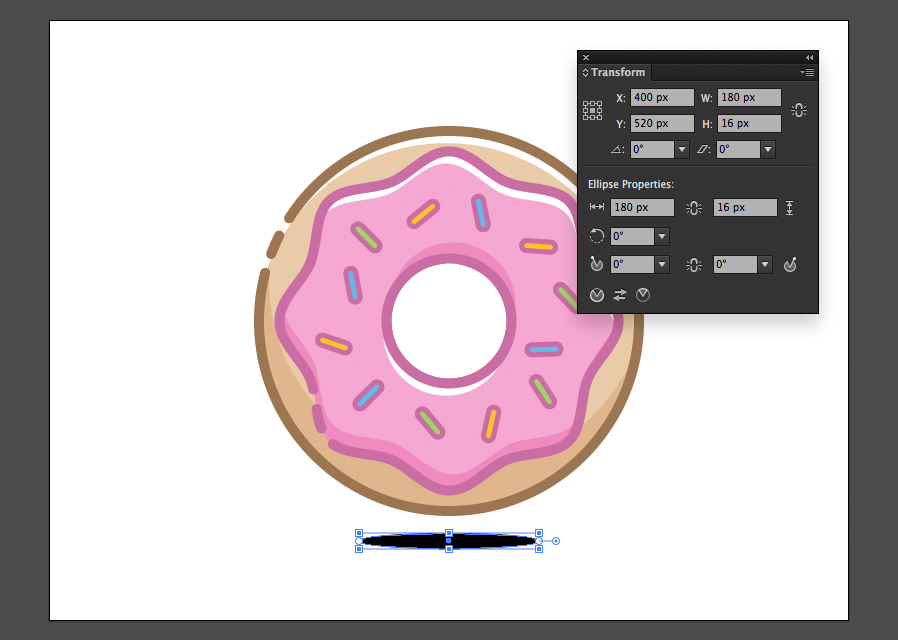
Step 36
Set the Opacity of the shadow to 10%.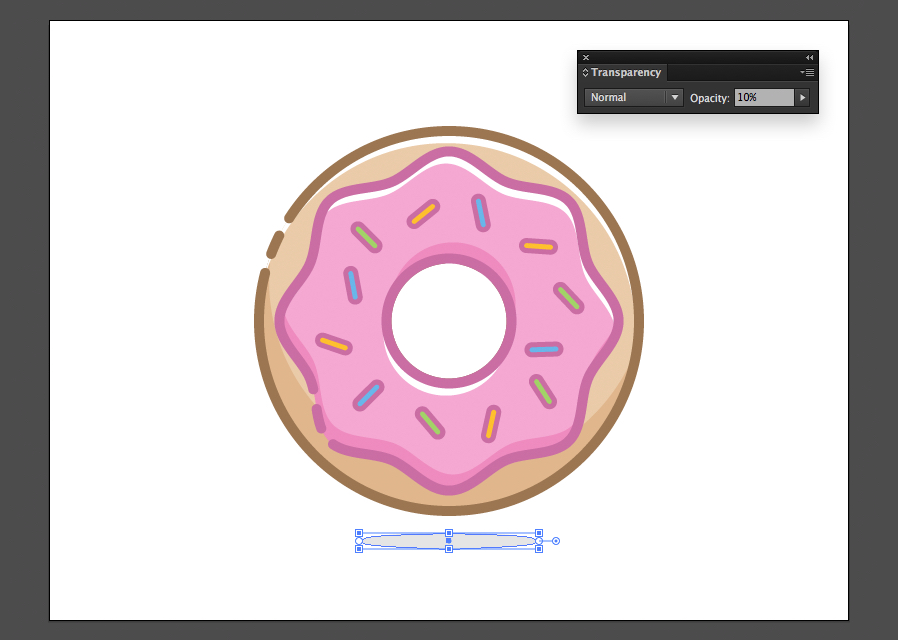
Step 37
Finally, we can add a background color to finish things off. Draw a rectangle that fills the artboard, and place it below all other layers. Set the fill to #C7DFEA.
Result
Here is the final result. I hope you enjoyed following this tutorial and creating your own mouthwatering donut icon. The main skills to take away from this exercise are how to use multiple offset layers for shadow and highlight effects, as well as how to use the zig zag filter and dashed strokes.