Create a Dynamic Particle Explosion in Photoshop
Lately, I've received several requests for tutorials on how to use some of our resources, or more specifically, how to achieve the look in the preview images. In this tutorial, I'm going to explain my process for using our latest freebie brush set to create a particle explosion.
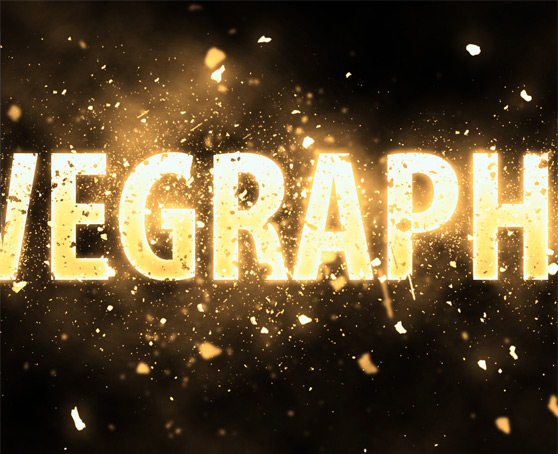
For this tutorial you will need to download the new FREE brush set, Dust Particles. Below is a look at what we'll be creating using the brushes. Click the image to view the full preview.
 I think you'll be surprised how easy this effect is to create. Lets dive in...
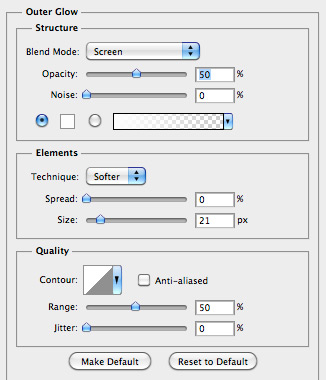
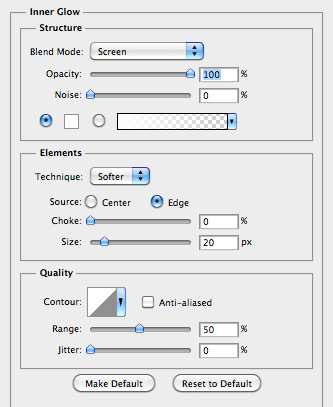
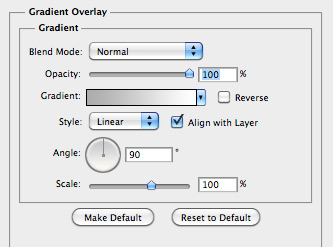
 Apply the following layer styles to your text.
 Set this layer's blending mode to Overlay.
 On a new layer use another particle brush, sized a bit larger than the others, and then apply a (Filter | Blur | Gaussian Blur) to make it appear as though some of the particles are too close to the camera to be in focus.
 This brush set makes the previous step incredibly easy. Drawing and placing these particles individually would have taken a considerable amount of time.
 Now, on a new layer, below the text, use a large soft white brush with opacity set to around 10-20% to paint a bit of light behind the text. Set this layers blending mode to Linear Dodge (Add).
 I hope this tutorial has shown you some new techniques, and how custom brushes can create impressive effects in just a few clicks.
Here's a view of the effect at 100% zoom.

 I think you'll be surprised how easy this effect is to create. Lets dive in...
Step 1
Create a blank document 2400x1200 at 300dpi with a background color set to #191919. Choose a bold heavy font and enter some white text of your choice. Apply the following layer styles to your text.


Step 2
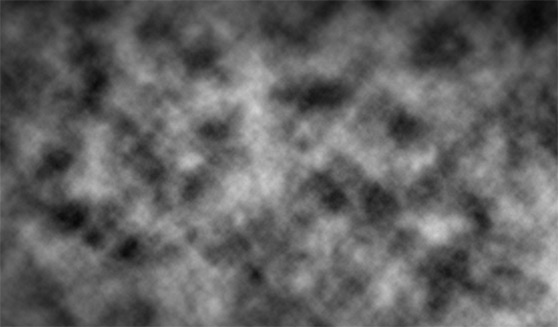
Press the letter (D) on your keyboard to reset your colors to black and white. On a new layer, above your text, render some clouds (Filter | Render | Clouds). Set this layer's blending mode to Overlay.
Step 3
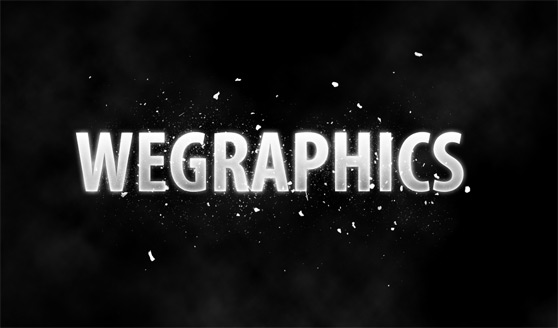
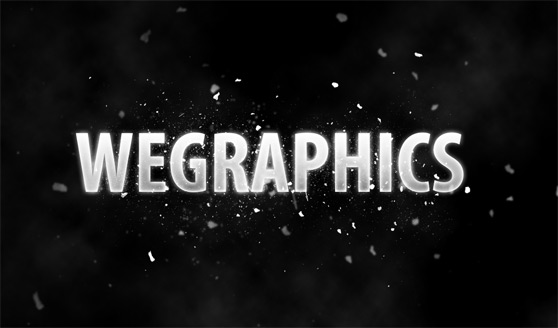
Now load the Dust Particle brushes from your brush palette. On a new layer, using a white brush, begin clicking to place some of the particles around your text. Choose different brushes, and size them down accordingly. On a new layer use another particle brush, sized a bit larger than the others, and then apply a (Filter | Blur | Gaussian Blur) to make it appear as though some of the particles are too close to the camera to be in focus.
 This brush set makes the previous step incredibly easy. Drawing and placing these particles individually would have taken a considerable amount of time.
Step 4
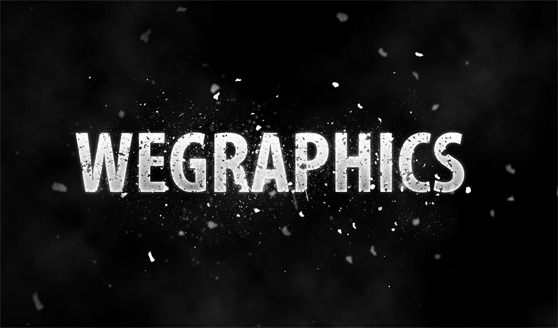
Now lets rasterize our type. (Ctrl+click) the type layer and select "Rasterize Type" from the drop down. Now we can use one of the particle brushes as an eraser to remove pieces of the type to make it appear like pieces of broken off.
Step 5
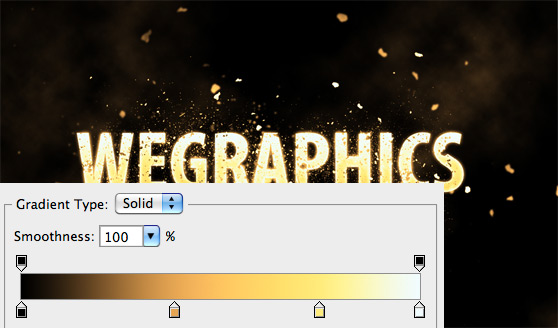
Lets add a Gradient Map adjustment layer and use a gradient similar to the one below. Now, on a new layer, below the text, use a large soft white brush with opacity set to around 10-20% to paint a bit of light behind the text. Set this layers blending mode to Linear Dodge (Add).
 I hope this tutorial has shown you some new techniques, and how custom brushes can create impressive effects in just a few clicks.
Here's a view of the effect at 100% zoom.
