Create a Detailed Vintage TV from Scratch in Photoshop
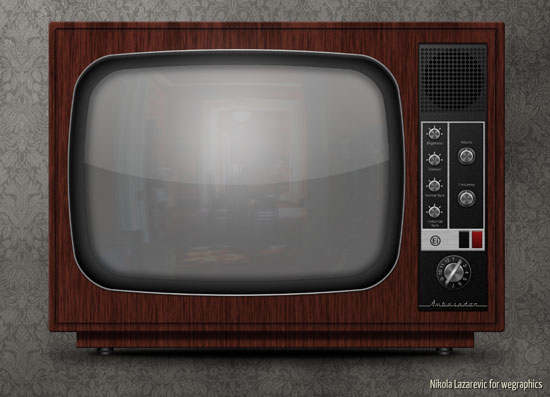
In today's tutorial, I will show you how to create a detailed vintage TV from scratch using Photoshop's vector editing capabilities. The detailed step by step guide will help you to understand the process of its creation.
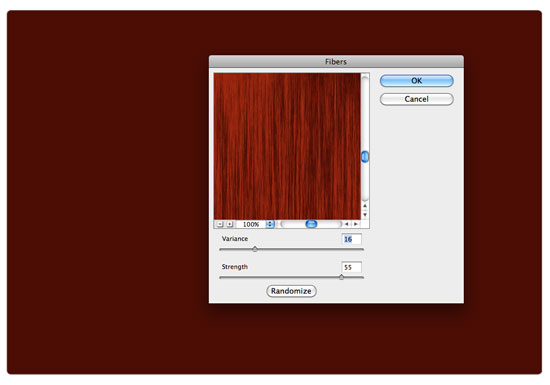
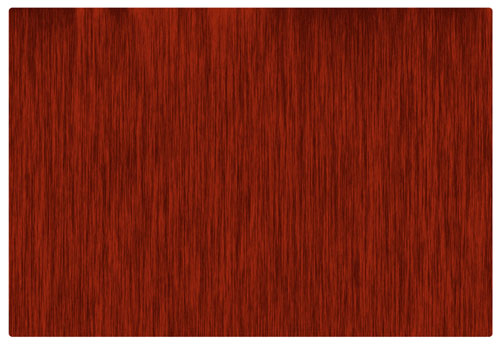
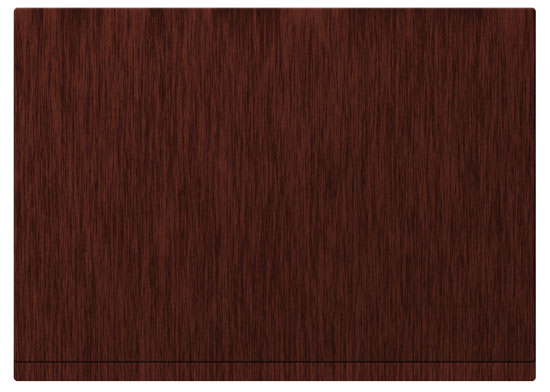
 Rasterize this layer, then go to Filter > Render > Fibers. Set the Variance to 16 and Strength to 55, then apply.
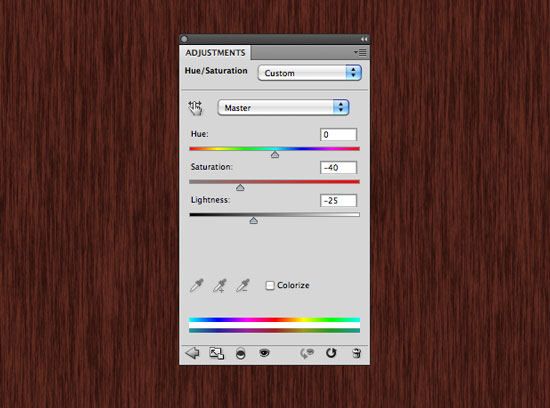
 Drop down colors a bit using Hue/Saturation (Cmd/Ctrl + U),
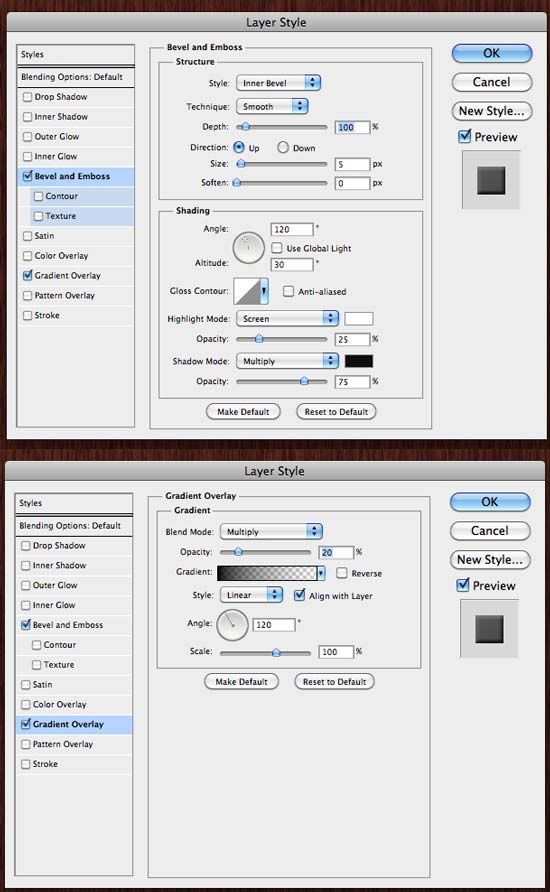
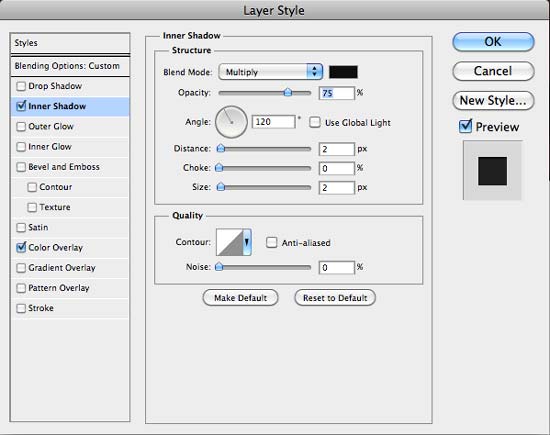
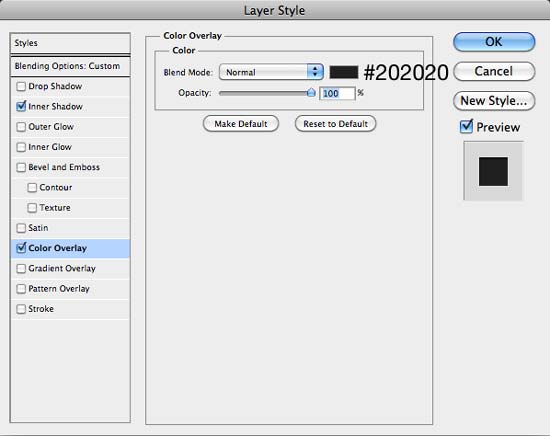
 then apply following layer styles.
 Name this layer "body".
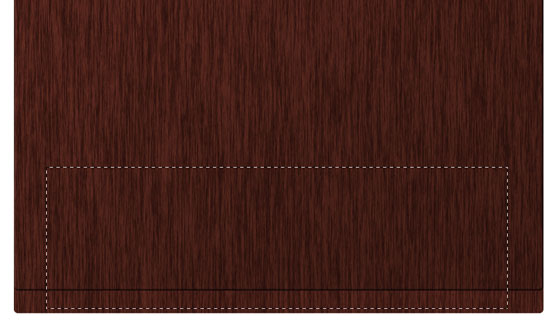
 With Rectangular Marquee Tool (M), create selection like on the picture below, and apply Layer Mask (Layer > Layer Mask > Reveal Selection) on "base" layer.
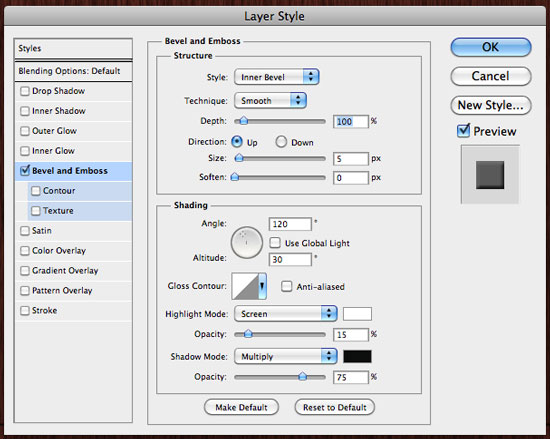
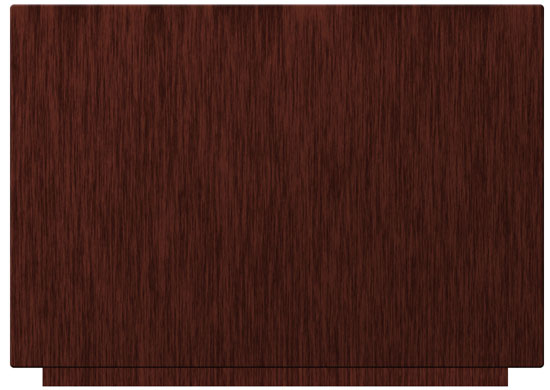 Apply Bevel and Emboss to "base" layer.
 Create new layer above "base" and below "body" layer, give this layer a name "shadow", Cmd/Ctrl + click on "body" layer to create selection around it, and fill selection with black color (#000000). Move "shadow" layer few pixels down,
 apply Gaussian Blur with Radius set to 5px,
 Cmd/Ctrl + click on "base" layer mask to create selection, make sure you are on "shadow" layer, apply Layer Mask,

 and finally change the Blend Mode to Multiply and Opacity to 70%.
 Pick up Rounded Rectangle Tool (U) and with Radius set to 10px draw small rectangle - "foot", below "base" layer and apply Gradient Overlay from Layer Style.
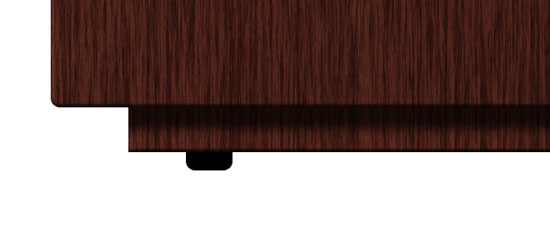
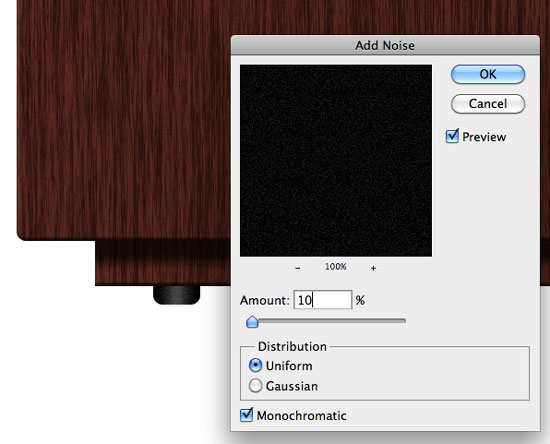
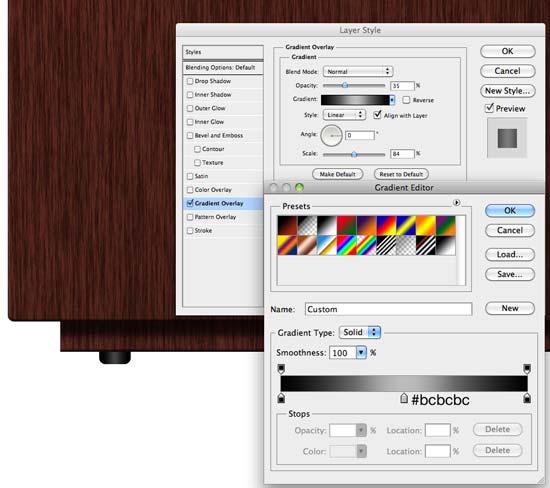 Create new layer just above "foot" layer, create Clipping Mask (Layer > Create Clipping Mask), fill it with black color, and add Noise.
 With Rectangle Tool (U) draw small rectangle and give this layer following layer styles.
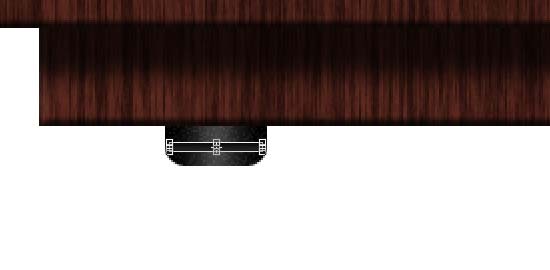
 Repeat the process to create the other foot.
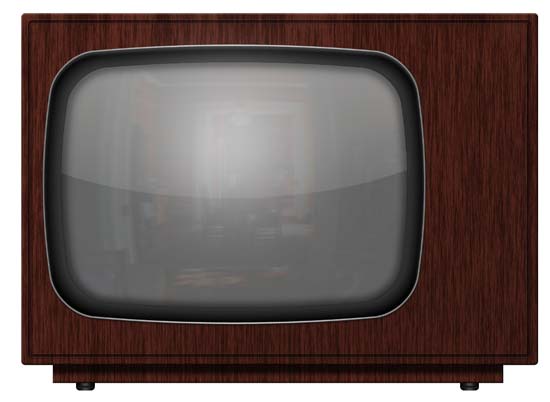
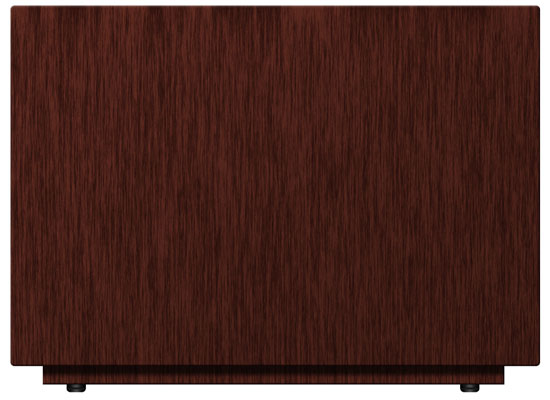 With this we have finished basic TV shape.
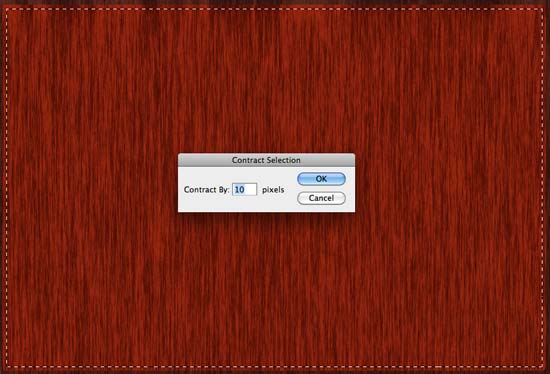
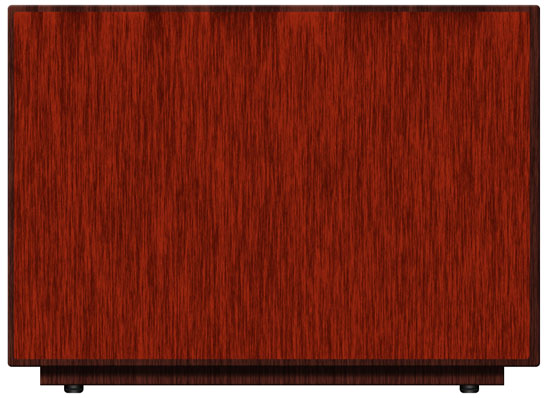 Cmd/Ctrl + click on layer thumbnail to create selection, go to Select > Modify > Contract and contract selection by 10px,
 hit Backspace on keyboard to delete selection.
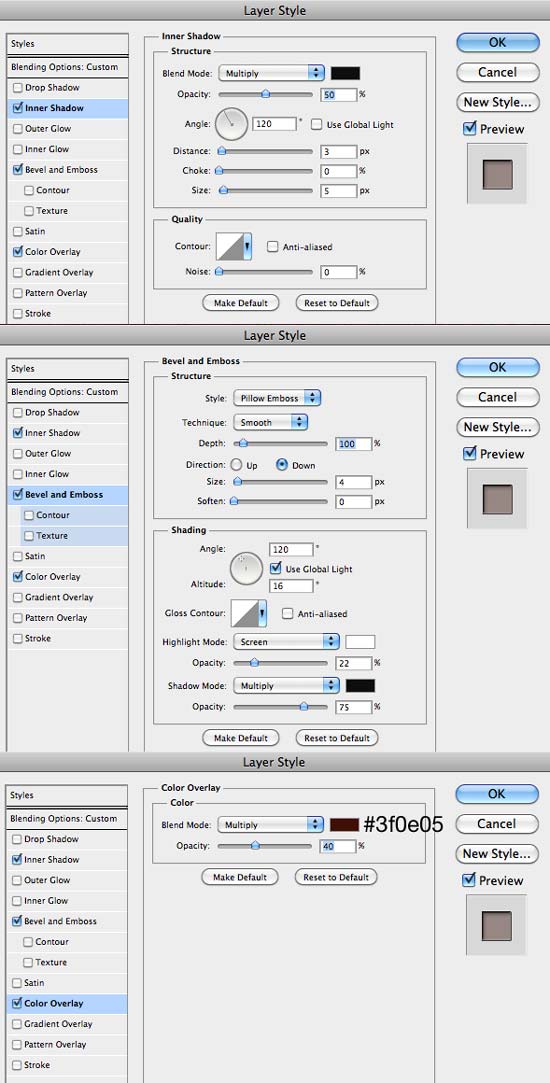
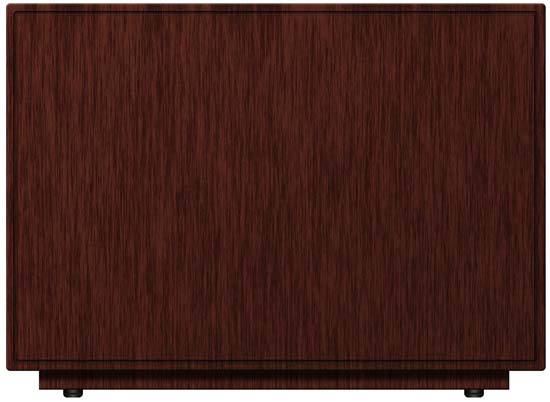
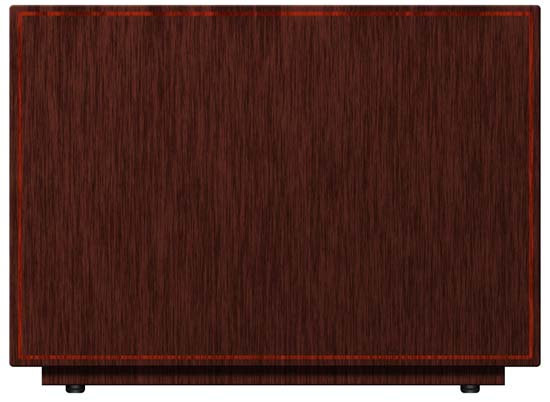 Set Fill to 0% and apply Inner Shadow, Bevel and Emboss, and Color Overlay.
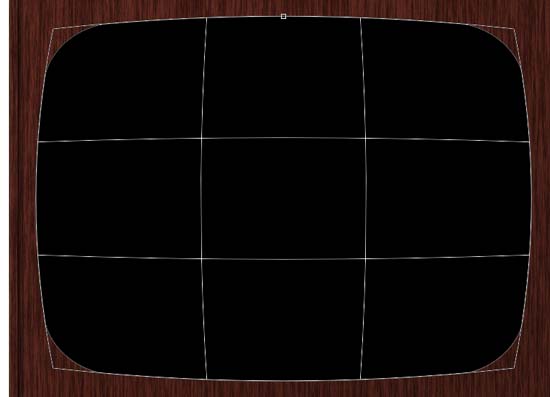
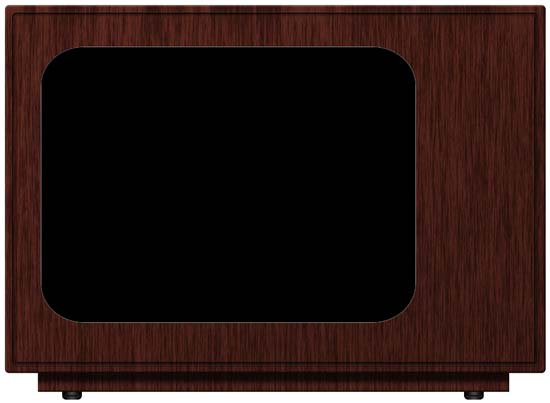 Go to Edit > Transform Path > Wrap, from drop down menu choose Inflate and set Bend to 15%.
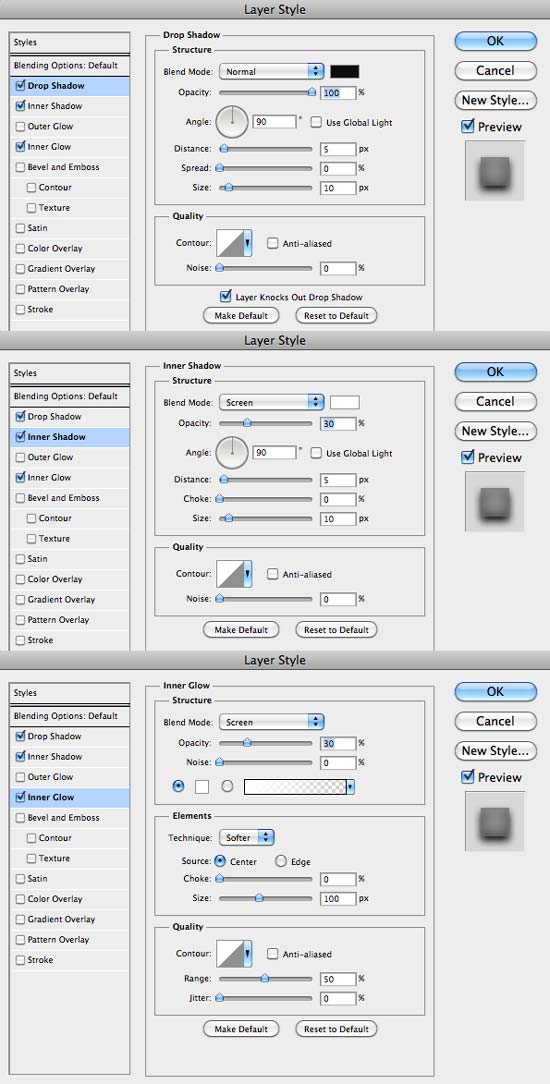
 Open Layer Style properties by double clicking on screen layer and apply following layer styles.
 Create new layer, apply Clipping Mask, fill the layer with black color and add Noise (Amount: 3%, Uniform, Monochromatic) and lower the Opacity to 80%.
 Apply following layer styles to this layer:
 Cmd/Ctrl + click on layer thumbnail to create selection, then go to Select > Modify > Contarct and contract selection by 4px, and finally apply Layer Mask (Layer > Layer Mask > Hide Selection).
 and add layer styles.
 It's now time to add the reflections. You can get the image that is reflected on the screen here.
Open it in Photoshop and drag it into your document, then scale and place over the main TV screen.
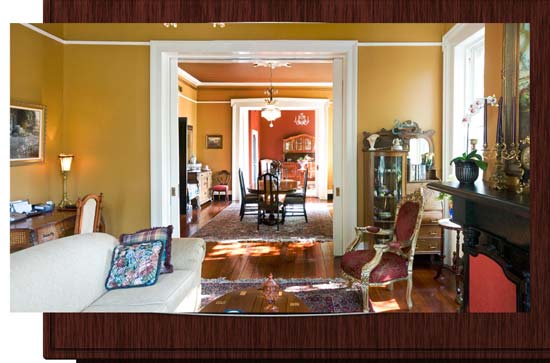 Go to Edit > Transform > Wrap, choose Inflate and set Bend to 50%.
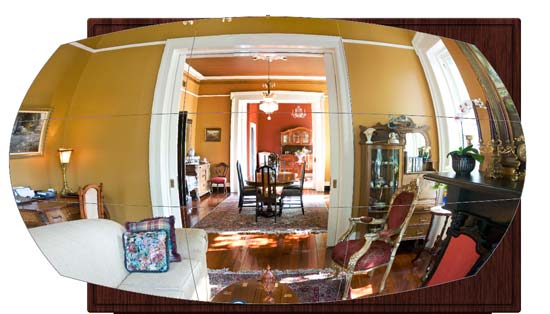 Next, give this layer Gaussian Blur with a Radius of 1.5px, adjust Brighness and Contrast to -70 and 81 (Image > Adjustments > Brightness/Contrast),
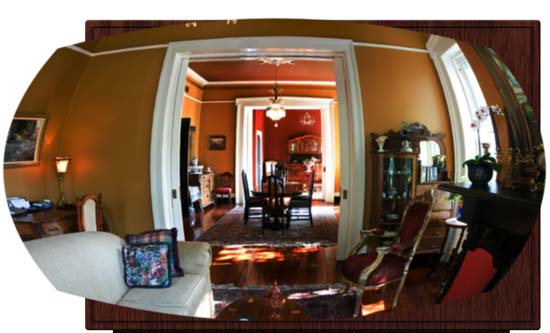 Cmd/Ctrl + click on main TV screen layer to load selection, make sure you are on reflected image and apply Layer Mask (Layer > Layer Mask > Reveal Selection),
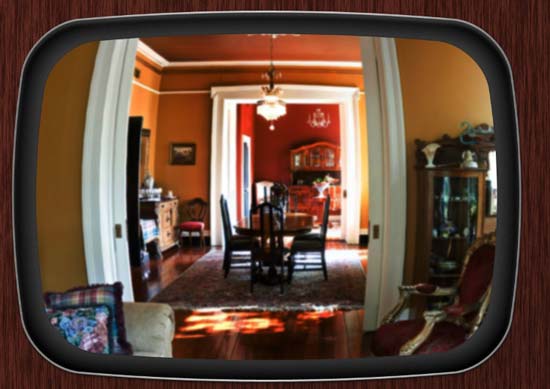 at the end change the Blend Mode to Overlay and set Opacity to 4%.
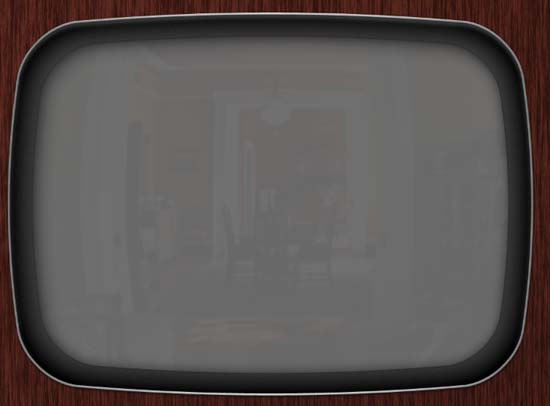 Duplicate reflected image and move it couple pixels to the right. Change the Blend Mode to Color Burn and set Opacity to 8%.
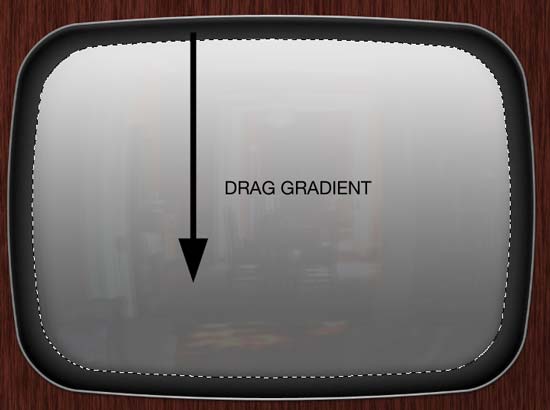
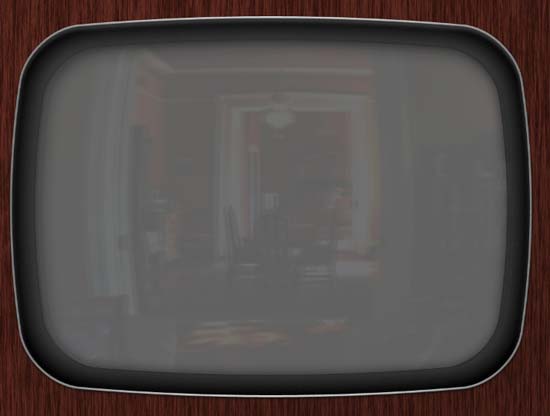 Cmd/Ctrl + click on main TV screen layer to load selection, create new layer on top, make sure that Foreground color is white, get the Gradient Tool, set the Gradient to Foreground to Transparent
 Pick Elliptical Marquee Tool (M), draw ellipse like on the image below,
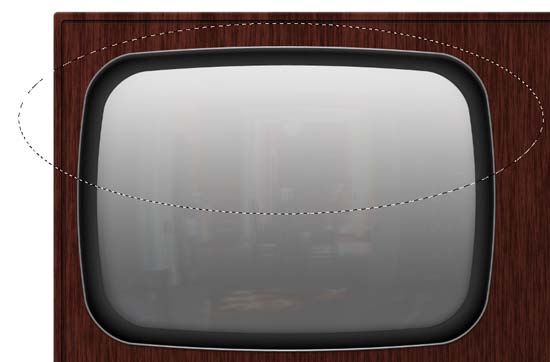 apply Layer Mask and set Opacity to 35%.
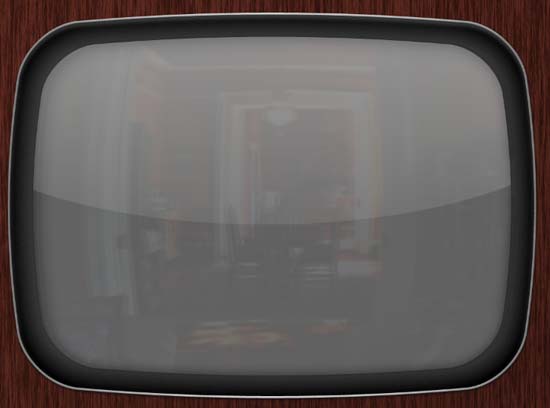 Grab Brush Tool (B), and with large soft brush dub one white spot,
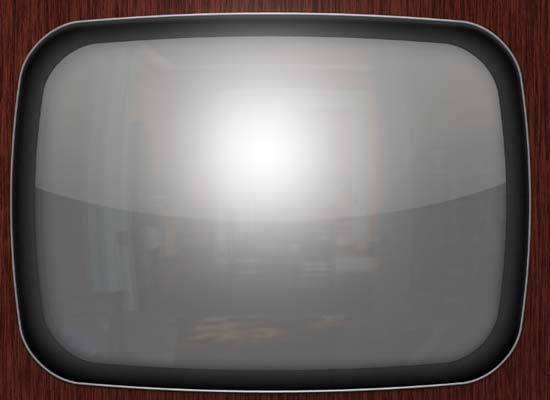 give this layer a Gaussian Blur with Radius set to 20% and finally drop down the Opacity to 50%.
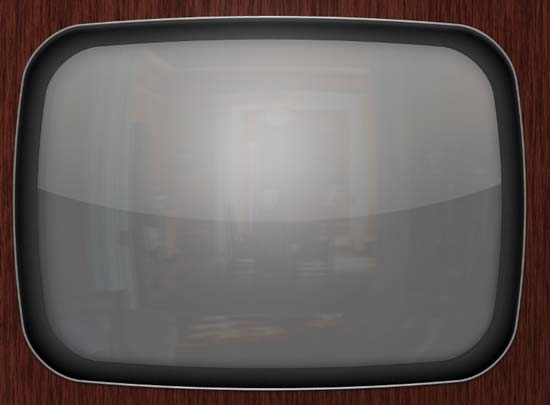 Create new layer on top, load selection around main TV screen, set the Foreground color to black, and go to Edit > Stroke.
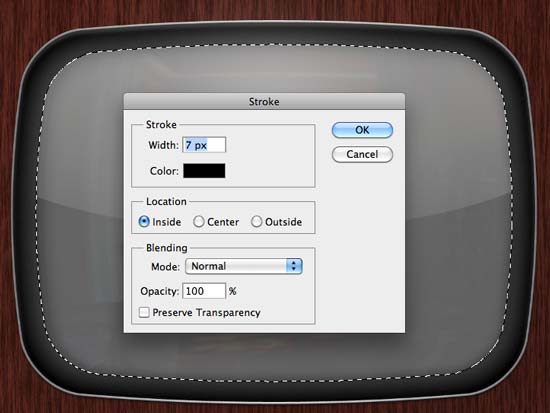
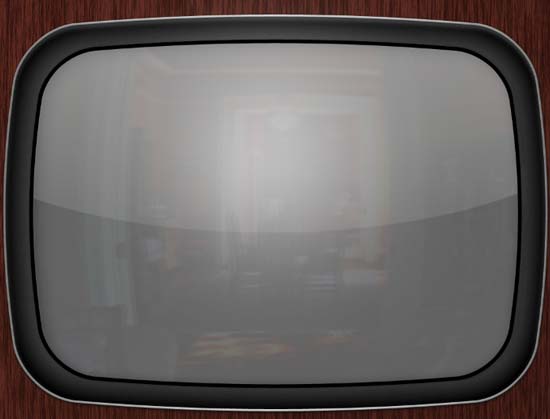 Apply Gaussian Blur with radius set to 10px and set Opacity to 80%
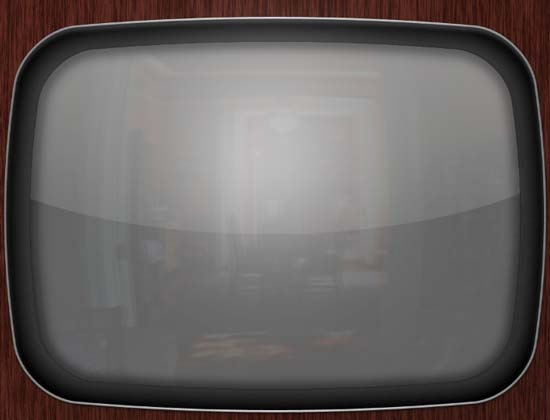
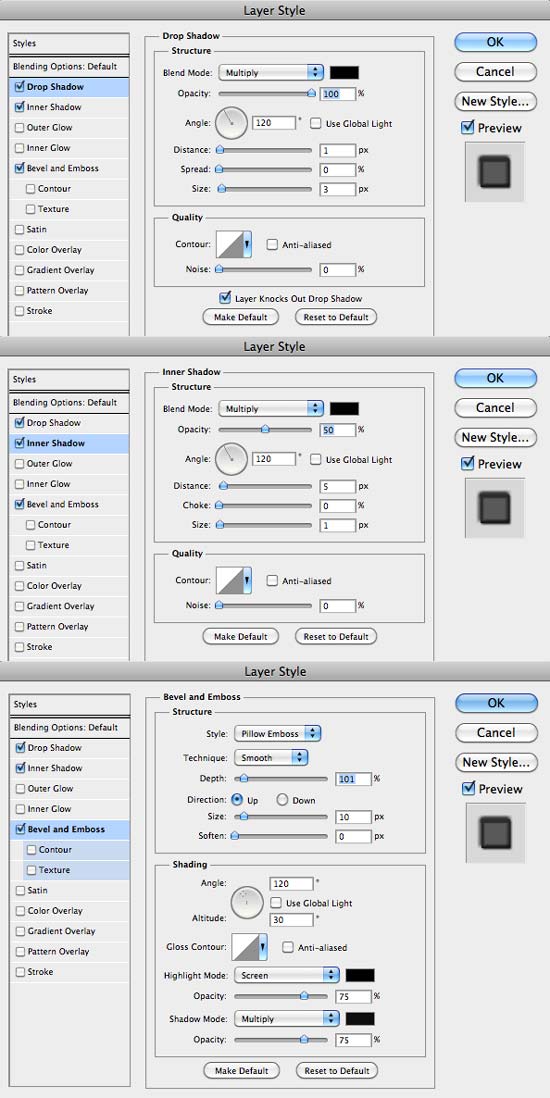
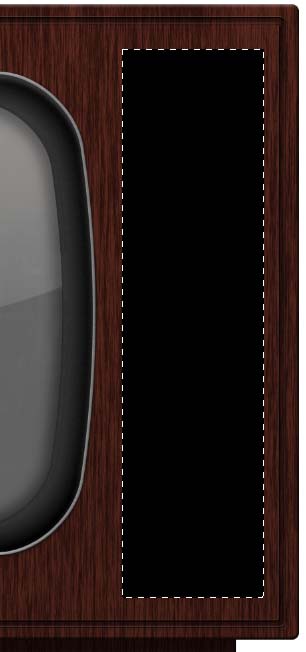 Give this layer Drop Shadow, Inner Shadow and Bevel and Emboss from Layer Style panel.
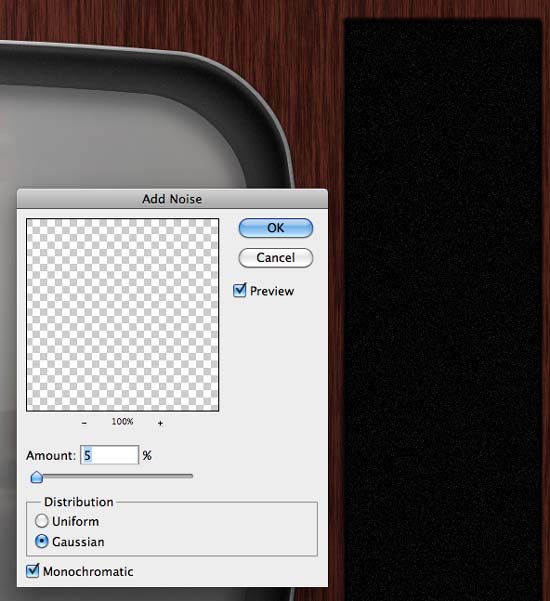
 Create new layer on top, add Clipping Mask (Cmd/Ctrl + Alt + G), reset Foreground and Background colors to black and white by pressing D on keyboard, fill the layer with Foreground color (Alt + Backspace) go to Filter > Noise > Add Noise, set the Amount to 5%, for Distribution choose Gaussian and make sure that Monochromatic is checked.
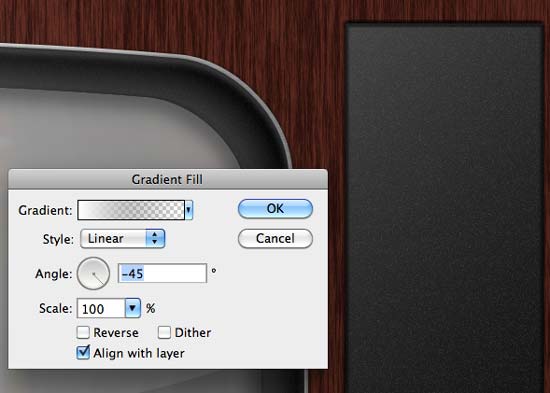
 Cmd/Ctrl + click black rectangle, set the Foreground color to white, click Layer > New Fill Layer > Gradient.
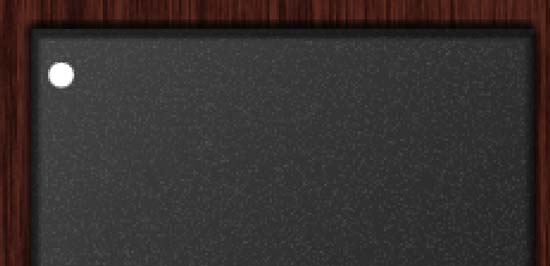 Select its path, hit Cmd/Ctrl + Alt + T, and move it to the right.
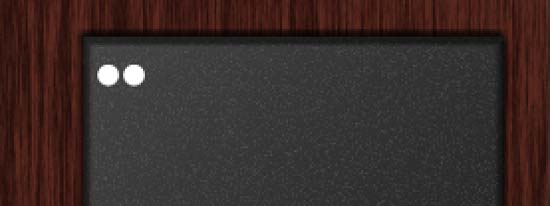 Duplicate again with Cmd/Ctrl + Shift + Alt + T. Repeat this until we have a row of holes.
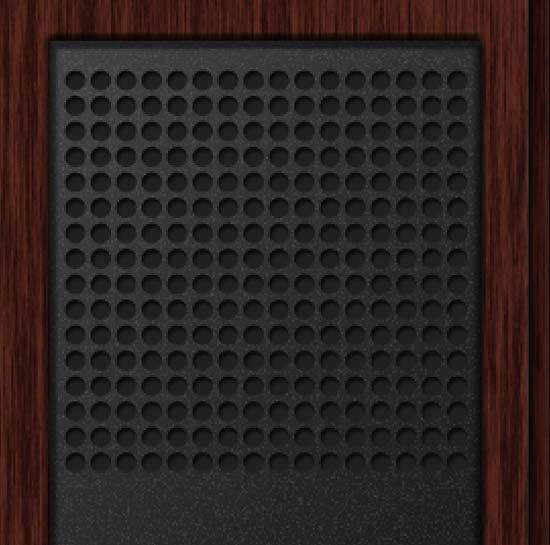
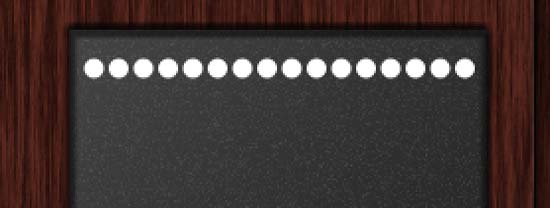 We still need more holes. Select all paths, hit Cmd/Ctrl + Alt + T, move it down. Repat this until we have a lot circles.
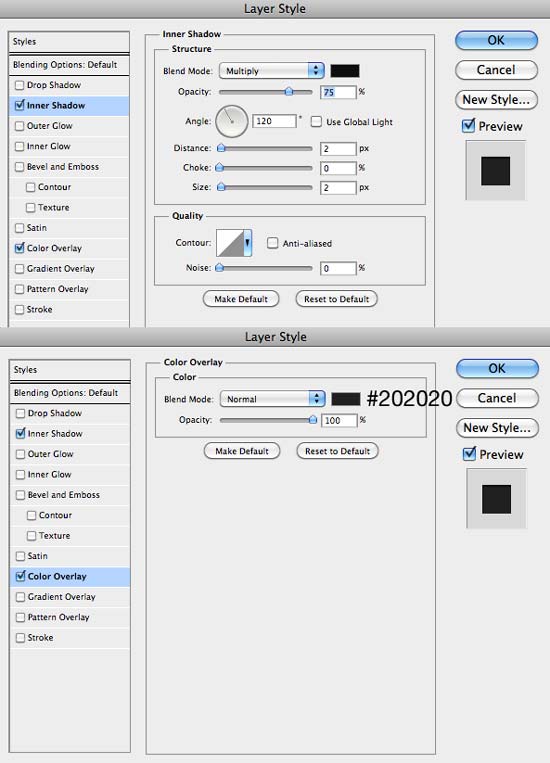
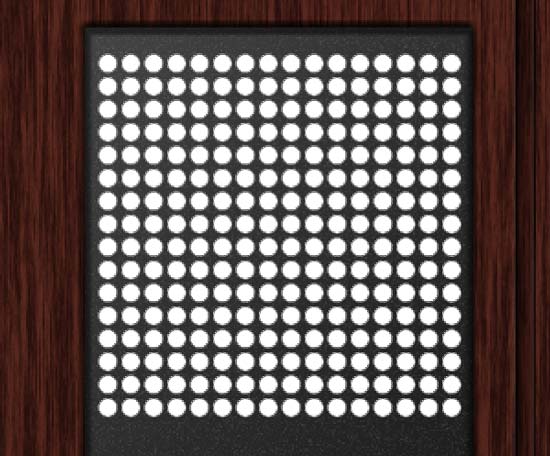 Add Inner Shadow and Color Overlay from Layer Style.
 Draw a black circle.
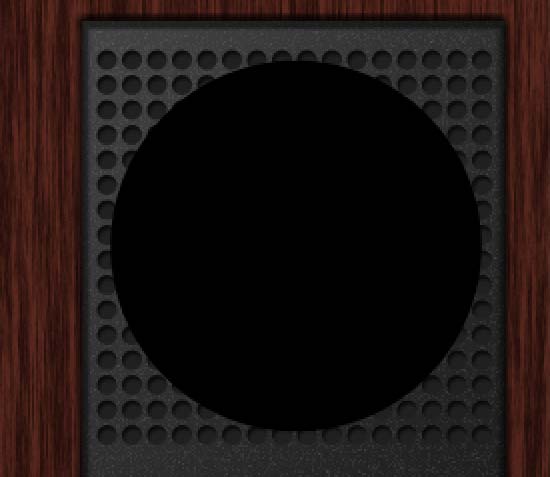 Cmd+click small circles to create selection.
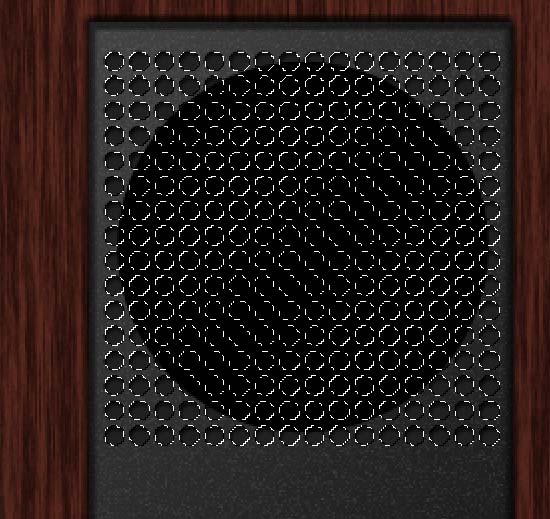 Add Layer Mask so the black circle will be inside the holes.
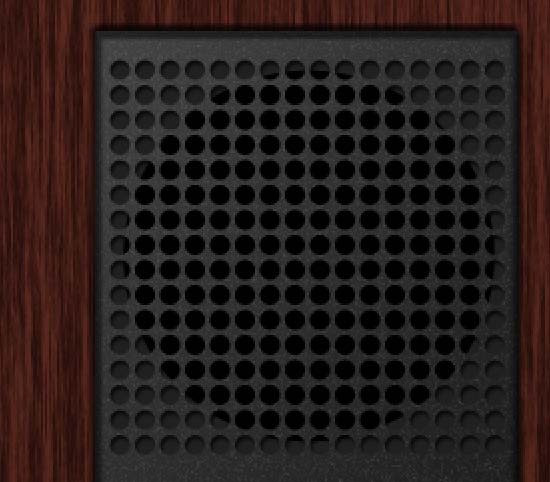
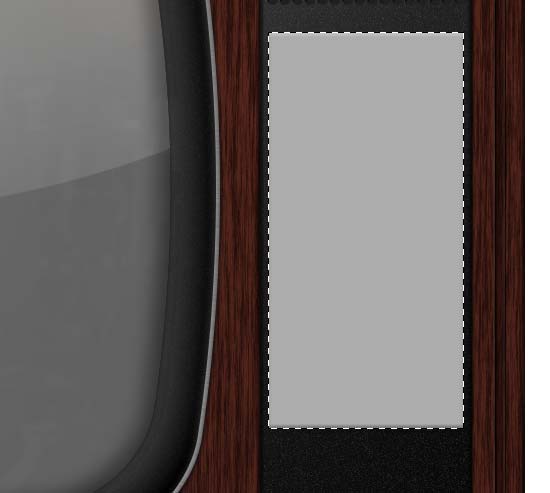 and add following Layer Styles.
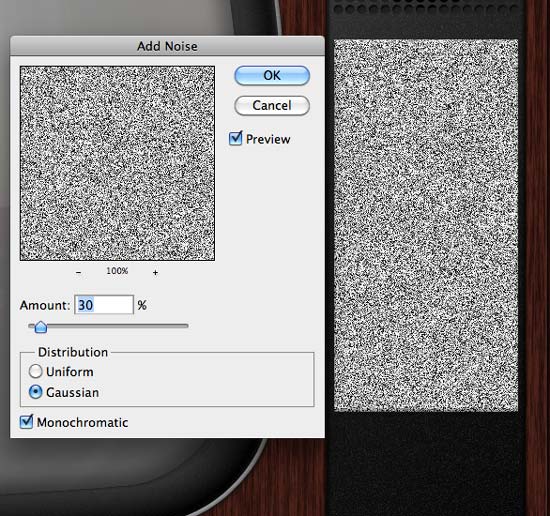
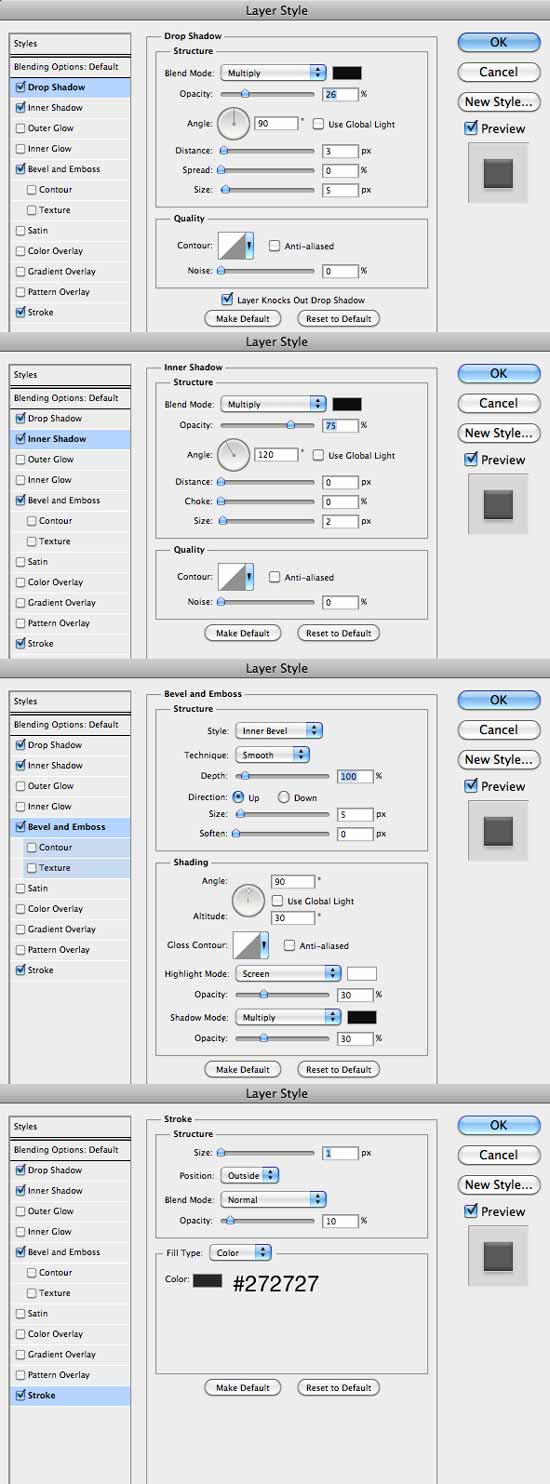 Create new layer on top, add Clipping Mask, fill layer with #adacac color, and then add noise by choosing Filter > Noise > Add Noise from the main menu with settings of 30%, Gaussian and Monochromatic.
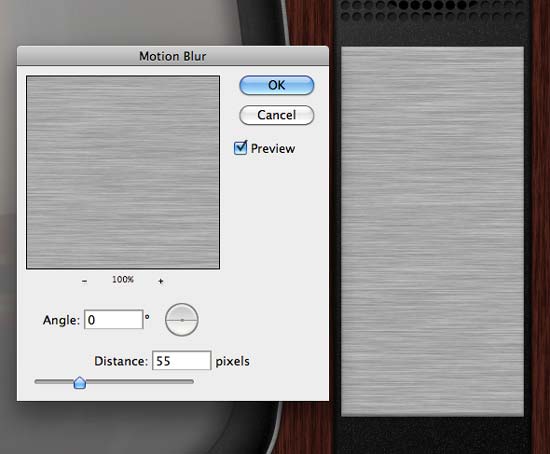
 To create the brushed metal effect, blur the noise by choosing Filter>Blur>Motion Blur with an angle of 0 and a distance of 55 pixels.
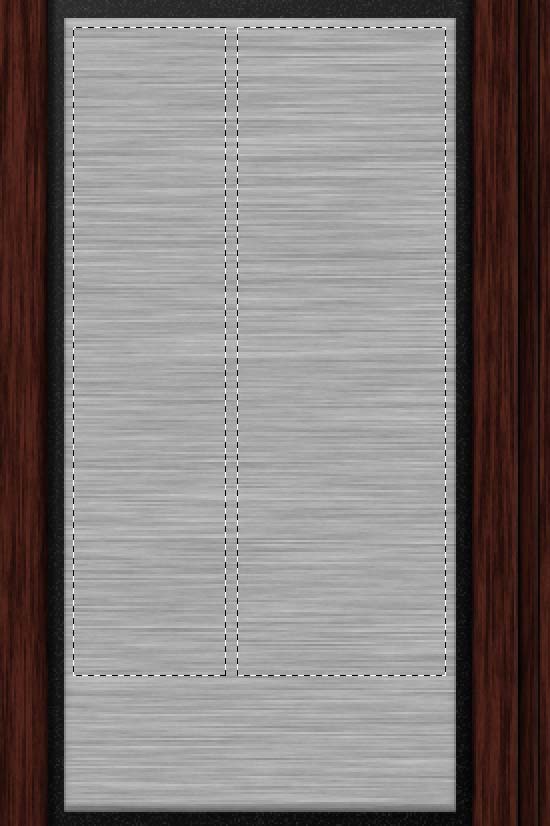
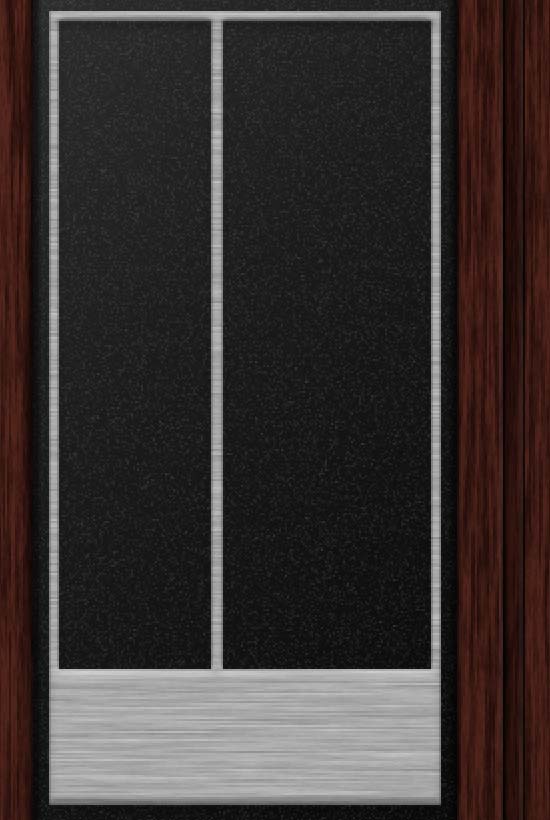
 Next, grab Rectangular Maqruee Tool (M) and draw 2 selections like shown on the image below, then go to Layer > Layer Mask > Hide Selection.
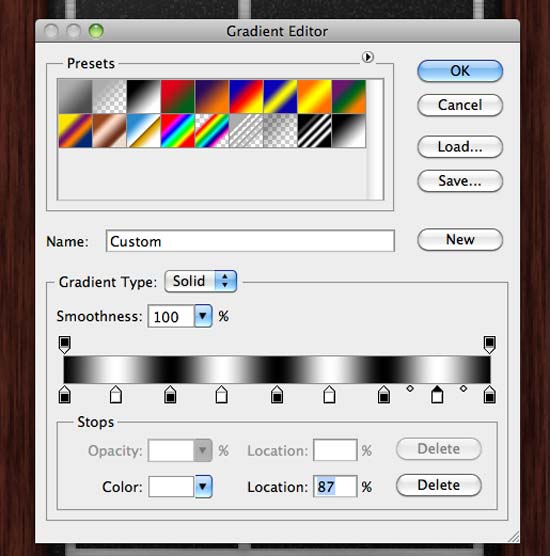
 Select the Gradient Tool (G) then click on the color preset. Change the colors so you have something like the image below.
 Click holding Cmd/Ctrl on the thumb of the circle layer to create a marquee selection, cretae new layer above circle layer, then go to Layer > New Fill Layer > Gradient, select the Angle Gradient type and fill the layer with the gradient preset we created.
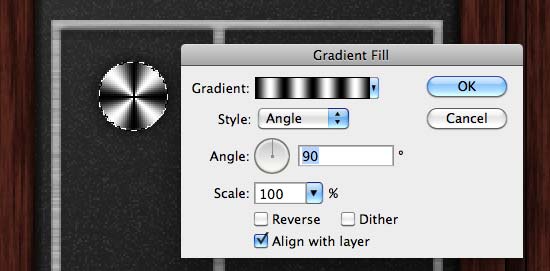 Change the Blend Mode to Overlay and Opacity to 50%.
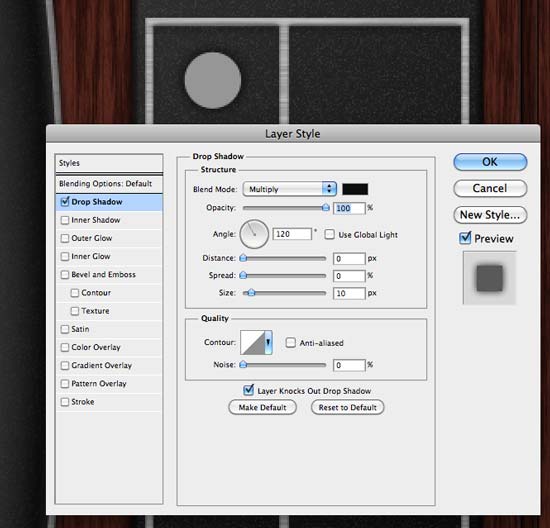
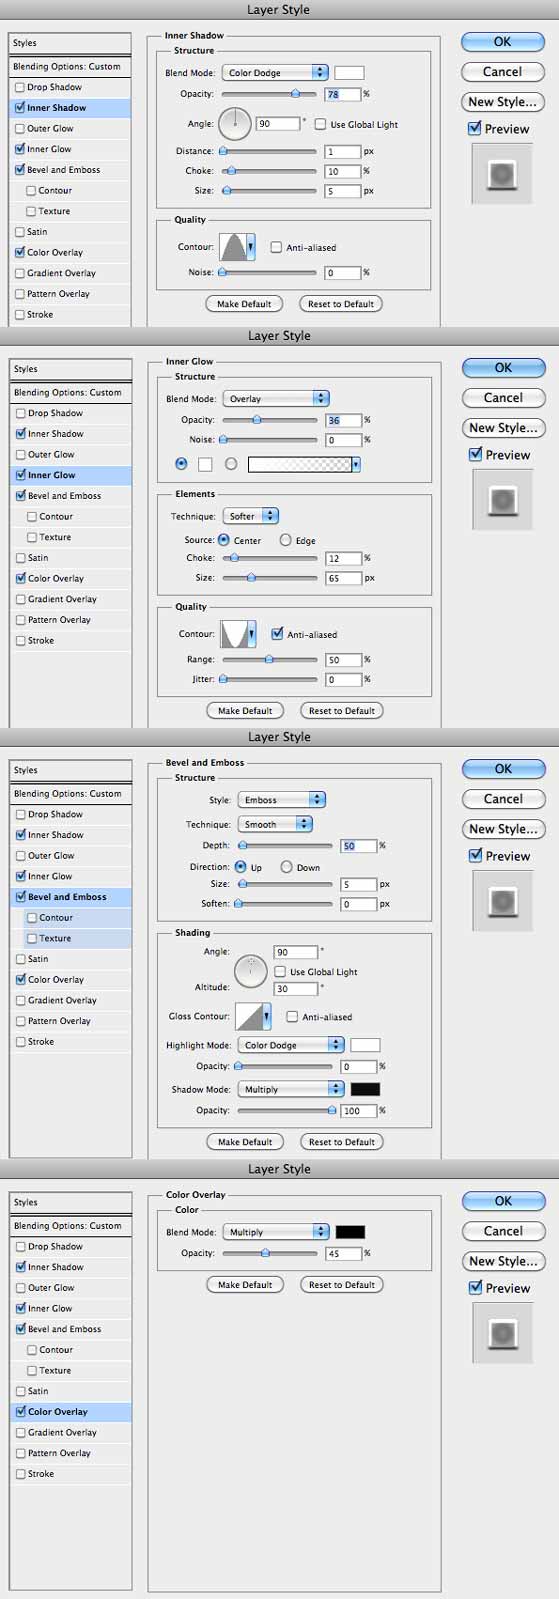
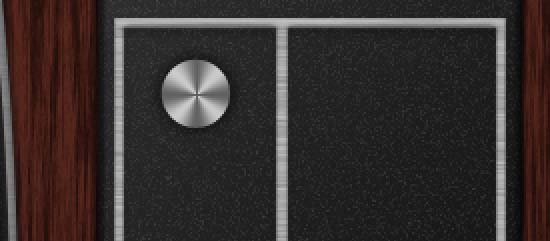 Duplicate the circle layer and fill it with white. Change the order so it is on top of the other layers. After that change the Fill Opacity to 0% and add Layer Styles:
 Duplicate the circle layer and move to the top, make sure it is white. After that go to Filter > Pixelate > Mezzotint. Use Fine Dots.
Create a Marquee Selection of the circle and then go to Filter > Blur > Radial Blur. Use 60 for the Amount, Spin for the Blur Method and Best for the Quality.
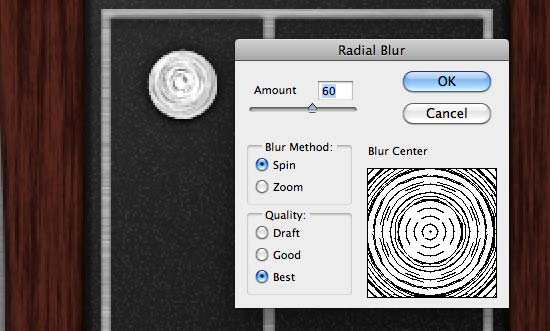 Set the Blend Mode to Multiply and Opacity to 50%.
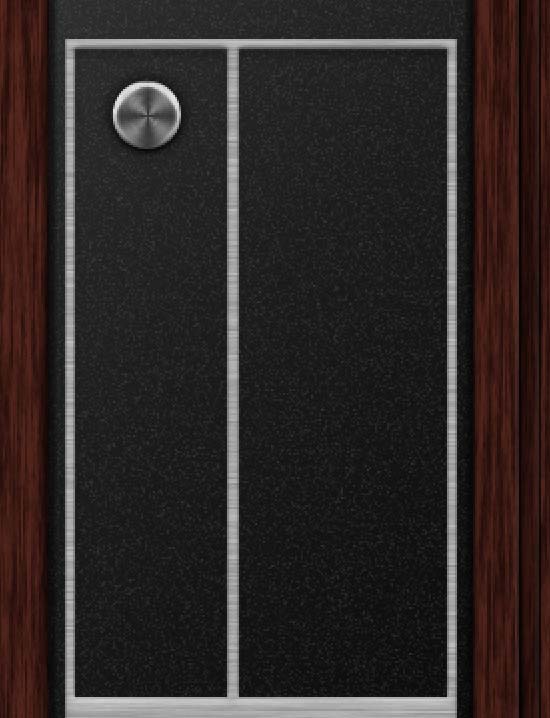 With the Rectangle Tool (U) create a square holding Shift, then rotate the square (45 degree) and position it like the image below.
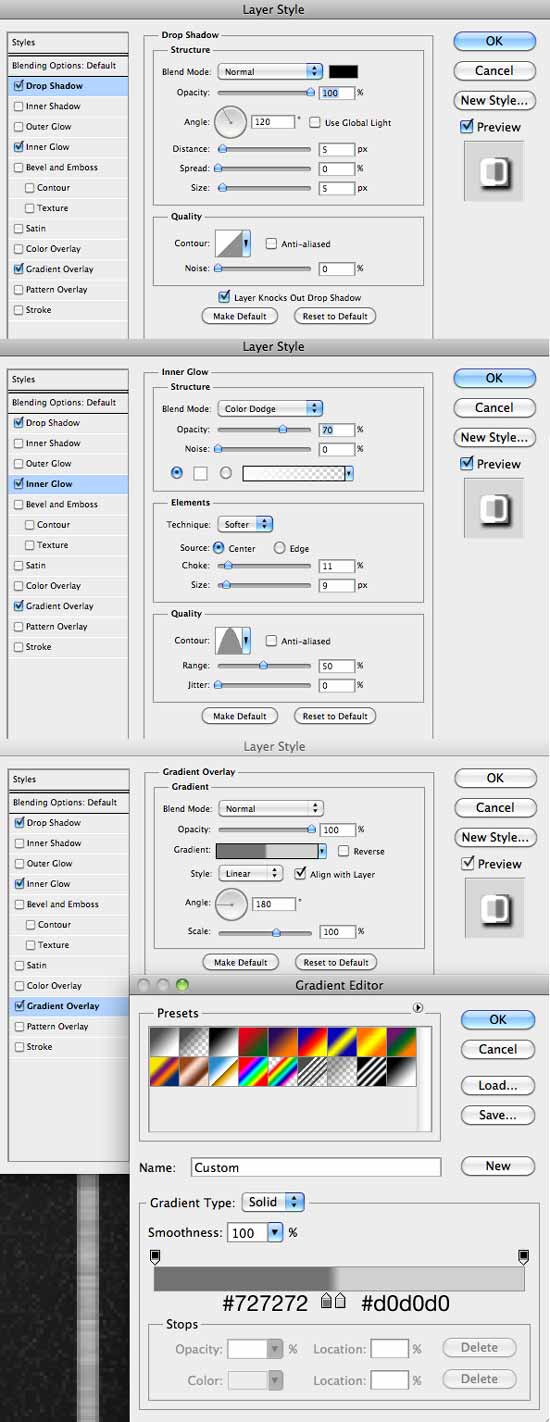
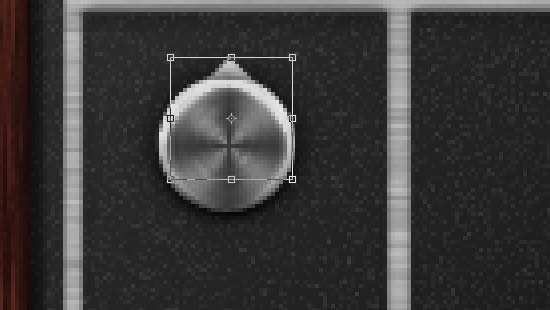 Open Layer Style properties and apply layer styles.
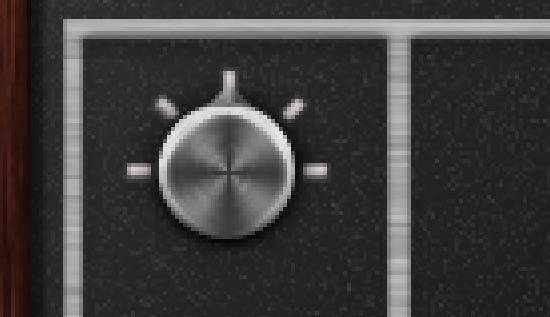
 With the Rectangle Tool (U) create grey (#e5dcdc) rectangles, rotate them and position like on the image below, and add some text.
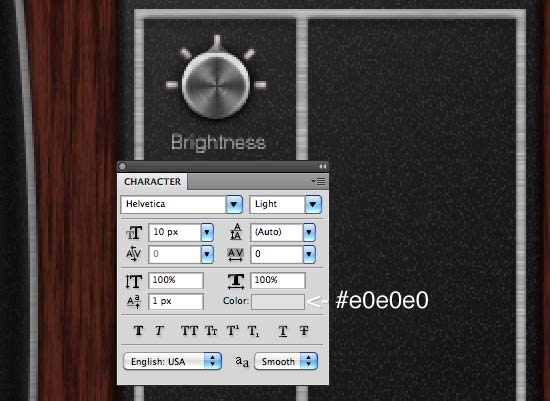 Select all layers used to create the button, then go to Layer > Group Layers. Duplicate the button group to add more buttons.
 Then duplicate the button base, resize it and drag below the original button base.
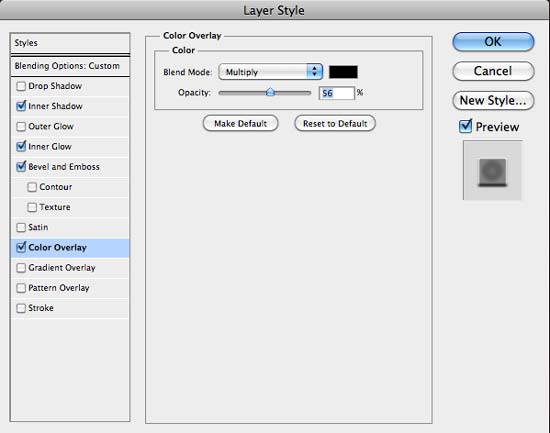
 Select the layer with Layer Styles, and change the Color Overlay to Black.
 Do the same for the Frequency button.
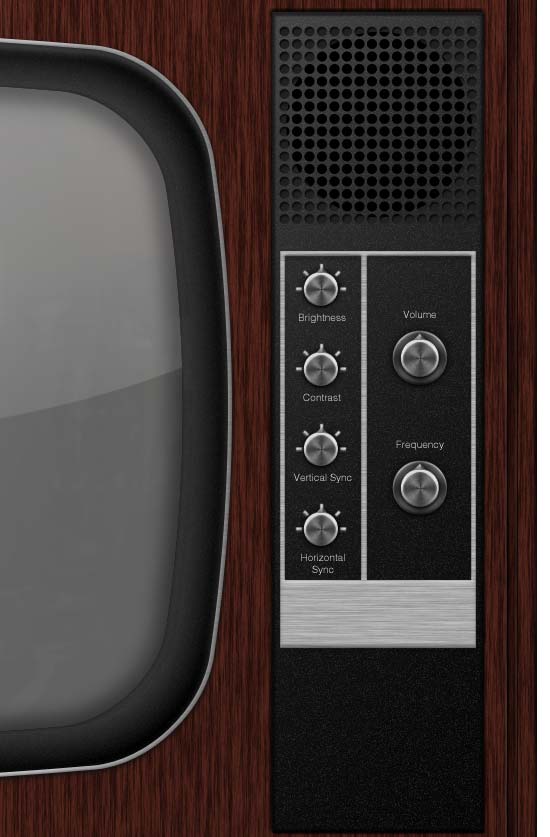
 Create new layer, add a Clipping Mask, fill layer with a black color. Add Noise by going to Filter > Noise > Add Noise, set the Amount to 20%, use Uniform for Distribution and tick Monochromatic. Set the Blend Mode to Soft Light.
 Duplicate this button, change the shape color to #a31f1f and lower the Opacity of the Noise layer to 50%.
 Finish this step by adding a company logo.
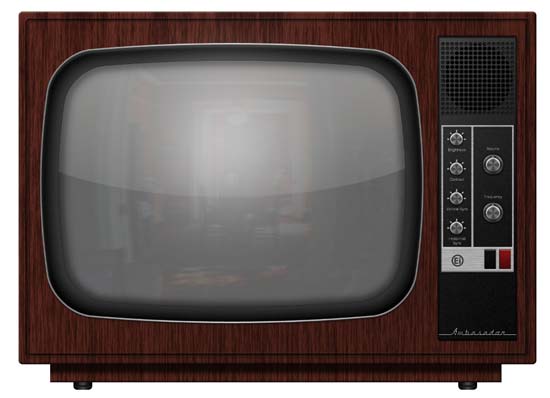
 Here's what we have right now.
 Then I added layer styles.

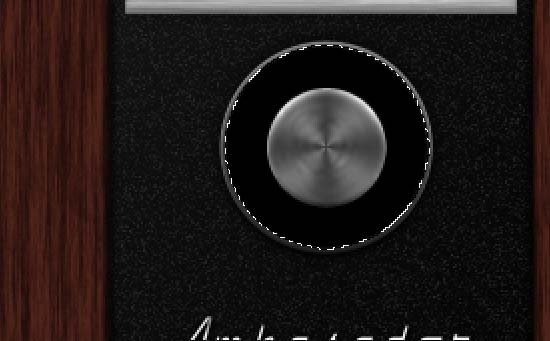
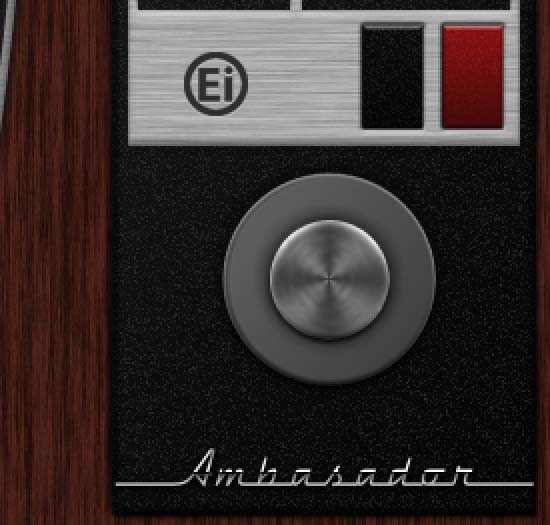 Make sure you are on the bigger circle, Cmd/Ctrl + click to create a selection, then go to Select > Modify > Contract and contract selection by 2px.
Create a new layer just above the big circle and fill the selection with a black color.
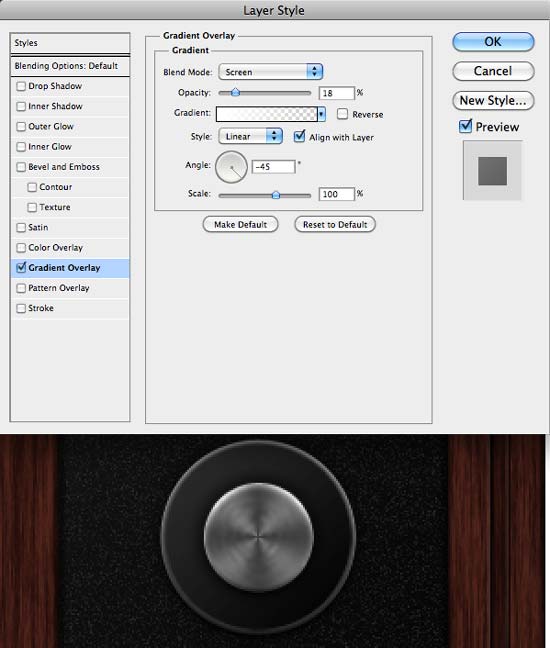
 Add Gradient Overlay from the Layer Style window.
 Type a number 1 and add a small Drop Shadow and Inner Shadow to make it more readable.
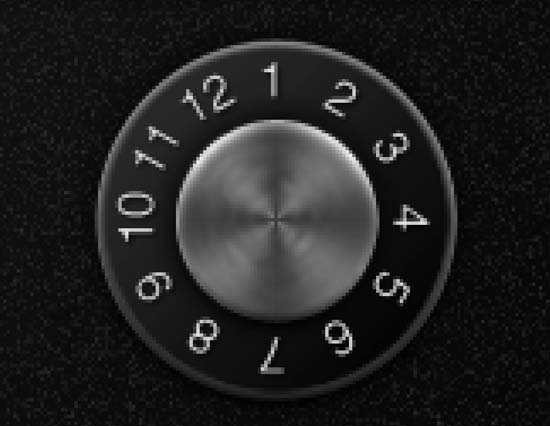
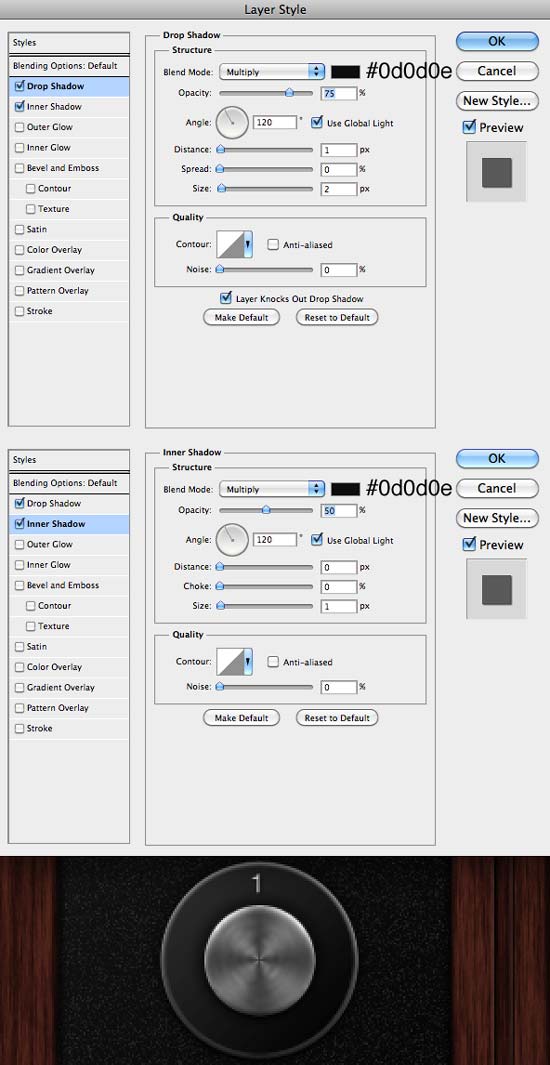 Now we need to add more numbers. Hit Cmd/Ctrl + Alt + T. Hold alt and move transformation pivot (crosshairs in the middle of transformation box) to the middle of the button. Shift + drag to rotate number 30 degrees. Repeat the transformation and duplication by pressing Cmd/Ctrl + Shift + Alt + T. Finally, change the number.
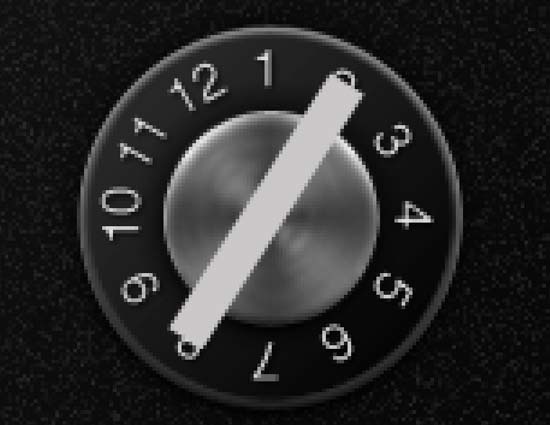
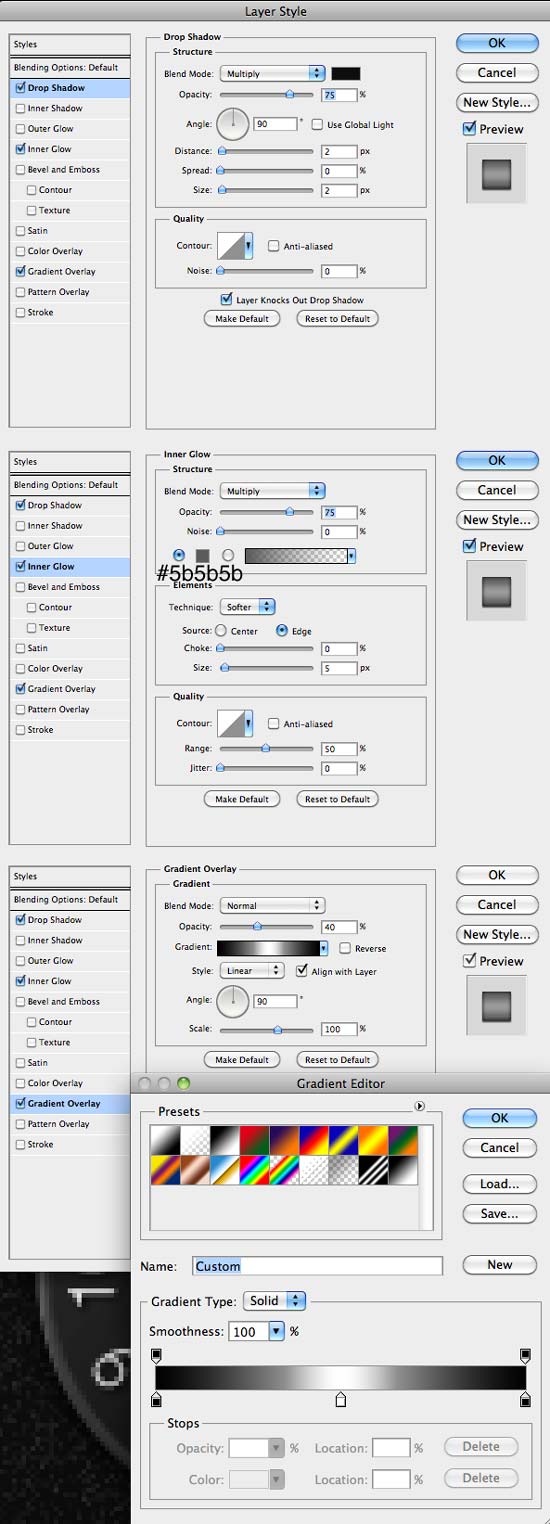
 Draw a grey (#cac8c8) rectangle in the middle of the circle to create a channel selector. Add layer styles as shown below.
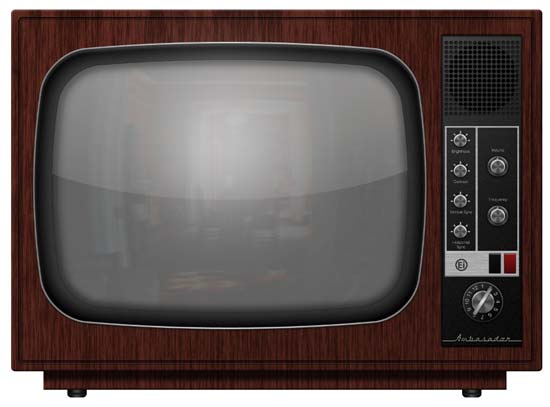 Finally add a shadow below TV and we are done!
 You can play around with the background to get a more attractive result.

Preview
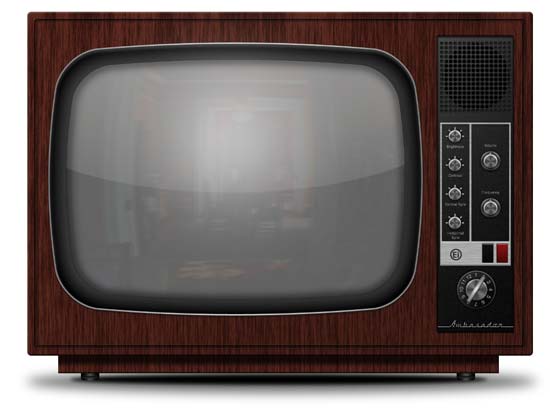
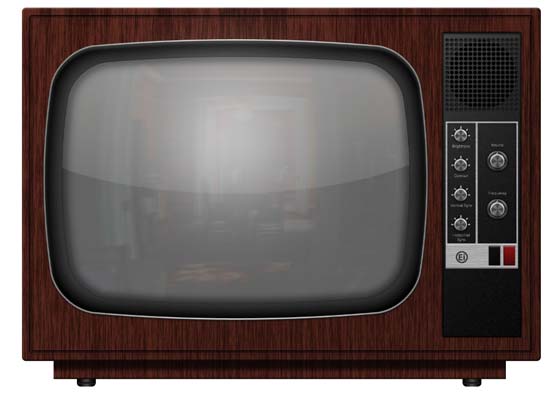
First, take a look at the image we'll be creating.
Step 1
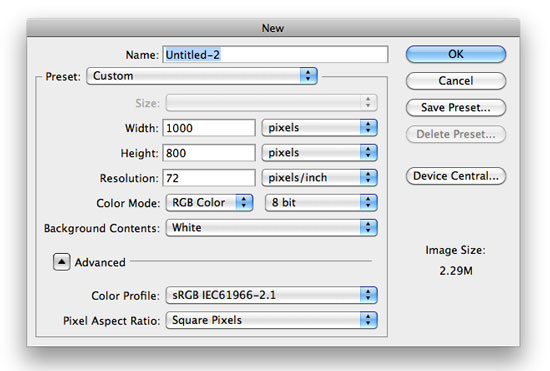
Open Photoshop and create a new document. I am using 1000x800 pixels. After that fill the background layer with white using the Paint Bucket Tool (G).
Step 2
Set Foreground and Background colors to #4a0d04 and #9f2810. Use the rounded rectangle tool with radius of 5px to create a dark brown (#4a0d04) rectangle. Rasterize this layer, then go to Filter > Render > Fibers. Set the Variance to 16 and Strength to 55, then apply.

 Drop down colors a bit using Hue/Saturation (Cmd/Ctrl + U),
 then apply following layer styles.
 Name this layer "body".
Step 3
Duplicate this layer (Cmd/Ctrl + J), position duplicated layer below original layer and move down a bit. Name this layer "base". With Rectangular Marquee Tool (M), create selection like on the picture below, and apply Layer Mask (Layer > Layer Mask > Reveal Selection) on "base" layer.

 Apply Bevel and Emboss to "base" layer.
 Create new layer above "base" and below "body" layer, give this layer a name "shadow", Cmd/Ctrl + click on "body" layer to create selection around it, and fill selection with black color (#000000). Move "shadow" layer few pixels down,
 apply Gaussian Blur with Radius set to 5px,
 Cmd/Ctrl + click on "base" layer mask to create selection, make sure you are on "shadow" layer, apply Layer Mask,

 and finally change the Blend Mode to Multiply and Opacity to 70%.
 Pick up Rounded Rectangle Tool (U) and with Radius set to 10px draw small rectangle - "foot", below "base" layer and apply Gradient Overlay from Layer Style.

 Create new layer just above "foot" layer, create Clipping Mask (Layer > Create Clipping Mask), fill it with black color, and add Noise.
 With Rectangle Tool (U) draw small rectangle and give this layer following layer styles.


 Repeat the process to create the other foot.
 With this we have finished basic TV shape.
Step 4
It's time to move on. Go back to "body" layer, duplicate this layer and scale it down using Free Transform Tool (Cmd/Ctrl + T). Cmd/Ctrl + click on layer thumbnail to create selection, go to Select > Modify > Contract and contract selection by 10px,
 hit Backspace on keyboard to delete selection.
 Set Fill to 0% and apply Inner Shadow, Bevel and Emboss, and Color Overlay.


Step 5
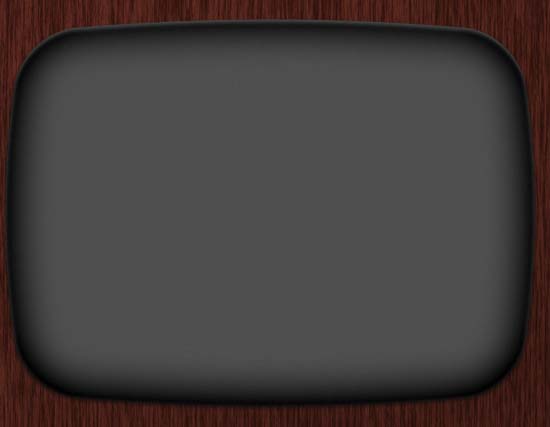
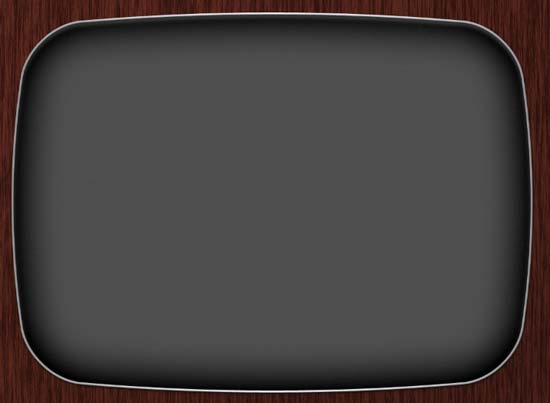
Now, we will start work on the screen. Using the Rounded Rectangle Tool with Radius of 100px draw black rectangle. Go to Edit > Transform Path > Wrap, from drop down menu choose Inflate and set Bend to 15%.
 Open Layer Style properties by double clicking on screen layer and apply following layer styles.

 Create new layer, apply Clipping Mask, fill the layer with black color and add Noise (Amount: 3%, Uniform, Monochromatic) and lower the Opacity to 80%.

Step 6
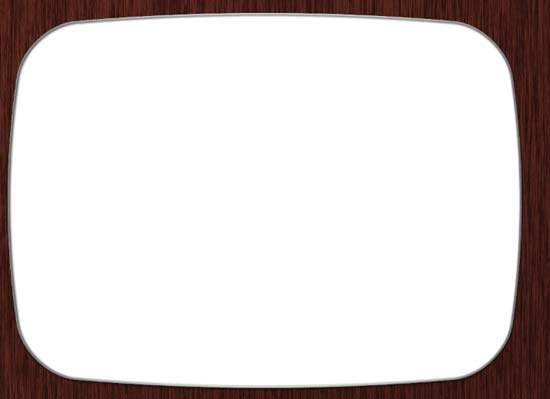
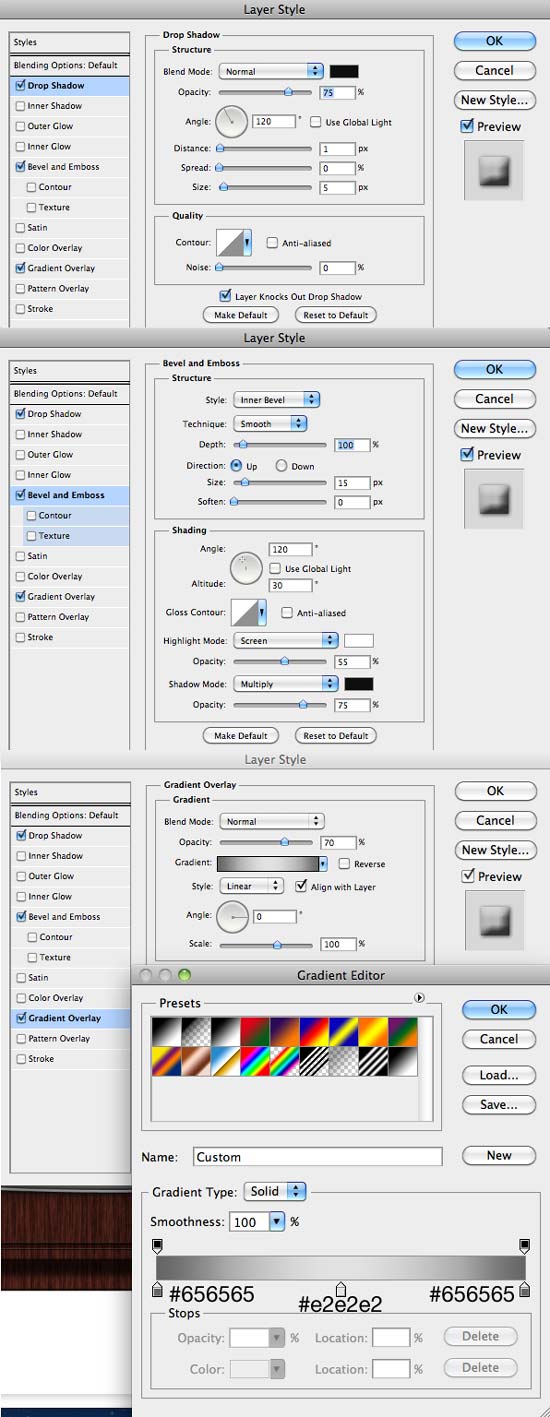
Let's create frame around black screen. Cmd/Ctrl + click on black screen layer thumbnail to make selection, go to Select > Modify > Expand and expand selection by 4px. Create new layer and fill selection with white color. Apply following layer styles to this layer:

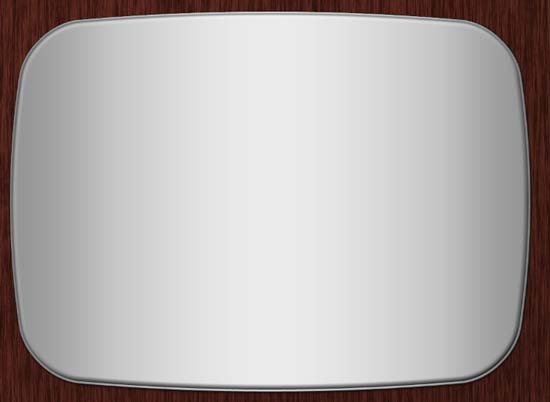
 Cmd/Ctrl + click on layer thumbnail to create selection, then go to Select > Modify > Contarct and contract selection by 4px, and finally apply Layer Mask (Layer > Layer Mask > Hide Selection).

Step 7
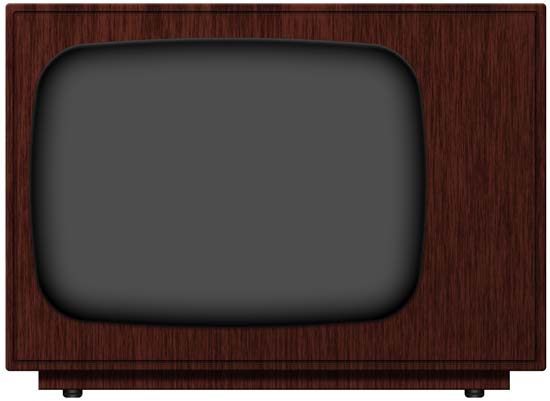
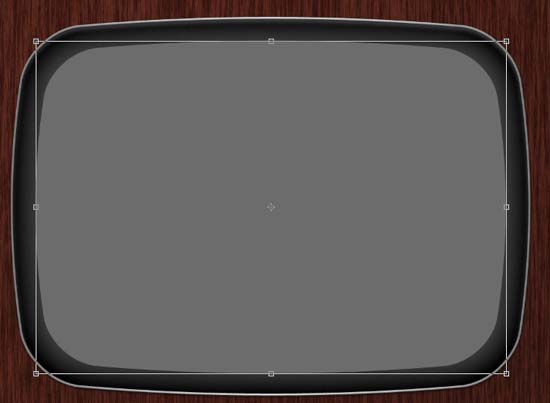
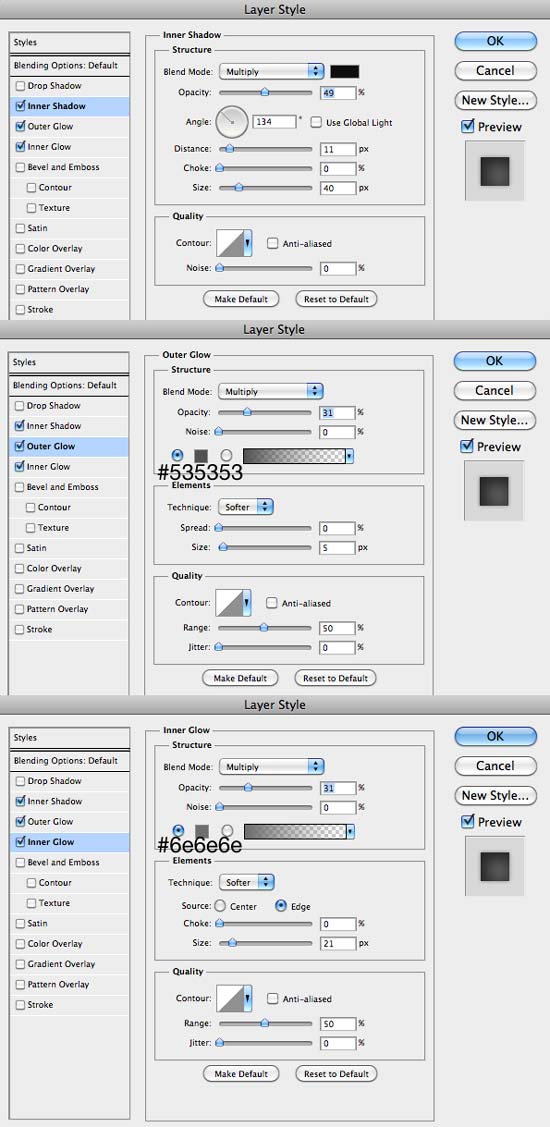
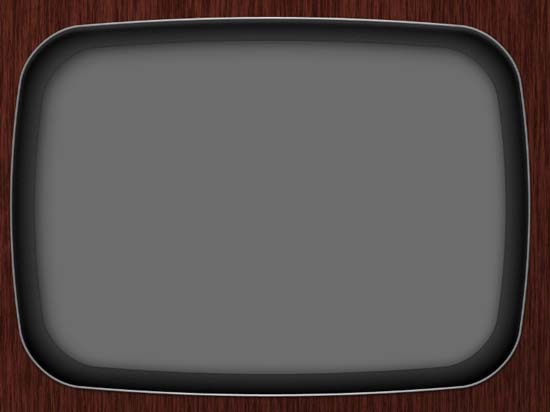
In this step we will make the main TV screen. Duplicate black screen layer, drag it on top of layers, scale it down (Cmd/Ctrl + T), change color to #6c6c6c, and add layer styles.

 It's now time to add the reflections. You can get the image that is reflected on the screen here.
Open it in Photoshop and drag it into your document, then scale and place over the main TV screen.
 Go to Edit > Transform > Wrap, choose Inflate and set Bend to 50%.
 Next, give this layer Gaussian Blur with a Radius of 1.5px, adjust Brighness and Contrast to -70 and 81 (Image > Adjustments > Brightness/Contrast),
 Cmd/Ctrl + click on main TV screen layer to load selection, make sure you are on reflected image and apply Layer Mask (Layer > Layer Mask > Reveal Selection),
 at the end change the Blend Mode to Overlay and set Opacity to 4%.
 Duplicate reflected image and move it couple pixels to the right. Change the Blend Mode to Color Burn and set Opacity to 8%.
 Cmd/Ctrl + click on main TV screen layer to load selection, create new layer on top, make sure that Foreground color is white, get the Gradient Tool, set the Gradient to Foreground to Transparent
 Pick Elliptical Marquee Tool (M), draw ellipse like on the image below,
 apply Layer Mask and set Opacity to 35%.
 Grab Brush Tool (B), and with large soft brush dub one white spot,
 give this layer a Gaussian Blur with Radius set to 20% and finally drop down the Opacity to 50%.
 Create new layer on top, load selection around main TV screen, set the Foreground color to black, and go to Edit > Stroke.

 Apply Gaussian Blur with radius set to 10px and set Opacity to 80%


Step 8
Using Rectangular Marquee Tool (M) draw selection and fill it with black color on new layer. Give this layer Drop Shadow, Inner Shadow and Bevel and Emboss from Layer Style panel.
 Create new layer on top, add Clipping Mask (Cmd/Ctrl + Alt + G), reset Foreground and Background colors to black and white by pressing D on keyboard, fill the layer with Foreground color (Alt + Backspace) go to Filter > Noise > Add Noise, set the Amount to 5%, for Distribution choose Gaussian and make sure that Monochromatic is checked.
 Cmd/Ctrl + click black rectangle, set the Foreground color to white, click Layer > New Fill Layer > Gradient.

Step 9
Let's add speaker hole. Start by drawing one small circle. Select its path, hit Cmd/Ctrl + Alt + T, and move it to the right.
 Duplicate again with Cmd/Ctrl + Shift + Alt + T. Repeat this until we have a row of holes.
 We still need more holes. Select all paths, hit Cmd/Ctrl + Alt + T, move it down. Repat this until we have a lot circles.
 Add Inner Shadow and Color Overlay from Layer Style.

 Draw a black circle.
 Cmd+click small circles to create selection.
 Add Layer Mask so the black circle will be inside the holes.

Step 10
Set the Foreground and Background colors to #adacac and #4e4e4e respectively, with Rectangular Marquee Tool (M), create selection like on the image below and fill with the Foreground color, and add following Layer Styles.
 Create new layer on top, add Clipping Mask, fill layer with #adacac color, and then add noise by choosing Filter > Noise > Add Noise from the main menu with settings of 30%, Gaussian and Monochromatic.
 To create the brushed metal effect, blur the noise by choosing Filter>Blur>Motion Blur with an angle of 0 and a distance of 55 pixels.
 Next, grab Rectangular Maqruee Tool (M) and draw 2 selections like shown on the image below, then go to Layer > Layer Mask > Hide Selection.


Step 11
In this step we will create our command buttons. With the Ellipse Tool (U) create a grey (#969696) circle and add drop shadow. Select the Gradient Tool (G) then click on the color preset. Change the colors so you have something like the image below.
 Click holding Cmd/Ctrl on the thumb of the circle layer to create a marquee selection, cretae new layer above circle layer, then go to Layer > New Fill Layer > Gradient, select the Angle Gradient type and fill the layer with the gradient preset we created.
 Change the Blend Mode to Overlay and Opacity to 50%.
 Duplicate the circle layer and fill it with white. Change the order so it is on top of the other layers. After that change the Fill Opacity to 0% and add Layer Styles:
 Duplicate the circle layer and move to the top, make sure it is white. After that go to Filter > Pixelate > Mezzotint. Use Fine Dots.
Create a Marquee Selection of the circle and then go to Filter > Blur > Radial Blur. Use 60 for the Amount, Spin for the Blur Method and Best for the Quality.
 Set the Blend Mode to Multiply and Opacity to 50%.
 With the Rectangle Tool (U) create a square holding Shift, then rotate the square (45 degree) and position it like the image below.
 Open Layer Style properties and apply layer styles.
 With the Rectangle Tool (U) create grey (#e5dcdc) rectangles, rotate them and position like on the image below, and add some text.

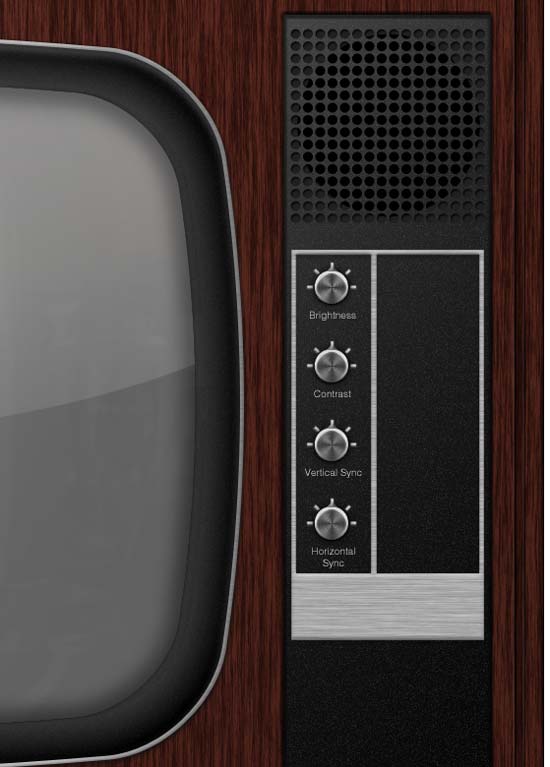
 Select all layers used to create the button, then go to Layer > Group Layers. Duplicate the button group to add more buttons.

Step 12
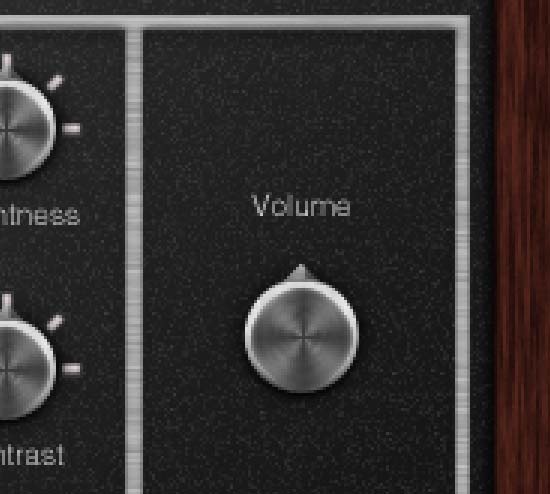
In this step we will add Volume and Frequency buttons. To do that duplicate the button group again, and hide grey rectangles. Then duplicate the button base, resize it and drag below the original button base.
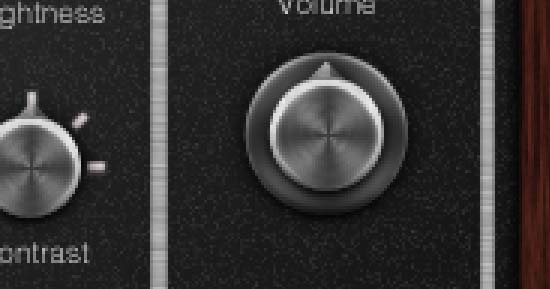
 Select the layer with Layer Styles, and change the Color Overlay to Black.
 Do the same for the Frequency button.

Step 13
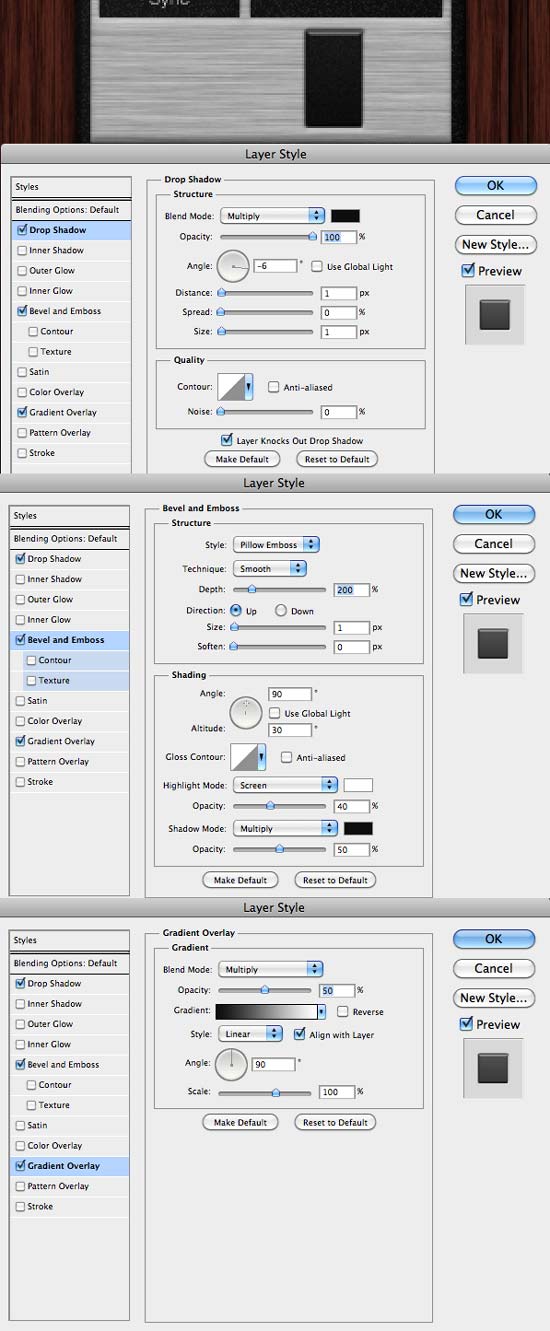
Draw a dark grey (#373737) rectangle using the Rectangle Tool (U) to create the button, then open the Layer Style panel and add some styles to this rectangle. Create new layer, add a Clipping Mask, fill layer with a black color. Add Noise by going to Filter > Noise > Add Noise, set the Amount to 20%, use Uniform for Distribution and tick Monochromatic. Set the Blend Mode to Soft Light.
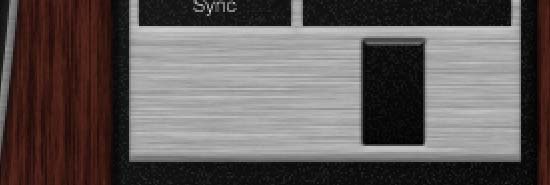
 Duplicate this button, change the shape color to #a31f1f and lower the Opacity of the Noise layer to 50%.
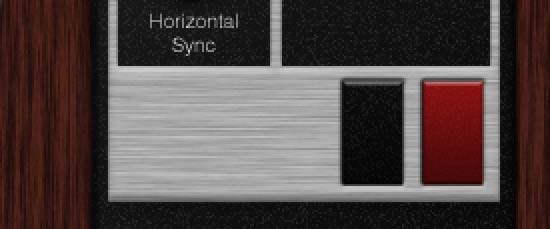
 Finish this step by adding a company logo.
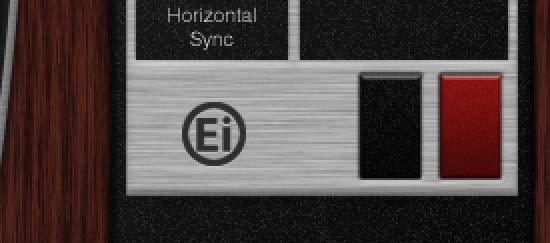
 Here's what we have right now.

Step 14
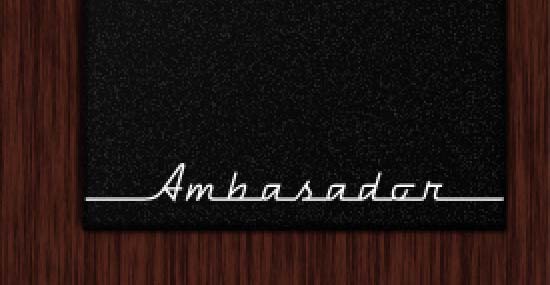
It's time to add a model name using DymaxionScript font. I added Ambasador and then with rasterized the layer and stretched the end of the A and the O to fill the black box. Then I added layer styles.


Step 15
We will finish our TV by adding a Channel Selector Button. Duplicate the Volume button, make it a bigger, then select the layer below the base button layer, and resize it even more. Make sure you are on the bigger circle, Cmd/Ctrl + click to create a selection, then go to Select > Modify > Contract and contract selection by 2px.
Create a new layer just above the big circle and fill the selection with a black color.
 Add Gradient Overlay from the Layer Style window.
 Type a number 1 and add a small Drop Shadow and Inner Shadow to make it more readable.
 Now we need to add more numbers. Hit Cmd/Ctrl + Alt + T. Hold alt and move transformation pivot (crosshairs in the middle of transformation box) to the middle of the button. Shift + drag to rotate number 30 degrees. Repeat the transformation and duplication by pressing Cmd/Ctrl + Shift + Alt + T. Finally, change the number.
 Draw a grey (#cac8c8) rectangle in the middle of the circle to create a channel selector. Add layer styles as shown below.


 Finally add a shadow below TV and we are done!
 You can play around with the background to get a more attractive result.
