Create a Dark Knight Rises Style Wallpaper in 3 Easy Steps
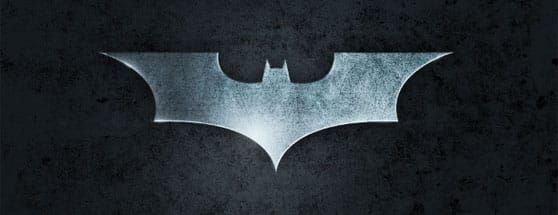
I'm a long time Batman fan, and I love the look of these newer films. The textured metal bat symbol is great eye candy. Using that basic look of the film logo, lets see if we can create something similar in just a few simple steps.First up, here's a look at what we'll be creating.

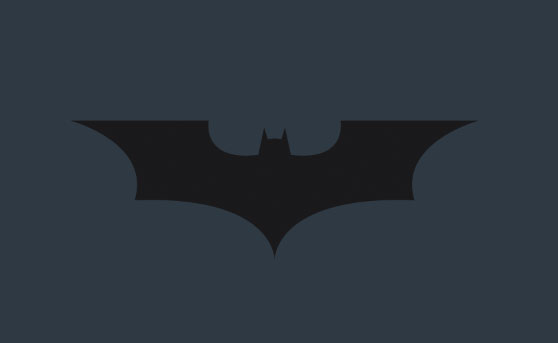
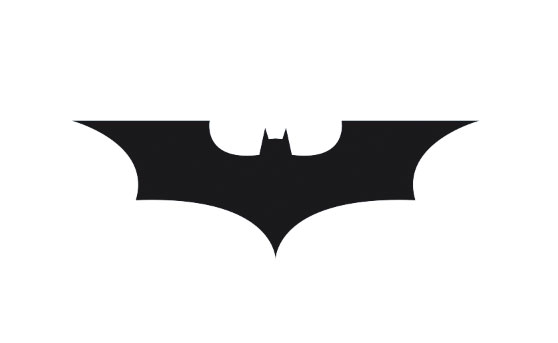 Create a new Photoshop document at 1920x1200 (or whatever screen resolution you are targeting). Set the background color to #2e3943. Copy and paste the bat symbol vector on a new layer within the document and scale it to the center.
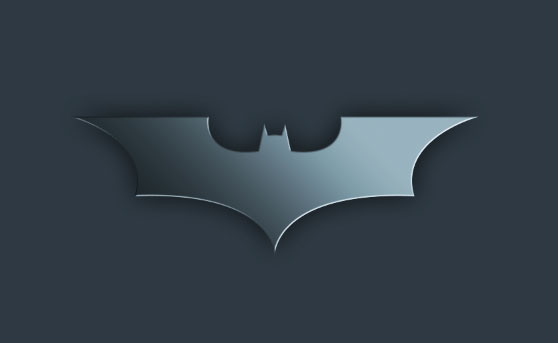 For the textures, I combined two different files. The first is from a collection called Scratched Metal here at WeGraphics. If you're not a member of WeGraphics any good metal texture will give a similar effect. The second texture is by wojtar-stock and can be found here.
Place the first texture on a layer above the symbol, scale it down so that it just covers the symbol, desaturate it (Cmd+Shift+U) and then (Cmd+click) the bat symbol's layer thumbnail to load the layer as a selection. Press (Cmd+Shift+i) to invert the selection and press the delete key to remove any texture outside the bat symbol shape. Now set the texture's layer blend mode to Overlay.
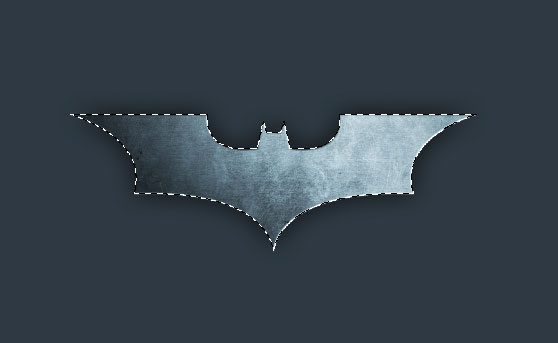 Now do the exact same thing with the second texture file.
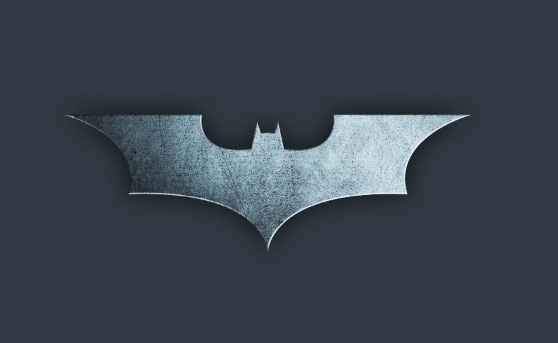 To create the highlights, I simply took a soft white brush set to 30% opacity and used different brush sizes to paint these highlights.
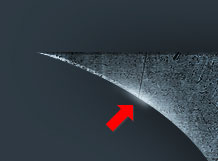 I placed these highlight in areas that I felt the light source may be hitting. I also used a dark brush to paint some shadows.
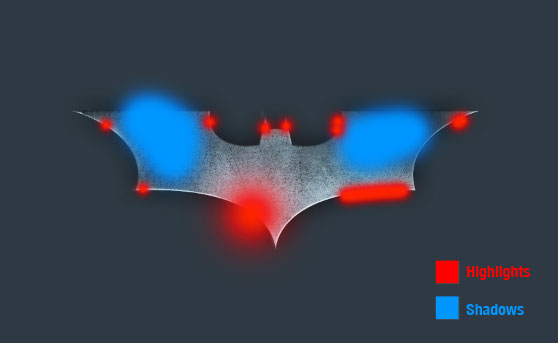
 The image below shows the areas where I painted shadows and highlightghts.
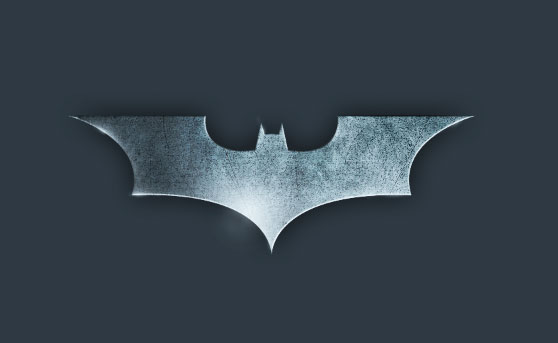
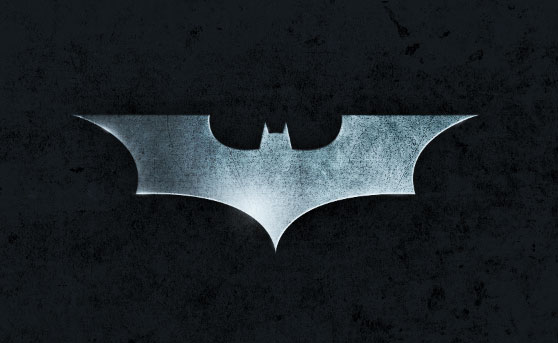 Finally, I used a large soft white brush with a low opacity to paint subtle light on a layer above the background texture. I painted this light at a slight diagonal.
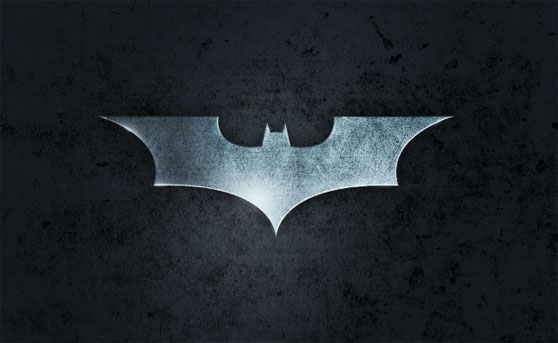 That's it! If you'd like to download my version as a 1920x1200 desktop wallpaper, I've made it available here.

Step 1 - Drawing the Bat Symbol
I used the pen tool in Illustrator to draw my bat symbol. If you're an Illustrator guru, jump in and draw a similar shape, or feel free to embellish it a bit with your own creative flare. If you're not familiar with drawing in Illustrator, you can download my vector bat symbol here. Hint: If you are drawing your own symbol, only draw one side, and then duplicate and flip it so that both sides are identical. Create a new Photoshop document at 1920x1200 (or whatever screen resolution you are targeting). Set the background color to #2e3943. Copy and paste the bat symbol vector on a new layer within the document and scale it to the center.

Step 2 - Applying Texture and Lighting to the Bat Symbol
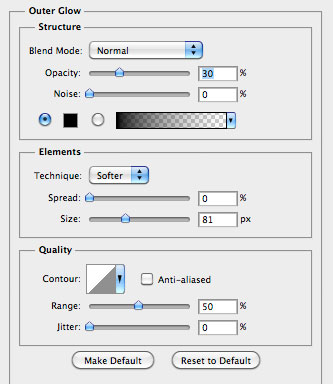
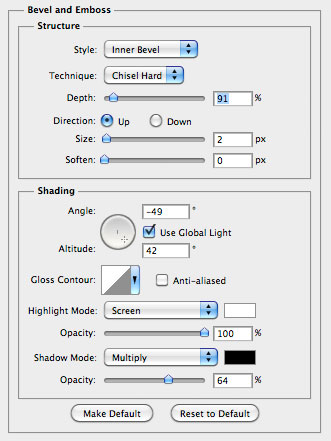
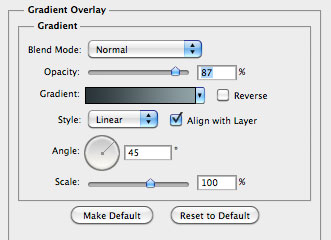
Next up, apply the following layer styles to the bat symbol layer.


 For the textures, I combined two different files. The first is from a collection called Scratched Metal here at WeGraphics. If you're not a member of WeGraphics any good metal texture will give a similar effect. The second texture is by wojtar-stock and can be found here.
Place the first texture on a layer above the symbol, scale it down so that it just covers the symbol, desaturate it (Cmd+Shift+U) and then (Cmd+click) the bat symbol's layer thumbnail to load the layer as a selection. Press (Cmd+Shift+i) to invert the selection and press the delete key to remove any texture outside the bat symbol shape. Now set the texture's layer blend mode to Overlay.
 Now do the exact same thing with the second texture file.
 To create the highlights, I simply took a soft white brush set to 30% opacity and used different brush sizes to paint these highlights.
 I placed these highlight in areas that I felt the light source may be hitting. I also used a dark brush to paint some shadows.
 The image below shows the areas where I painted shadows and highlightghts.

Step 3 - Adding a Background Texture and Lighting
Last up, we'll add a background texture with a little bit of subtle lighting. For the background texture I used a selection from the White Grunge collection here at WeGraphics. Again, if you're not a member of WeGraphics (you should be) you can use any other subtle gray or white texture. It needs to be high resolution and no too busy that it distracts from the bat symbol. I placed the texture on a background layer and inverted it (Cmd+i) and then set the layer's blend mode to Opacity. Finally, I used a large soft white brush with a low opacity to paint subtle light on a layer above the background texture. I painted this light at a slight diagonal.
 That's it! If you'd like to download my version as a 1920x1200 desktop wallpaper, I've made it available here.
