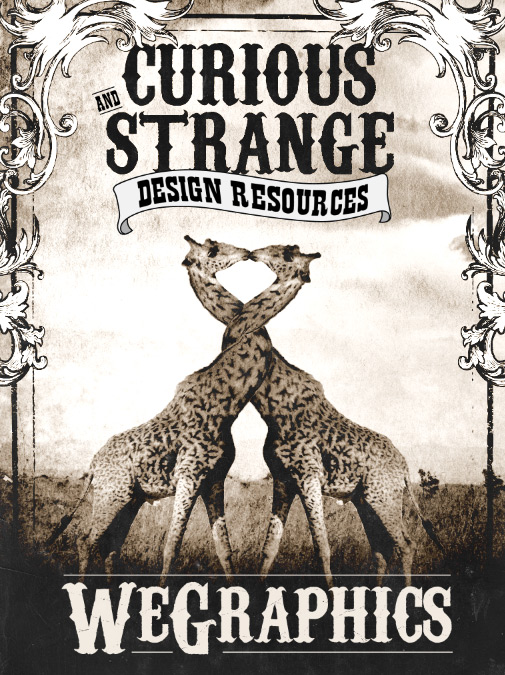
How to Create a Vintage Circus Poster with the Photoshop Puppet Warp Tool
I've marveled at the Puppet Warp Tool in Photoshop for quite some time, but I've never actually used it. Not that I didn't understand how, it was just that I never had the need. So I decided to sit down and create a concept that would utilize this tool in a cool way, that would be fun and interesting. The result is this tutorial on creating a vintage style circus poster design.
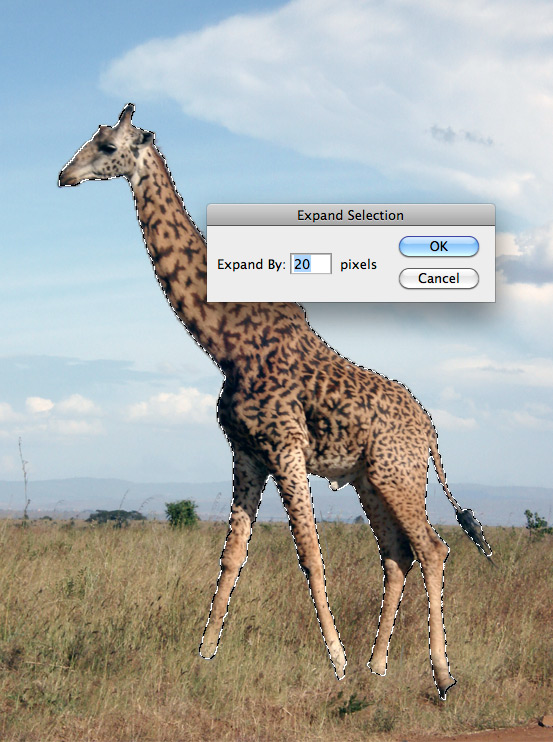
 I then copied (Ctrl+C) the giraffe. Next, I expanded the selection by going to (Select | Modify | Expand). I chose 20 pixels.
 Then to remove the giraffe we need to click (Edit | Fill) and from the windows "Use" drop down choose "Content-Aware", and click Okay.
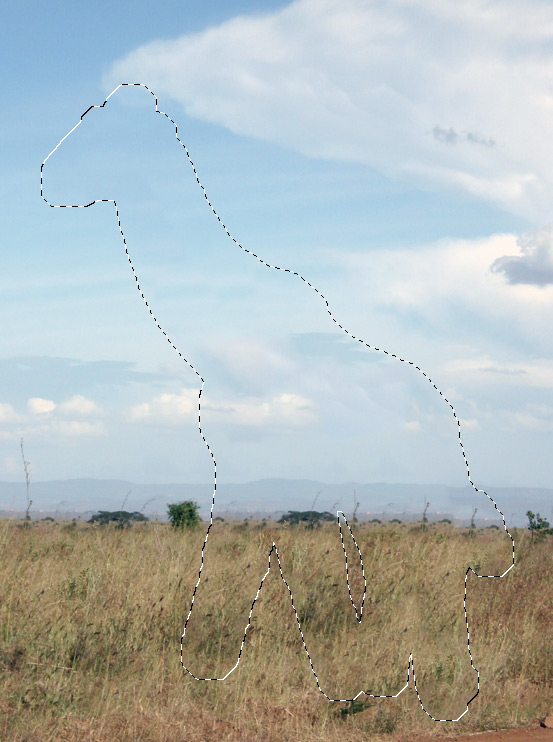 The background fills in the missing space from removing the giraffe.
 Next begin clicking the giraffes to add points similar to what I have done below.
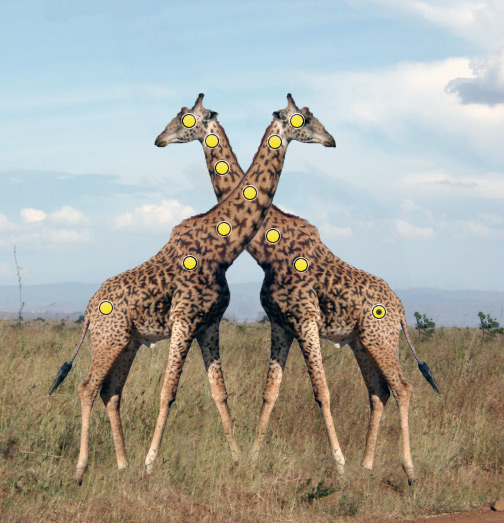 You'll be able to edit the giraffes by clicking and dragging these points. Our goal is to get their necks to wind together. Similar to what I've done below.
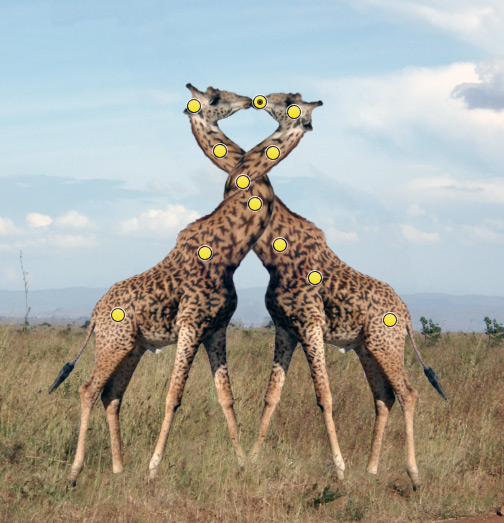 Press enter to render the effect.
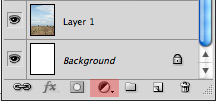 Now let's give the image a slight brown tone with a sold fill layer. I used #ab9d8d for the color.
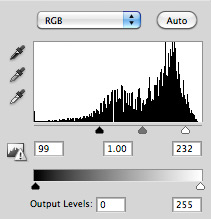
I also added a Levels adjustment layer with the following settitngs.
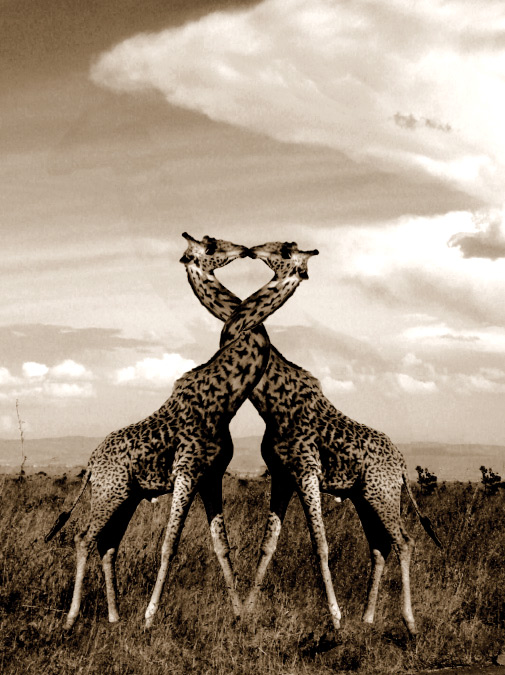
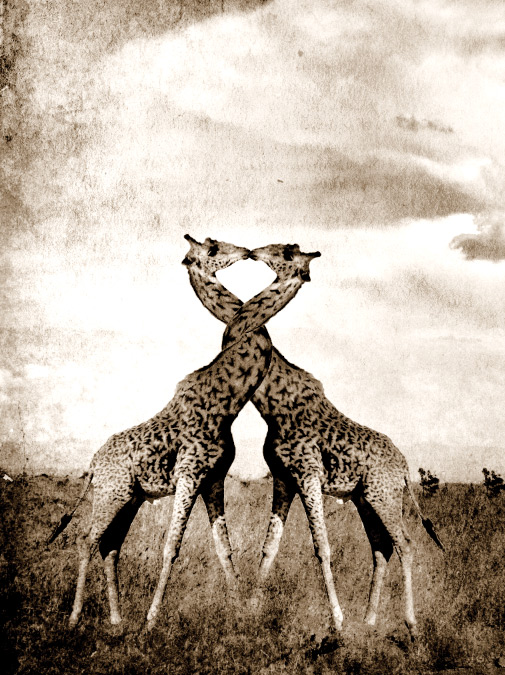
 And here's where we are...

Inspiration
I knew I wanted to create something with sort of a vintage circus feel to it, but with more of a strange curiosities or oddities theme. Something a little more sideshow strange. I did a little research and found some old posters, but I knew I wanted to push the envelope a little more... Enter the Puppet Warp Tool. Just the name of this PS feature sounds like something from a sideshow.
Getting Started
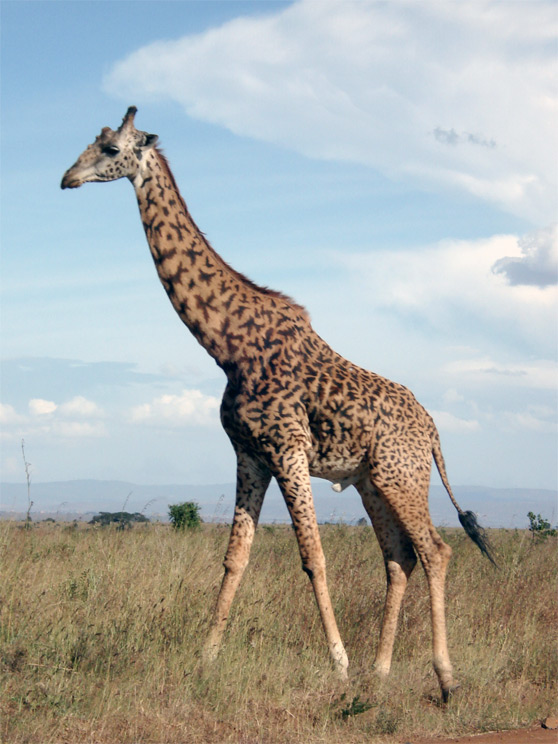
With some inspiration found and a concept in mind I started looking for images. I stumbled onto this one which fit the bill for what I had in mind. You can download it here.
Step 1
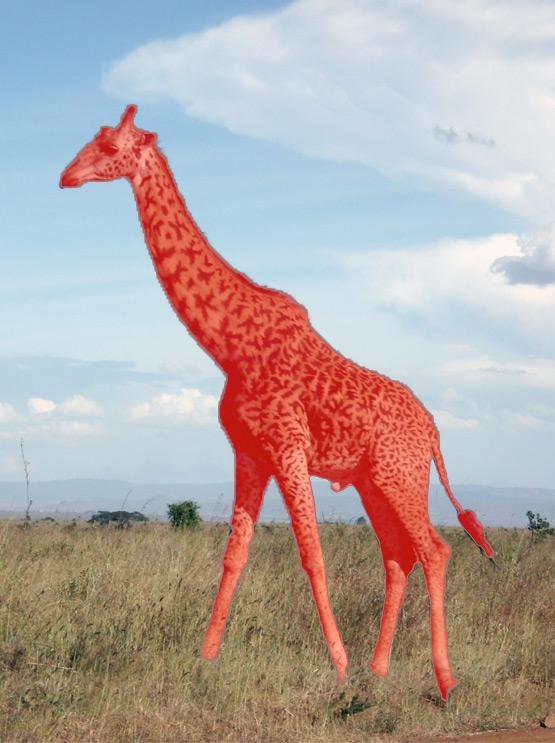
To use the Puppet Warp Tool on the giraffe we'll need to remove him from the background. I did a very quick selection using the Quick Selection Tool (W) and the Quick Mask Mode. I then copied (Ctrl+C) the giraffe. Next, I expanded the selection by going to (Select | Modify | Expand). I chose 20 pixels.
 Then to remove the giraffe we need to click (Edit | Fill) and from the windows "Use" drop down choose "Content-Aware", and click Okay.
 The background fills in the missing space from removing the giraffe.
Step 2
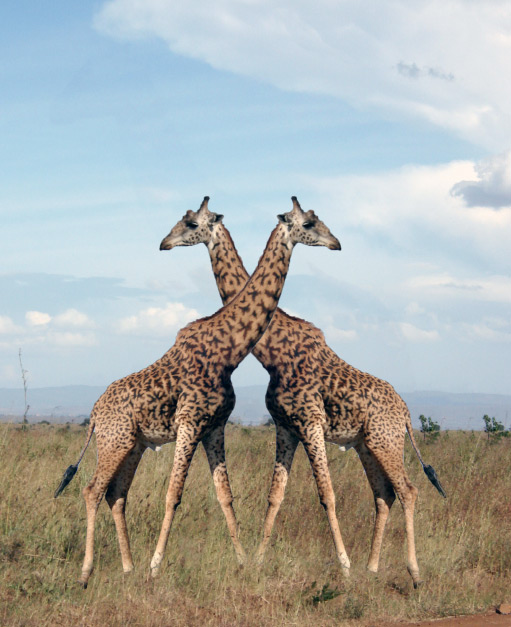
Now paste (Ctrl+V) the giraffe from the clipboard onto a new layer. Go ahead and paste a second giraffe as well onto another new layer. Select the second giraffe and choose (Edit | Transform | Flip Horizontal). Now we have two giraffes facing each other. Lets move them close enough so that their necks cross like the example below. Lets also merge them into one layer (Cmd + E).
Step 3
Now lets apply the puppet warp. With the giraffes layer selected go to (Edit | Puppet Warp). The top tool bar changes with some options. For Density set the drop down to More Points. Next begin clicking the giraffes to add points similar to what I have done below.
 You'll be able to edit the giraffes by clicking and dragging these points. Our goal is to get their necks to wind together. Similar to what I've done below.
 Press enter to render the effect.
Step 4
Now we have our central focus for the poster. At this stage I want to begin establishing the style and look of a vintage circus poster. First, I want to desaturate the entire image. We'll do this by adding a new black and white adjustment layer. Now let's give the image a slight brown tone with a sold fill layer. I used #ab9d8d for the color.
I also added a Levels adjustment layer with the following settitngs.
 And here's where we are...

Step 5
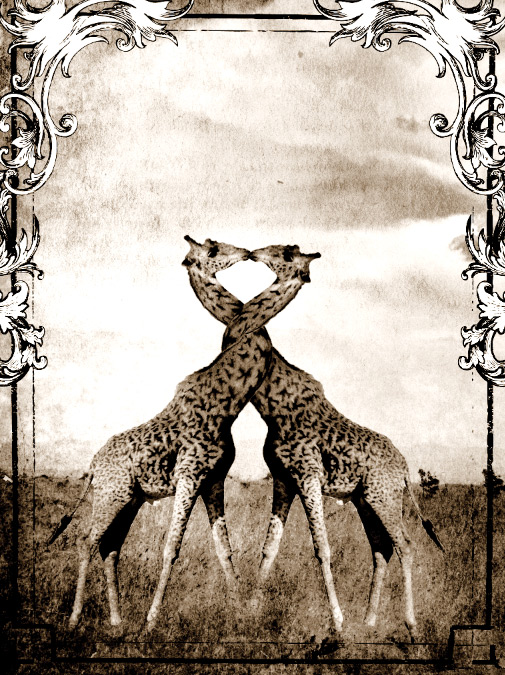
Now I'm going to drop in a texture for good measure. I grabbed image 1 from the the Subtle Grunge Textures Vol 2 set here at WeGraphics. I placed the texture below my adjustment layers and set the blend mode to Overlay for the following result.
Step 6
Now lets add some background elements. I chose a few vectors from the Ornate Scroll and Frames and Baroque Ornaments vector sets here at WeGraphics. I built out the borders as follows.
Step 7
Now we'll add some typography to complete the layout. I grabbed two fonts, Carnevalee Freakshow for the title and Showguide for the subtitle. I arranged them as follows using a black gradient at the bottom behind the title and a banner from the Vector Ribbons set behind the subtitle.