Photoshop Quick Tip: Turn Any Photo into a Screen Printed Graphic
Screen printed graphics have a certain retro look and feel, which I love. Recently, I set out to find an easy way to recreate this look in Photoshop. Below are the steps I took to transform a photo into a screen print.
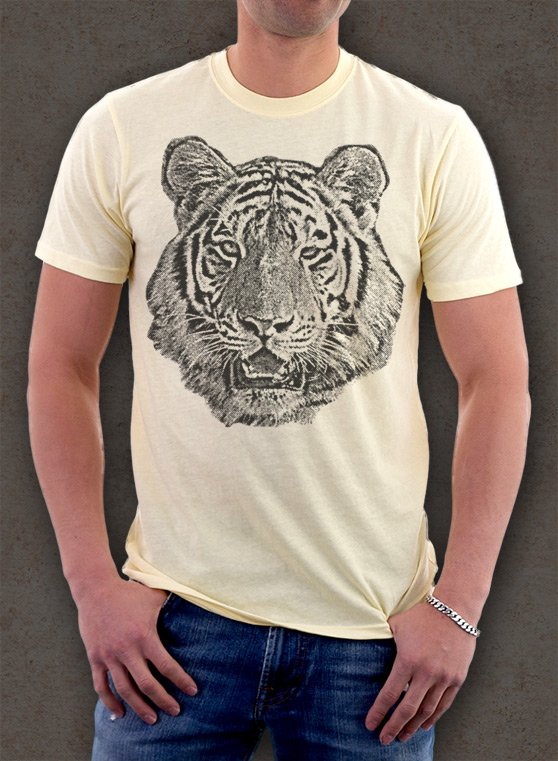
First up, Here's a look at what we'll be creating.
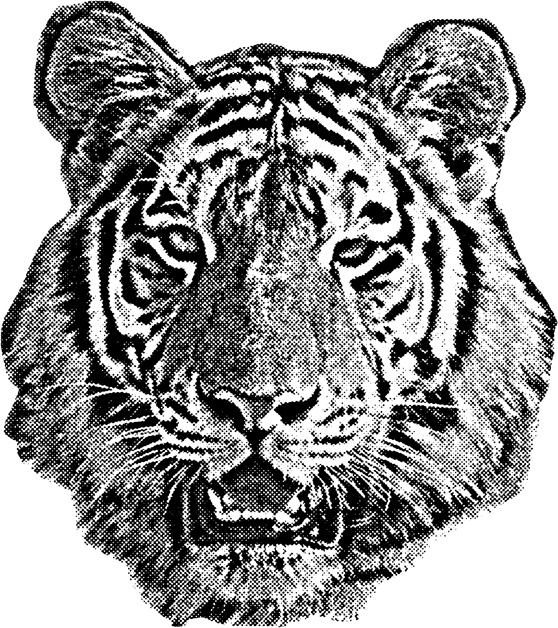
 Create a new document (Cmd+N). The sizing will already be set based on the copy. Press okay, and then (Cmd+V) to paste the tiger onto the new document.

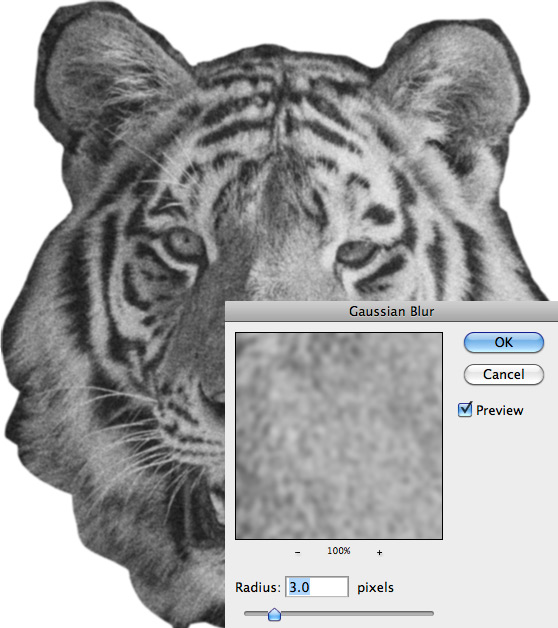
 Next, add a Gaussian Blur (Filter | Blur | Gaussian Blur) with a setting around 3.
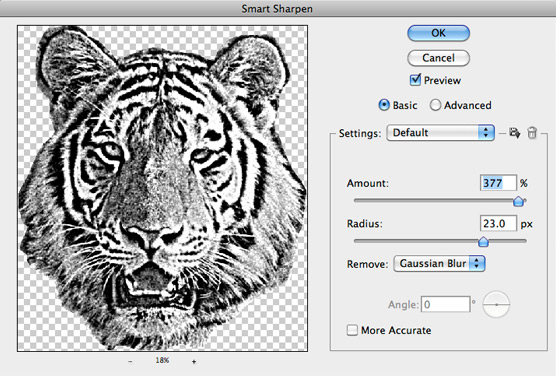
 Now we're going to apply a Smart Sharpen (Filter | Sharpen | Smart Sharpen) to add that final bit of roughness to the image.
 From here you can switch back to Grayscale mode and then back to RGB. I placed the graphic in this mockup file to display the effect.
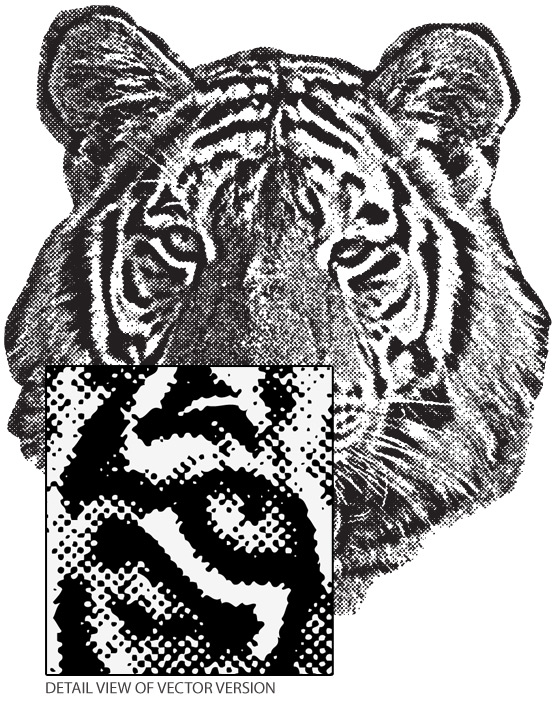
 For use in your vector artwork you could also take the graphic over to Illustrator and run an Auto Trace. Below is an auto traced vector. I used the One Color Logo preset.


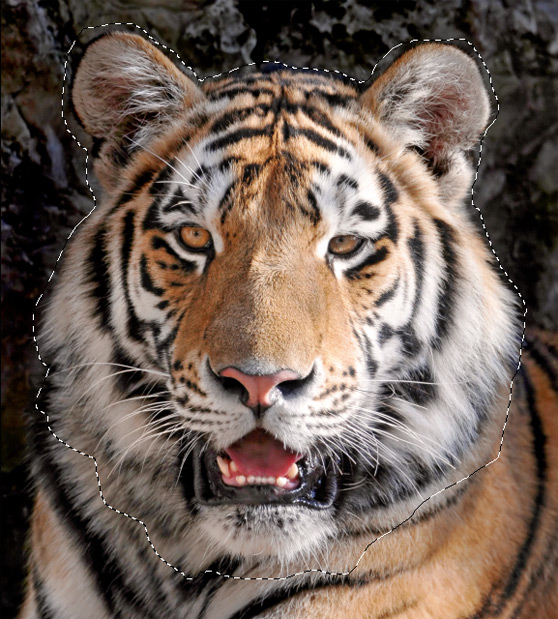
To start off, grab a good photo that you would like to transform to a screen print image. I used this awesome tiger photo by Tambako the Jaguar.
Step 1
Open the photo in Photoshop, and create a very rough selection around the tiger's face using the Lasso Tool (L). Press (Cmd+C) to copy the selection. Create a new document (Cmd+N). The sizing will already be set based on the copy. Press okay, and then (Cmd+V) to paste the tiger onto the new document.

Step 2
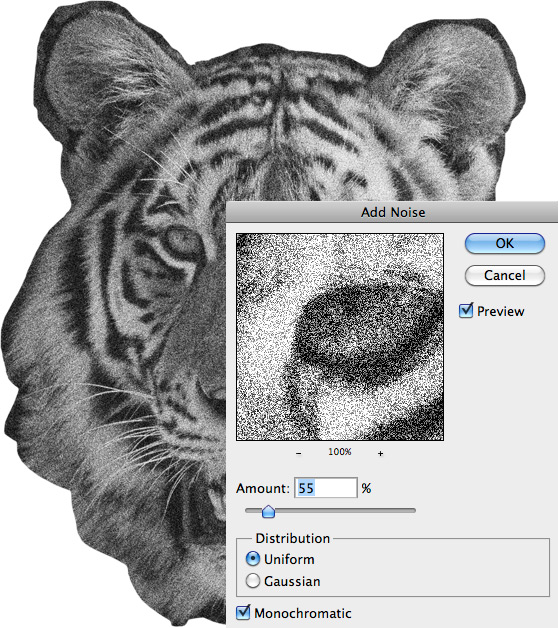
Now let's roughen up the photo to make it look like something from an old photo copier. Desaturate the image by pressing (Cmd+Shift+U). Then select (Filter | Noise | Add Noise). I used a setting of 55% for the amount. Next, add a Gaussian Blur (Filter | Blur | Gaussian Blur) with a setting around 3.
 Now we're going to apply a Smart Sharpen (Filter | Sharpen | Smart Sharpen) to add that final bit of roughness to the image.

Step 3
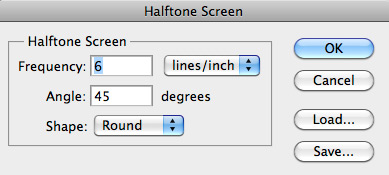
For the final step we need to convert the image to Grayscale (Image | Mode | Grayscale). You can select to flatten the image when prompted. Then we need to select (Image | Mode | Bitmap). I selected 72dpi for my output, and Halftone Screen for the method. For the Halftone Screen I used the following settings.
 From here you can switch back to Grayscale mode and then back to RGB. I placed the graphic in this mockup file to display the effect.
 For use in your vector artwork you could also take the graphic over to Illustrator and run an Auto Trace. Below is an auto traced vector. I used the One Color Logo preset.
