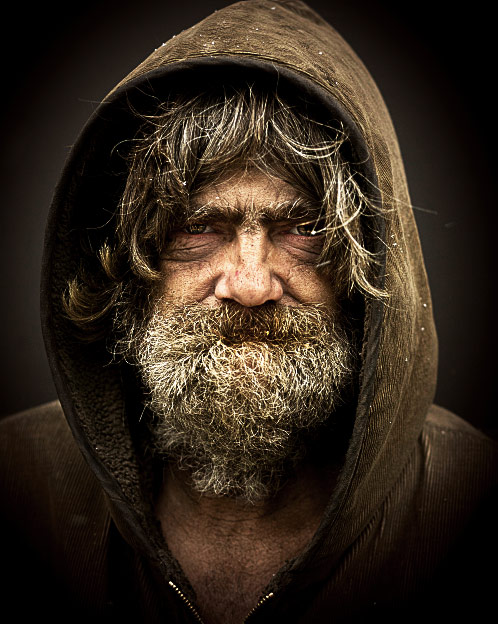
Photoshop Quick Tip: Create a Dragan Style Portrait Effect in 5 Steps
If you're a photo buff of any level, you've most likely heard of or seen the amazing work of Andrzej Dragan. His portraits have a very high contrast and color style all their own. The effect is stunning and eye catching. It reveals a lot about the subject that the naked eye doesn't get to see. A similar effect can be created in Photoshop with just a few simple steps. Lets take a look.
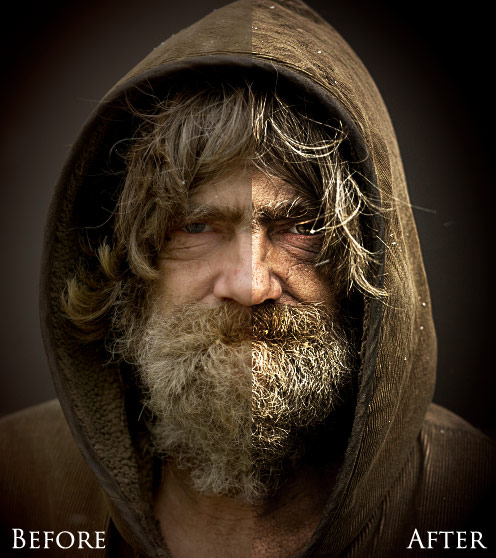
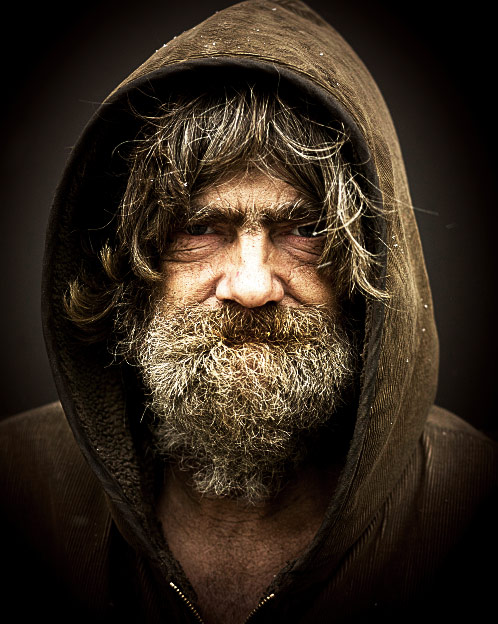
Here's a look at what we'll be doing with this portrait. If you want to use the same image, you can download it here.
 Now set this layer's blending mode to Overlay.
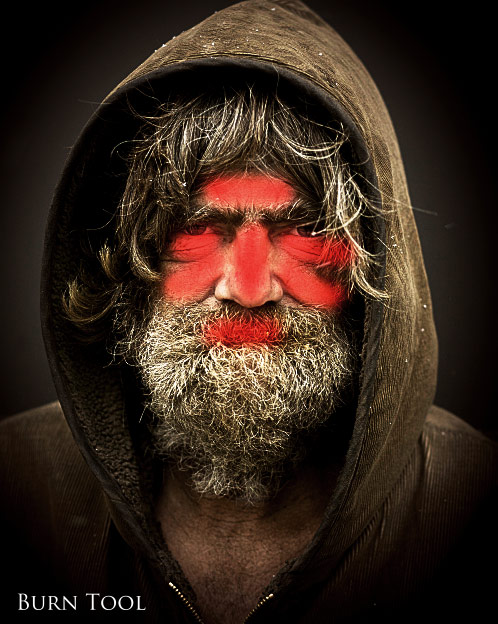
 Use the Burn Tool (O) with Exposure set to 50% to darken the following areas.
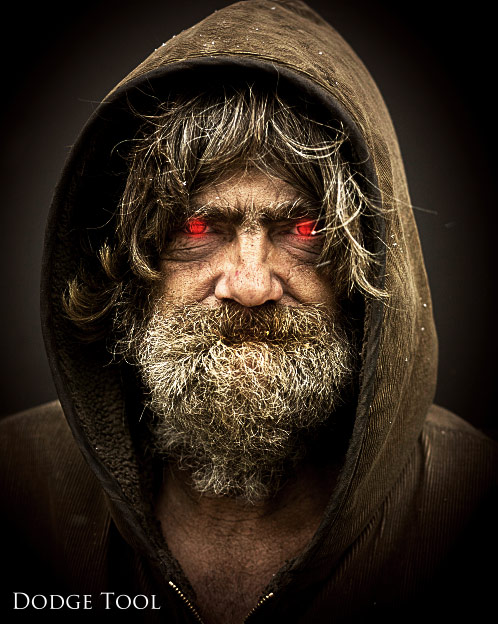
 I also used the Dodge Tool to highlight the eyes.
 Below is the final image. Experiment with these techniques on one of your own photos. You will be surprised by the dramatic effect you can add to your photography in a matter of minutes.


Step 1
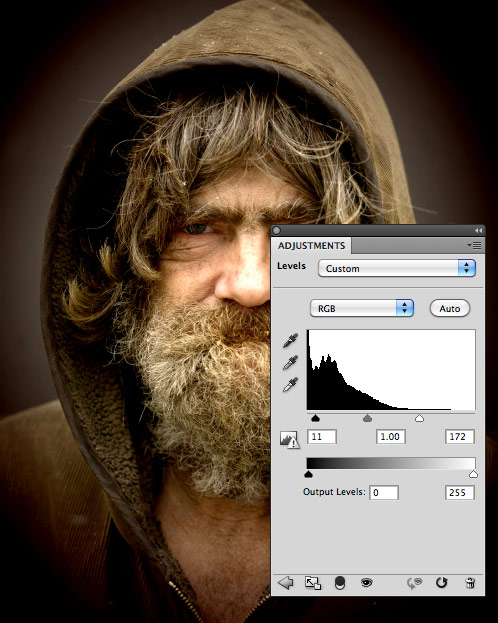
First up, lets add a Levels adjustment layer, and adjust the levels to something close to what I have below. Basically, we're bumping the contrast with this adjustment.
Step 2
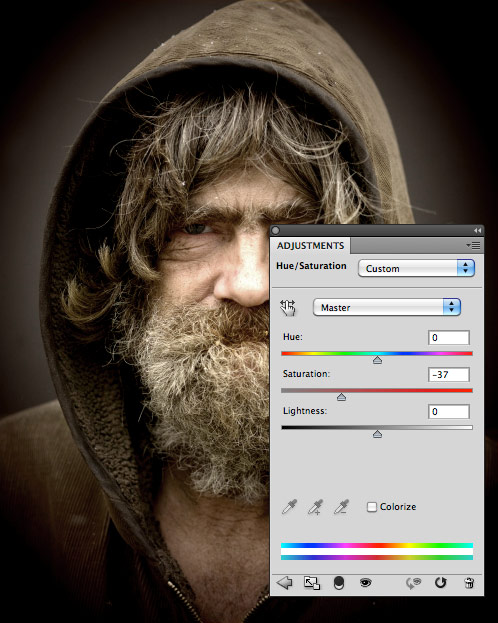
Now lets add a Hue/Saturation adjustment layer and take the saturation down. If you like, you can also adjust the color tone in this step using the Hue slider.
Step 3
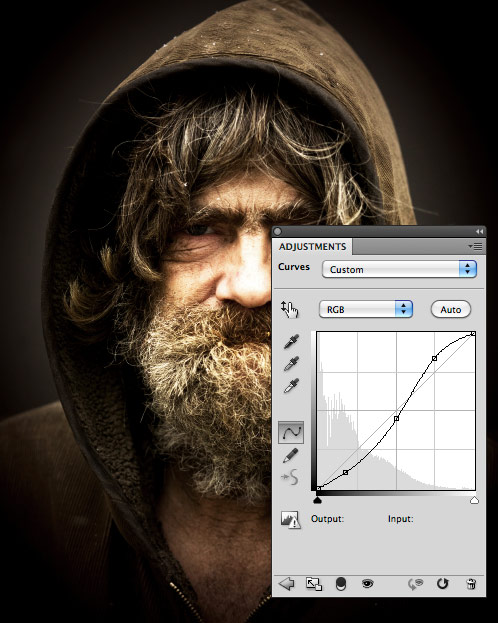
Now lets add a Curves adjustment layer to further adjust the contrast and highlights. You'll need to add three dots to the curves line and adjust to something similar to what I have below.
Step 4
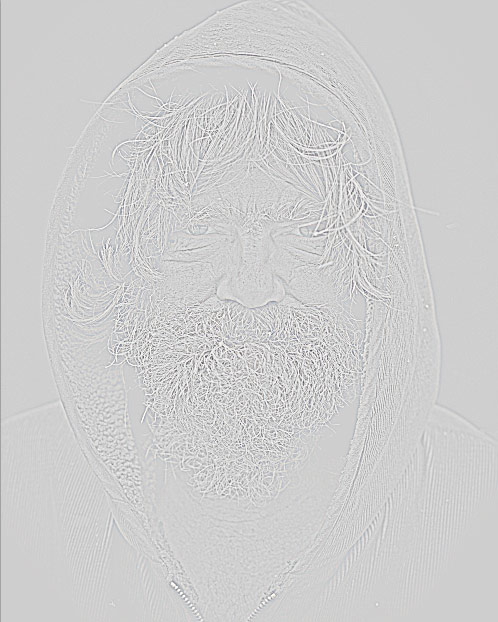
Now we're going to increase the sharpness considerably using the High Pass Filter. Make a duplicate of the original portrait layer, and select (Filter | Other | High Pass). Choose a setting of at least 10. Now set this layer's blending mode to Overlay.

Step 5
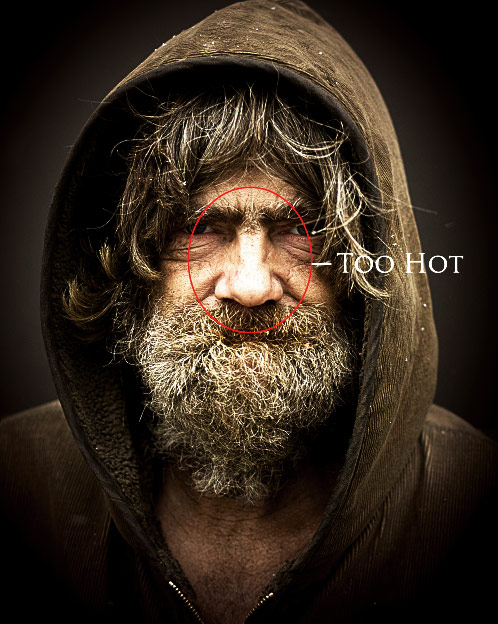
For this final step we're going to bring out some of the details in his face using the dodge and burn tools. You can see from the photo below that the face is too hot. Use the Burn Tool (O) with Exposure set to 50% to darken the following areas.
 I also used the Dodge Tool to highlight the eyes.
 Below is the final image. Experiment with these techniques on one of your own photos. You will be surprised by the dramatic effect you can add to your photography in a matter of minutes.
