Illustrator Quick Tip: Embellish a Script Font Using the Trim Pathfinder
This simple technique is so fast and easy, you're gonna love it. To transform a script font into something that looks like custom hand lettering can be a useful skill to have in your design arsenal. Let's dive right in and see how it's done.
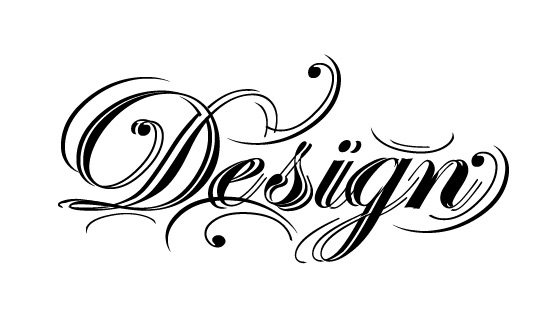
First up, here's a look at what we'll be creating.

Step 1
Start with a good script font. I used Edwardian Script but any free script font will work as well, like English or Old Script. Once you've chose a script font, type out a word on a blank artboard in Illustrator.

With the word selected, click (Type | Create Outlines) then (Object | Ungroup). Now you should be able to select each letter individually as a shape.

Step 2
Take the first letter and move it away from the rest. With the letter selected, hold down the option key (or Alt key) and drag the letter to the left a few pixels. This will create a duplicate of the letter shape.

Now with both shapes selected, press the Trim button on the Pathfinder panel.

Click (Object | Ungroup) or (Cmd+Shift+G) again to separate the shapes. Now you can select the pieces and move them around to create a more ornate letter shape.

Step 3
Now repeat the previous steps for all of the letters, and place them back in order.

Now take some of the bits and pieces of these letters and place them around the word to further embellish the letter forms.

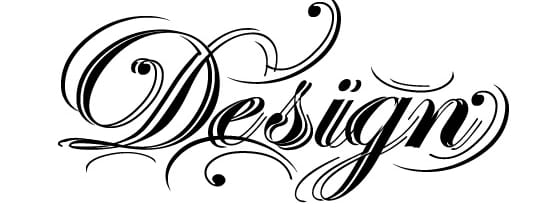
That's it... a custom hand lettered look in minutes!


