How to Quickly Colorize Black & White Photos in Photoshop
Photoshop Neural Filters
If you had to colorize some old Black & White photographs, you know how time consuming this task could be. Fortunately for us, a time saving tool has been introduced in the latest version of Photoshop that works very well for being in a beta stage. The Colorize filter included with the new Neural Filters will not give you the perfect final end result, but for sure will save you a lot of time providing a good base color photo for you to work. Today, I will show you how quick and easy colorizing a black and white photo could be usng the new Photoshop Colorize Neural Filter.
Step 1
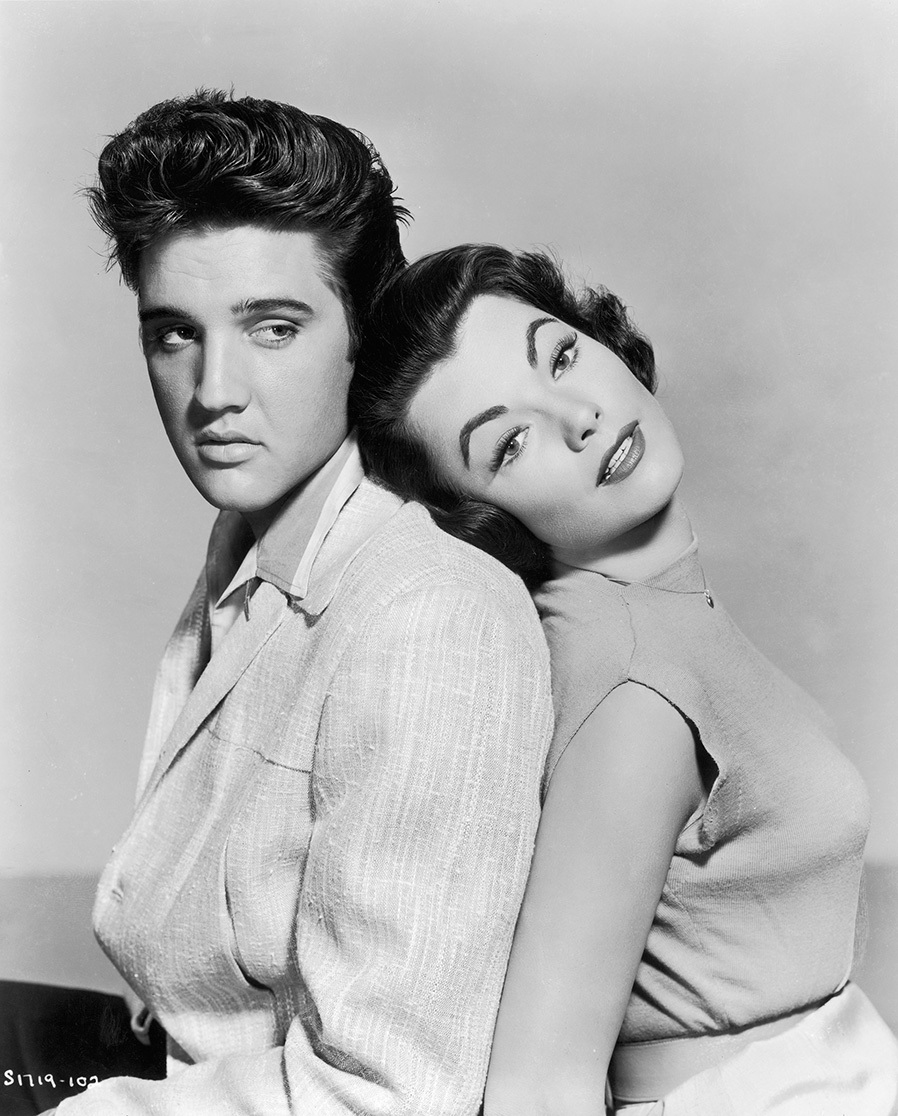
Open your image in Photoshop, go to Image > Mode and be sure that your image is set to RGB rather than Grayscale.
Step 2
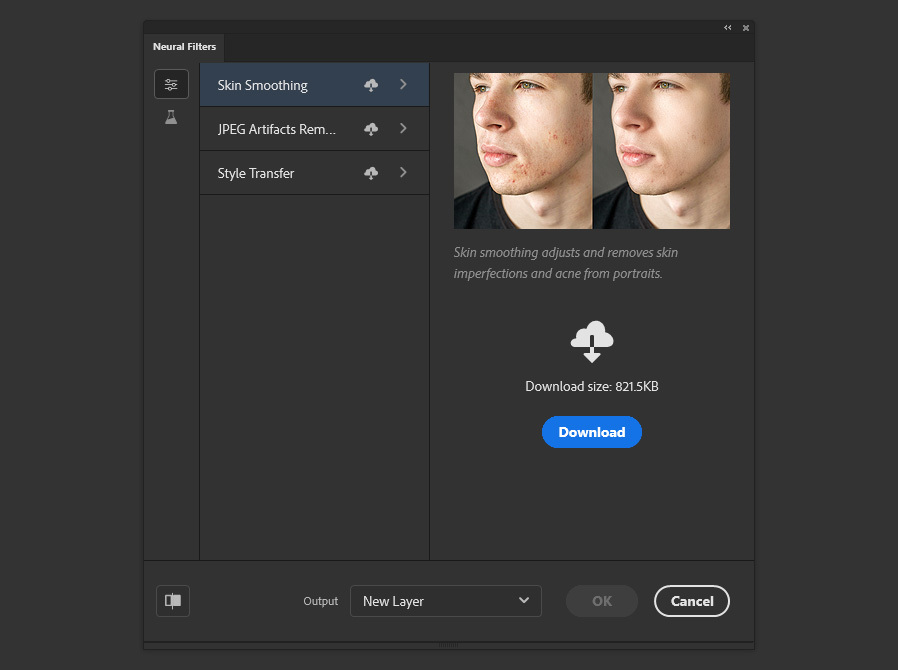
Go to Filter > Neural Filters.
Step 3
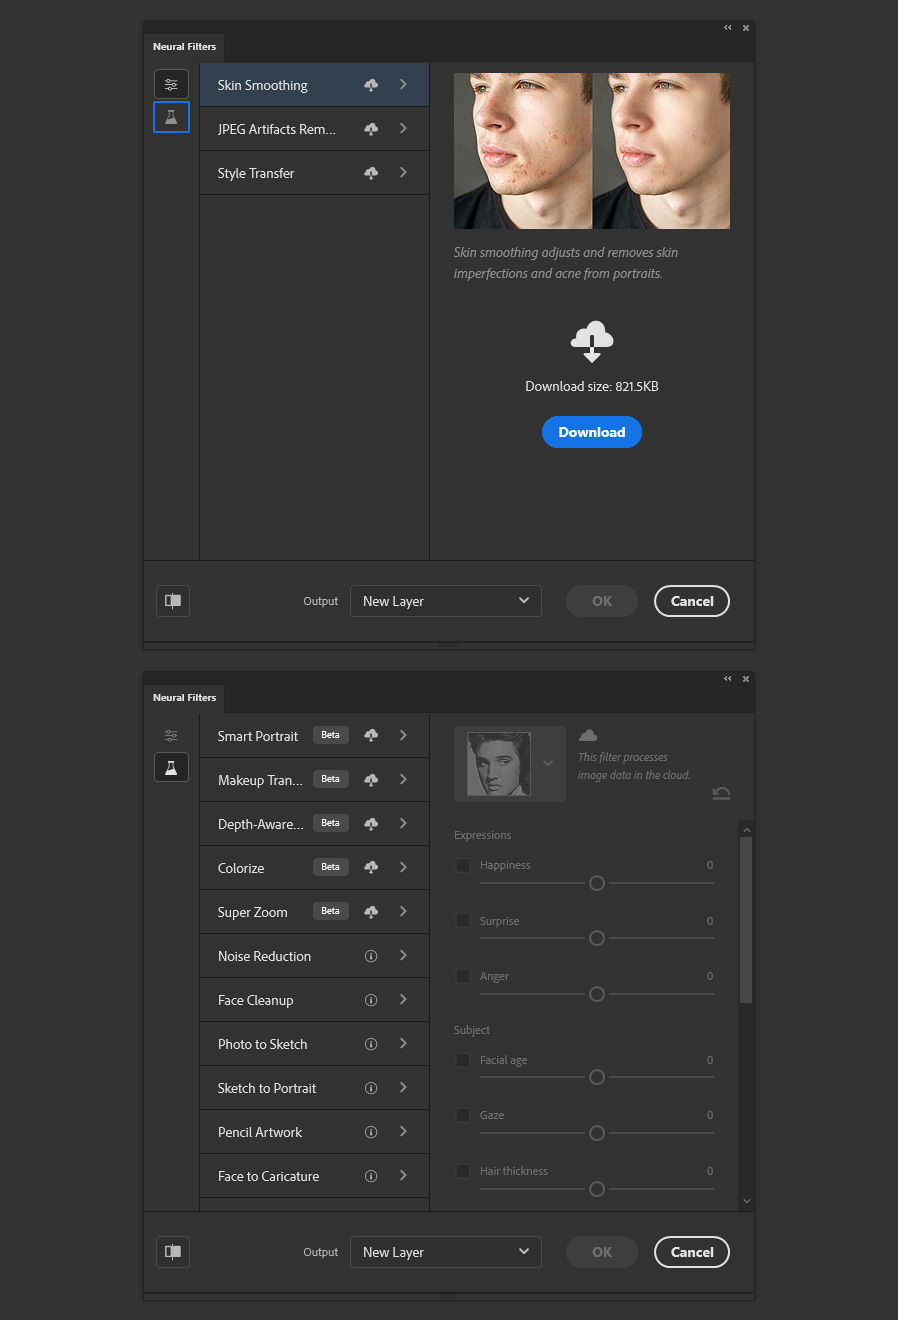
Click on the "Beta Filters" icon.
Step 4
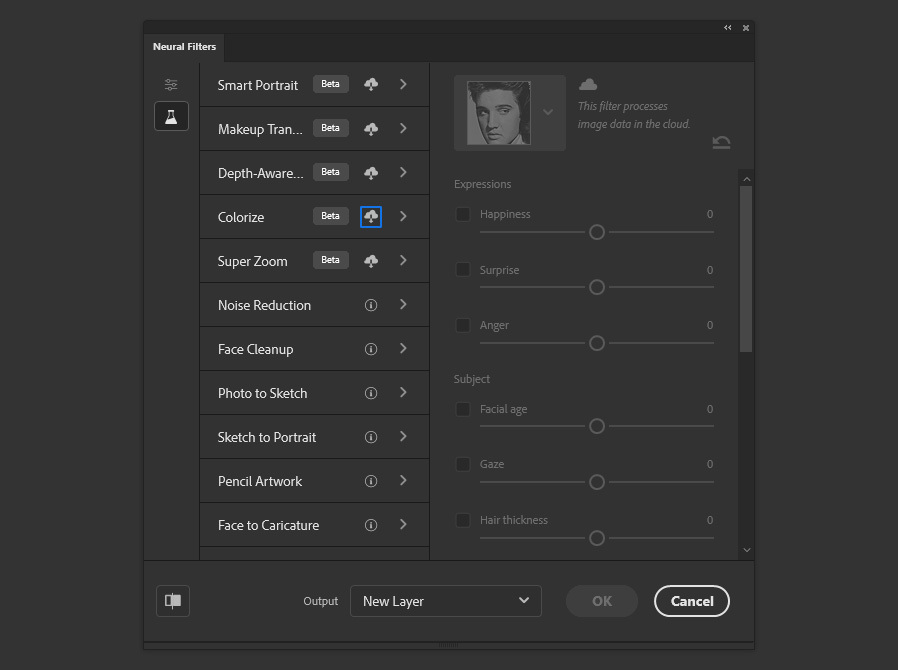
Click on the "Download" icon of the Colorize filter (if you haven't downloaded the filter already).
Step 5
Enable the Colorize filter by clicking on the ON/OFF icon.
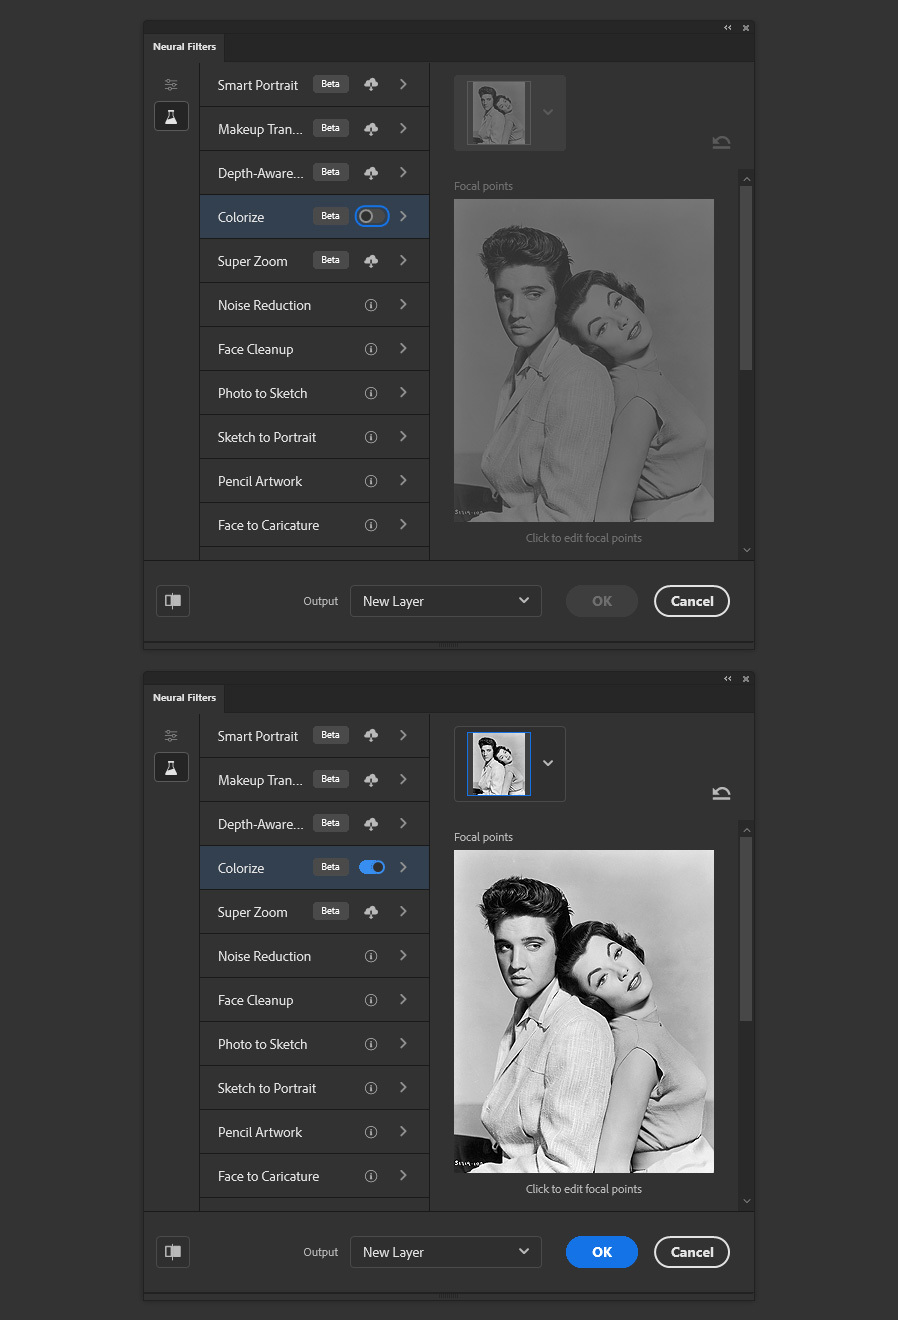
Step 6
In the Output dropdown menu you can select different output options, but the Colorize Neural Filter mask some image areas to work, so a good option is to choose "Duplicate Layer". In this output option, no masks are made and the image manipulation could be easier. For this particular case, in the Output dropdown menu select "Duplicate Layer" and click OK. By choosing this option, a new layer with the colorized version will be created and will allow you to make further adjustments.
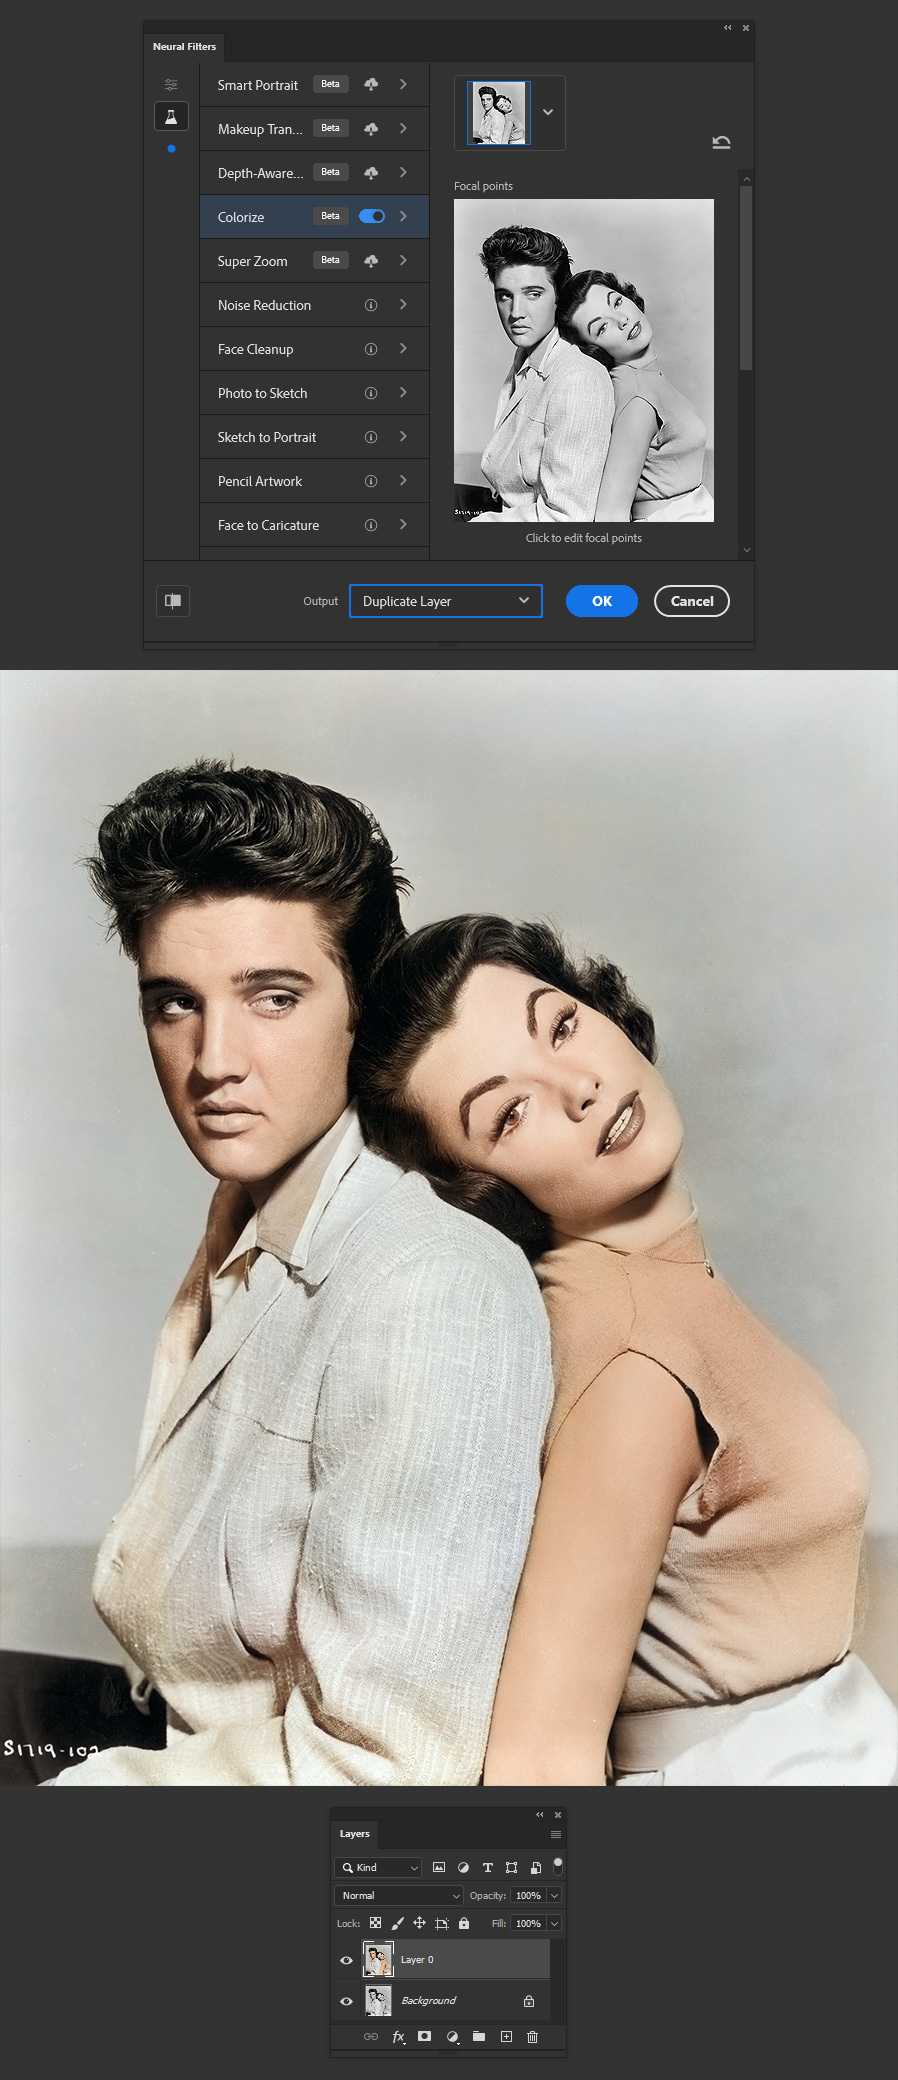
Step 7
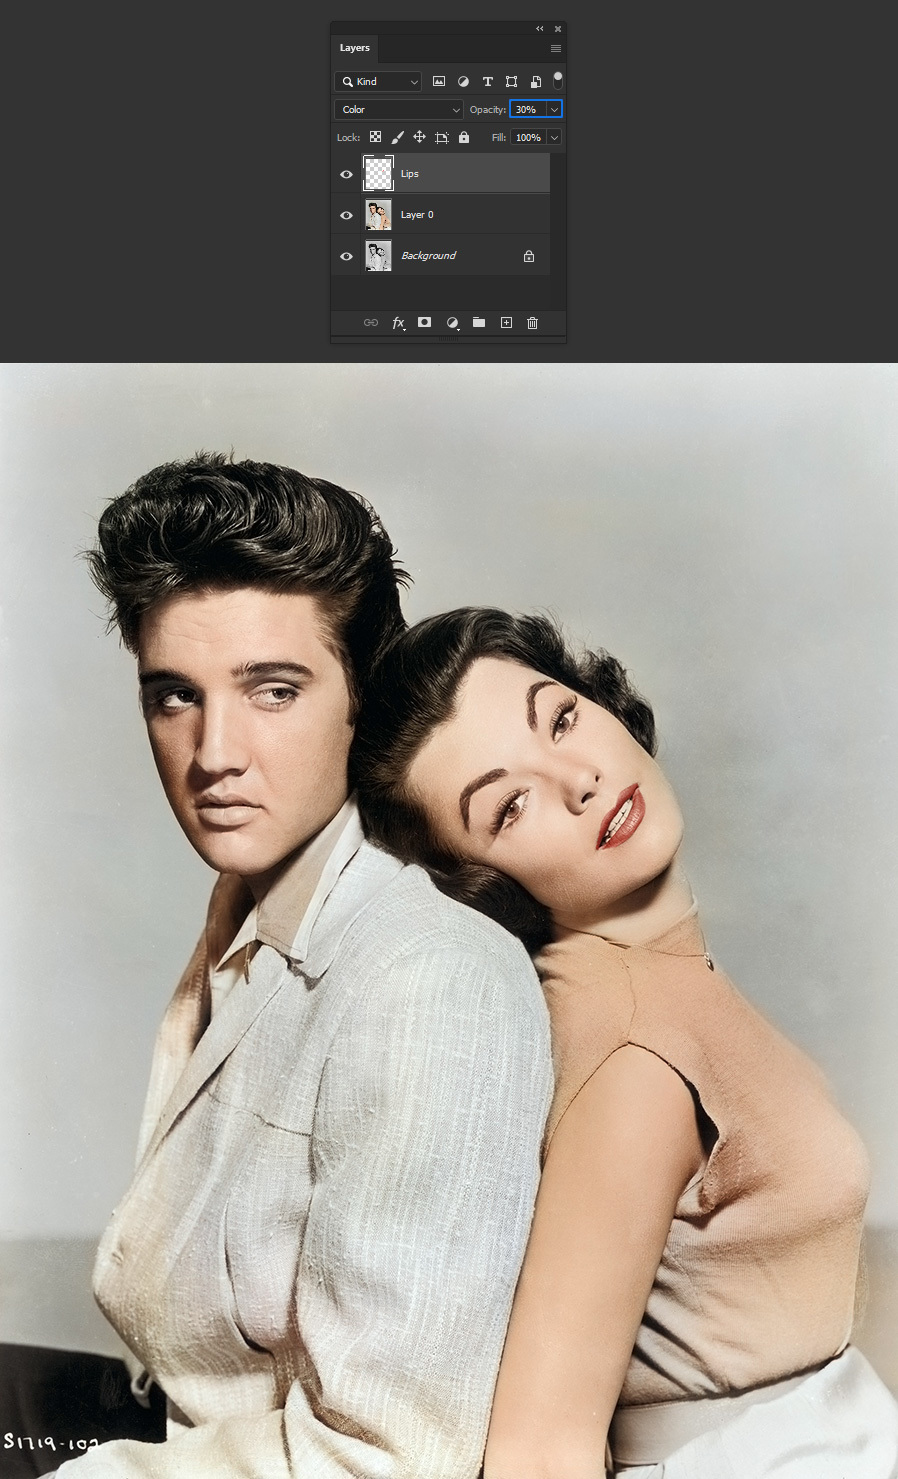
With the new colorized layer made, you can now make any kind of color adjustments you want using any of your prefered methods (Hue/Saturation, Camera Raw, Curves, Color Balance, etc). As I said, this filter will not give you a perfect end result, but it will provide us with a very good base to work. Using a simple method we will improve a bit the lips, to do that make a new layer with the blend mode set to "Color" and name this layer as "Lips".
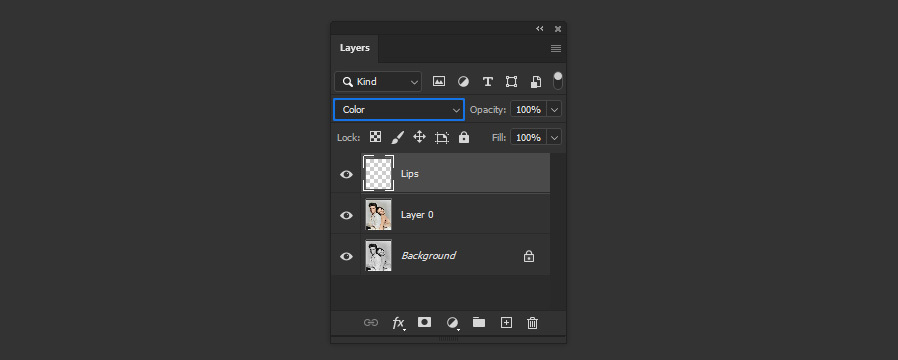
Step 8
Select a soft round brush with a red color and paint over the lips area as shown.
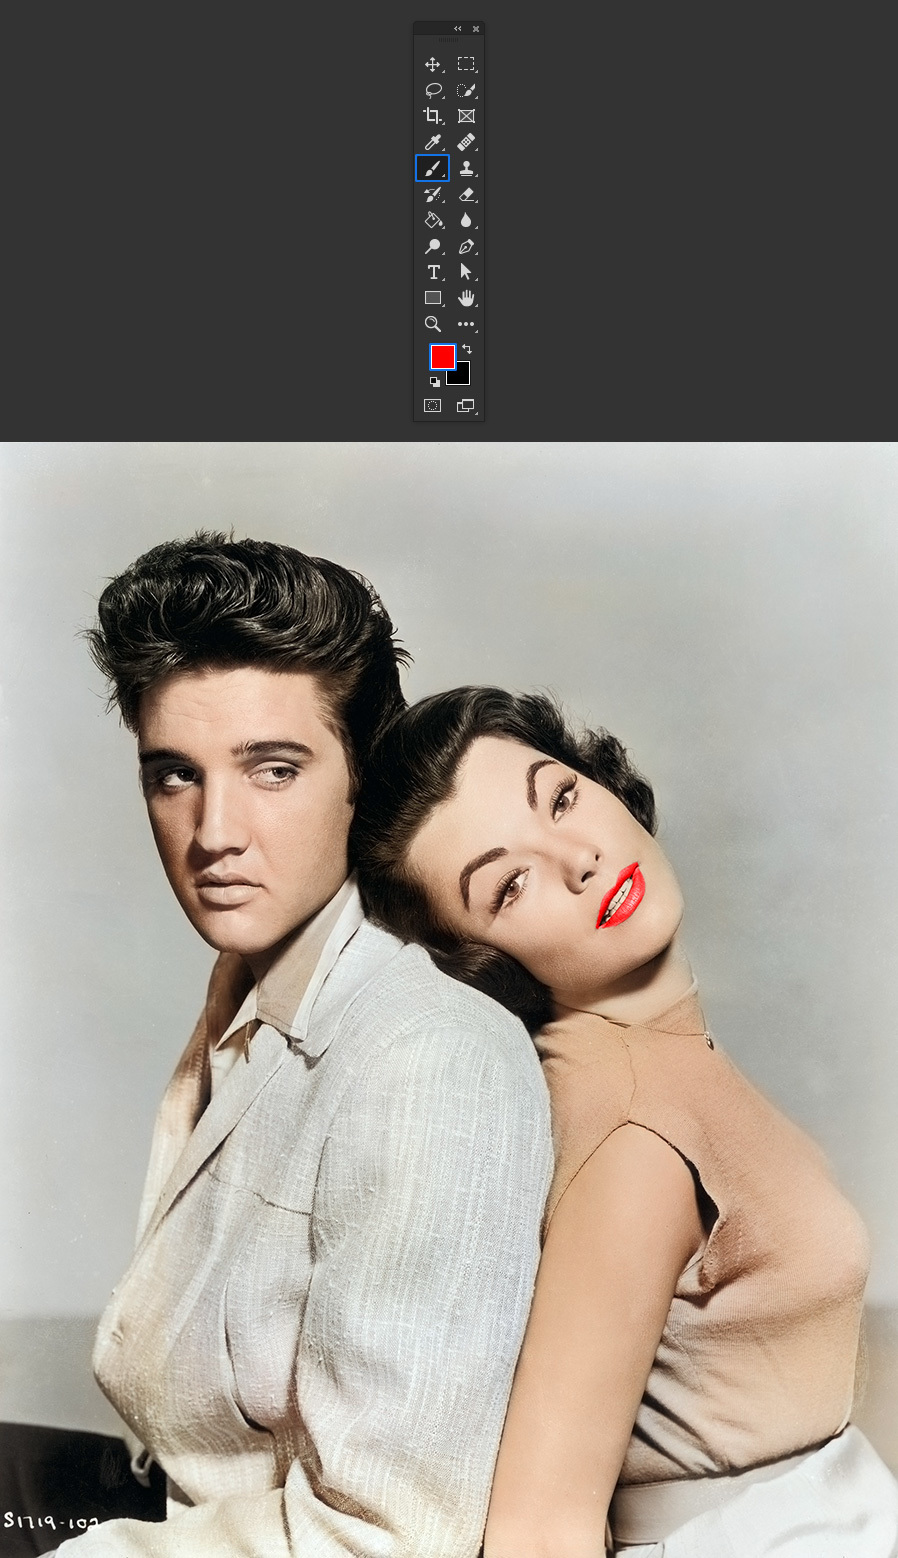
Step 9
Decrease the layer opacity to about 30%.
Step 10
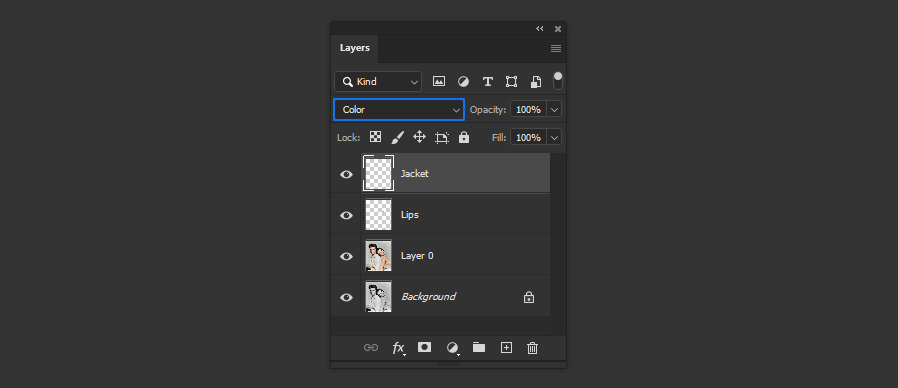
Following the same procedure, create a new layer with the blend mode set to "Color" and name it as "Jacket".
Step 11
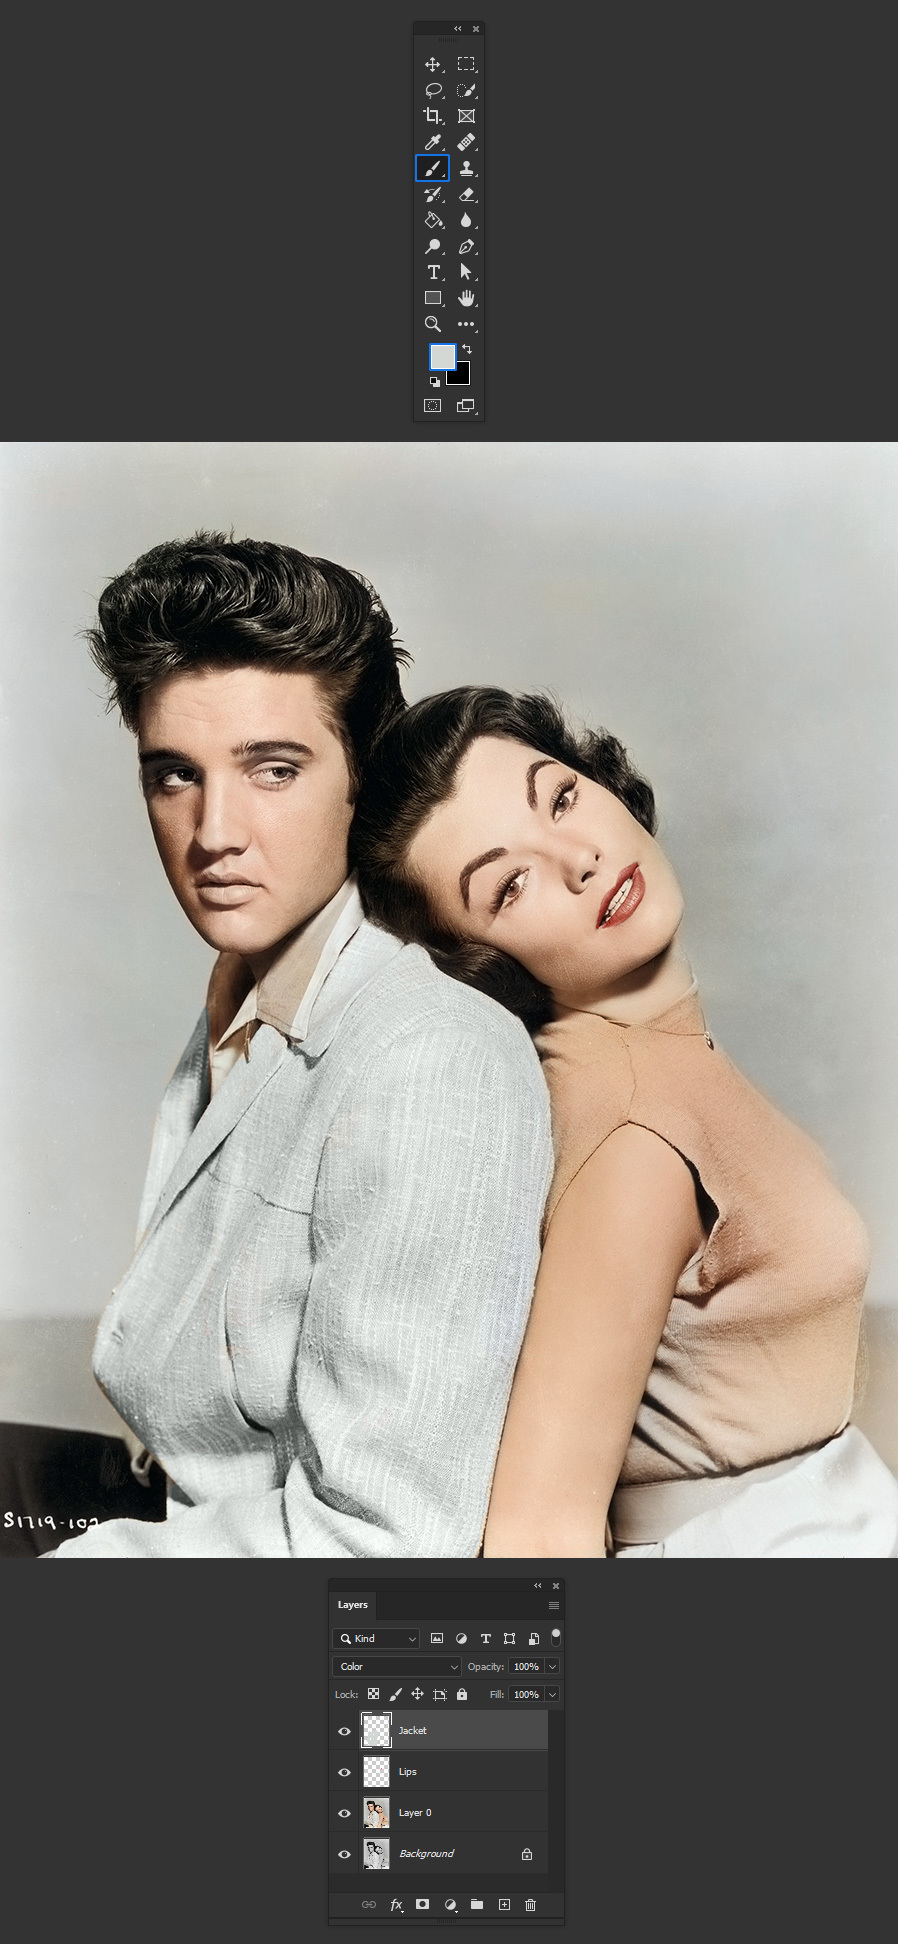
Select a soft round brush with a color similar to the jacket and paint over the grayed areas as shown.
Step 12
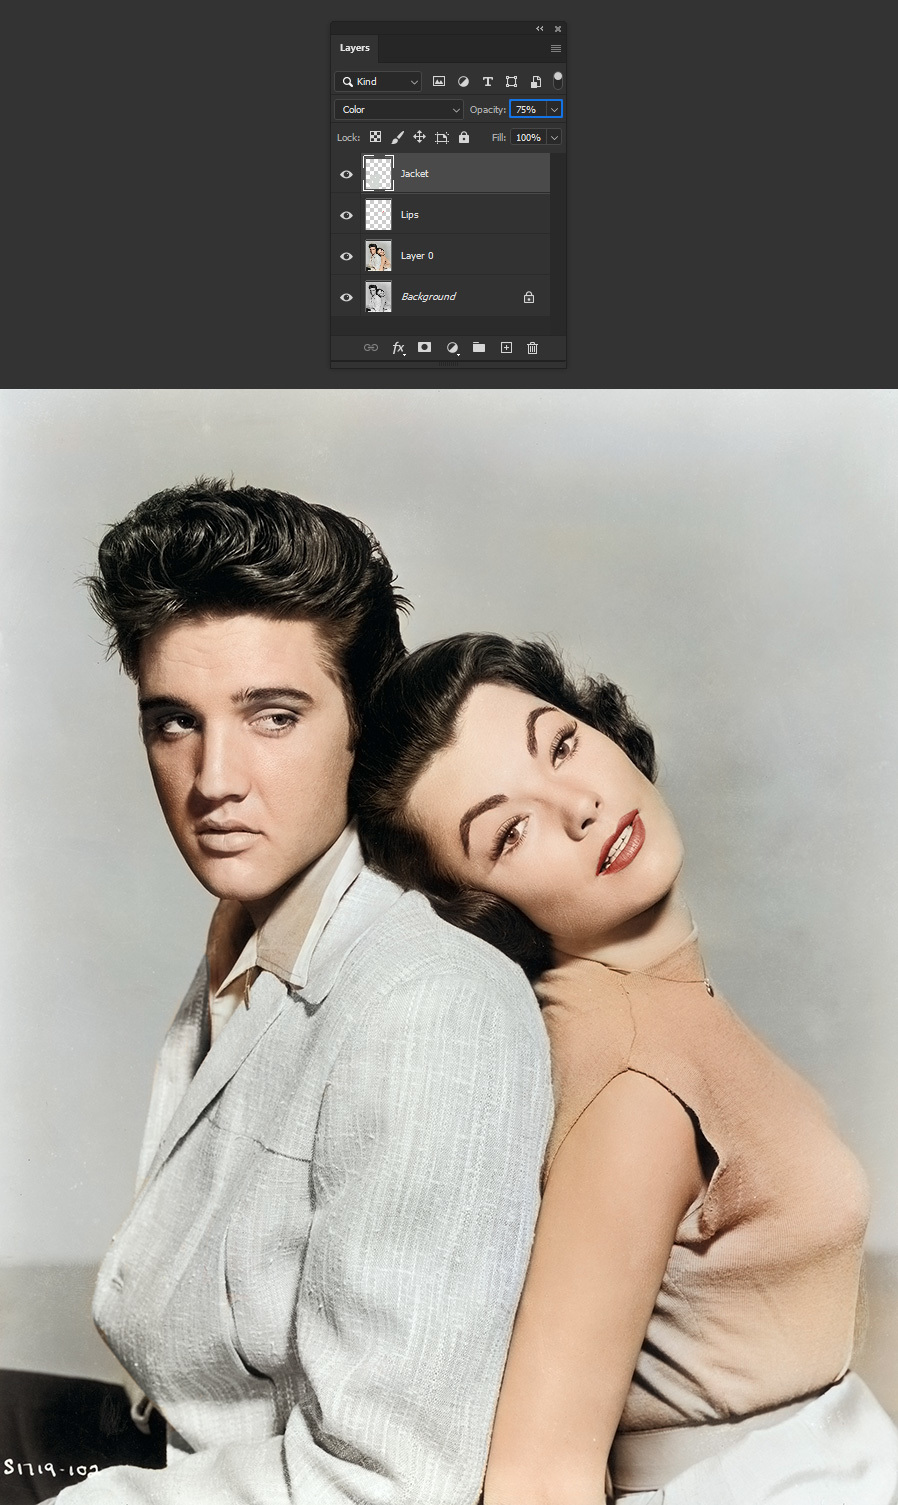
To make a more subtle effect, decrease the layer opacity to about 75%.
Step 13
Now simply keep improving the image colors using this same technique and changing the layer opacity if needed to make a more subtle transition.


