How to Extract the Texture of Any Image in Photoshop
Photoshop Textures
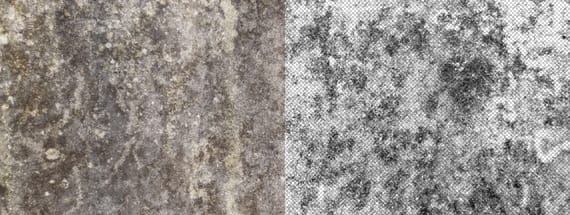
Textures are a great resource that should be on every designer's toolbox. You may find millions of them all over the internet, but sometimes you may have not the time to search for them or you may just have some trouble trying to find the one that you like. Today, I will show you how easily you can extract the texture of any image in Photoshop in a few simple steps, and also, using a technique that will allow you to change the texture color once we extracted the texture from the image.
But before we begin, and if you want to follow this tutorial exactly as described, please download the Weathered Stone Textures pack from Medialoot: Download
Step 1
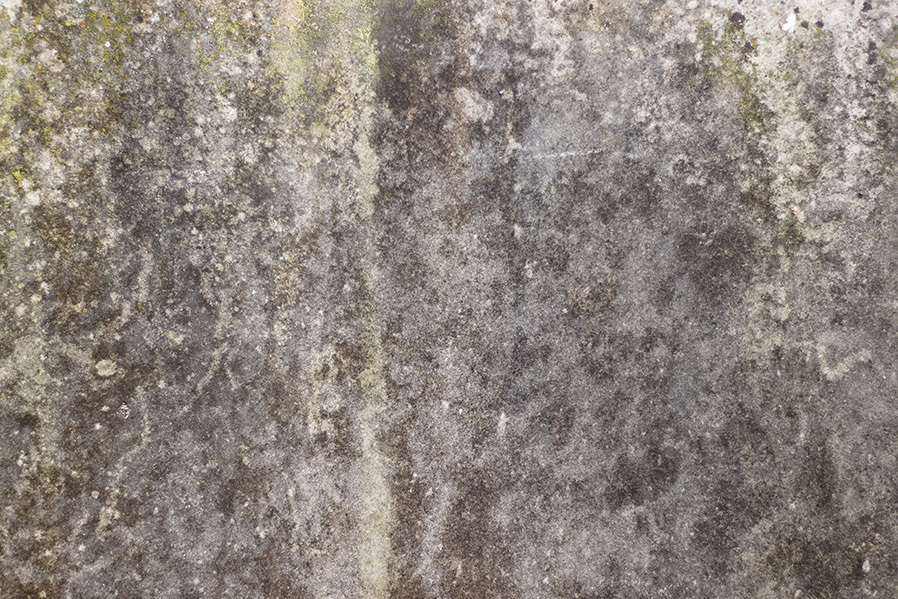
Open the image you want to extract the texture of in Photoshop. In this case, I will be using the "weathered-stone-03" from the Weathered Stone Textures pack.
Step 2
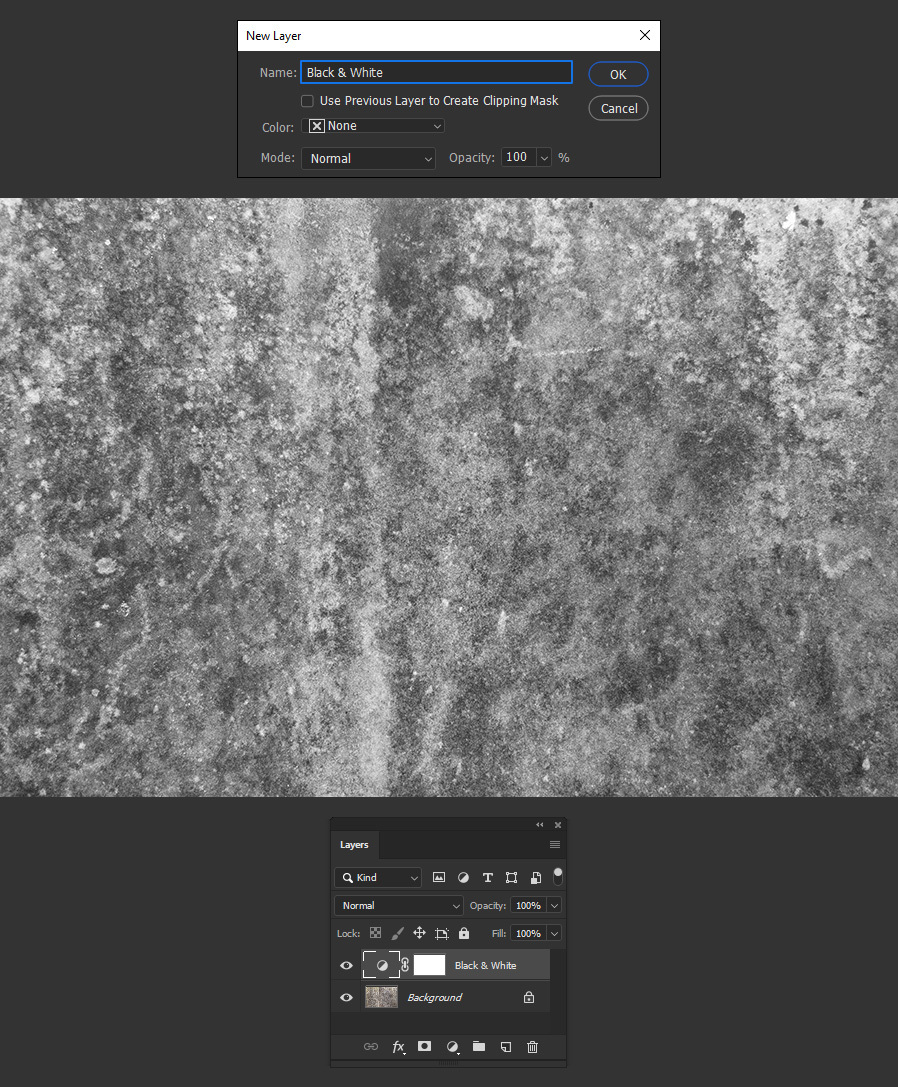
Go to Layer > New Adjustment Layer > Black & White. Give the layer a name (or keep the default one) and click OK.
Step 3
Go to Layer > New Adjustment Layer > Levels. Give the layer a name (or keep the default one) and click OK.

Step 4
In the Levels window apply the following values and click OK.
Note: You may need to change these values a bit depending on your image.

Step 5
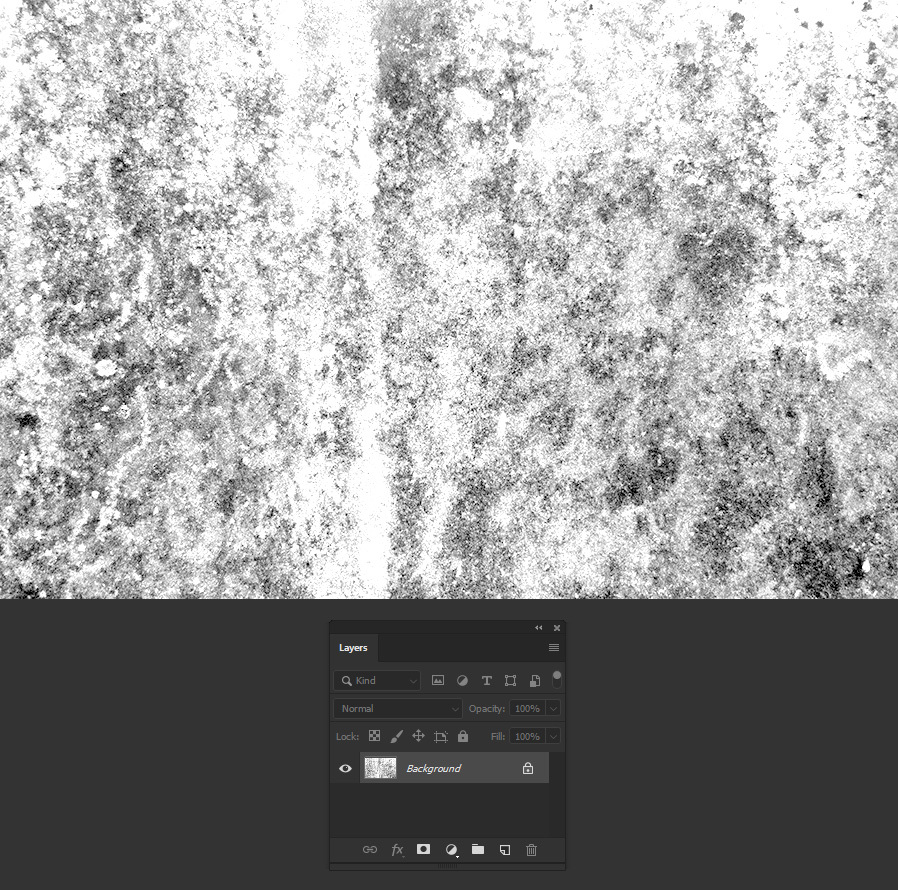
Go to Layer > Flatten Image.
Step 6
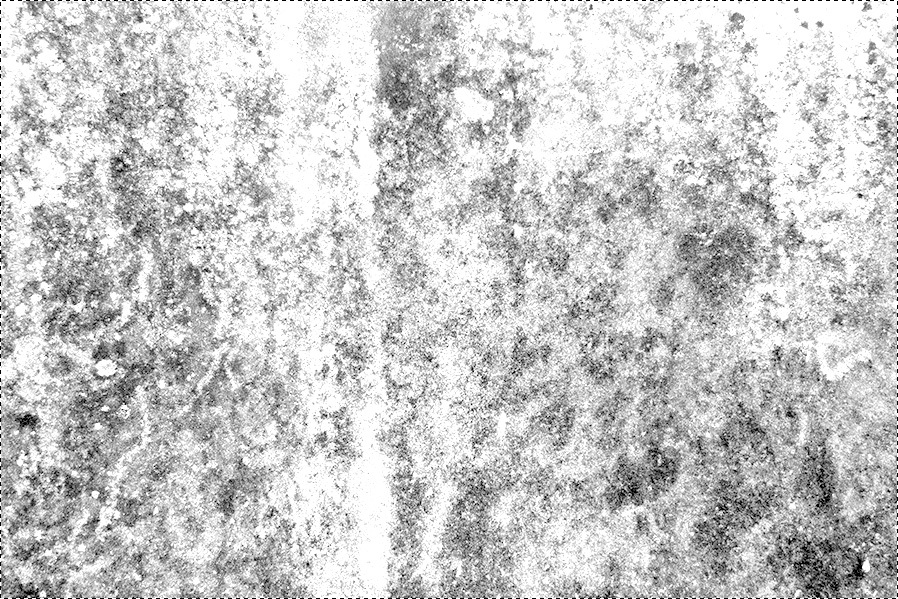
Go to Select > All and then to Edit > Copy.
Step 7
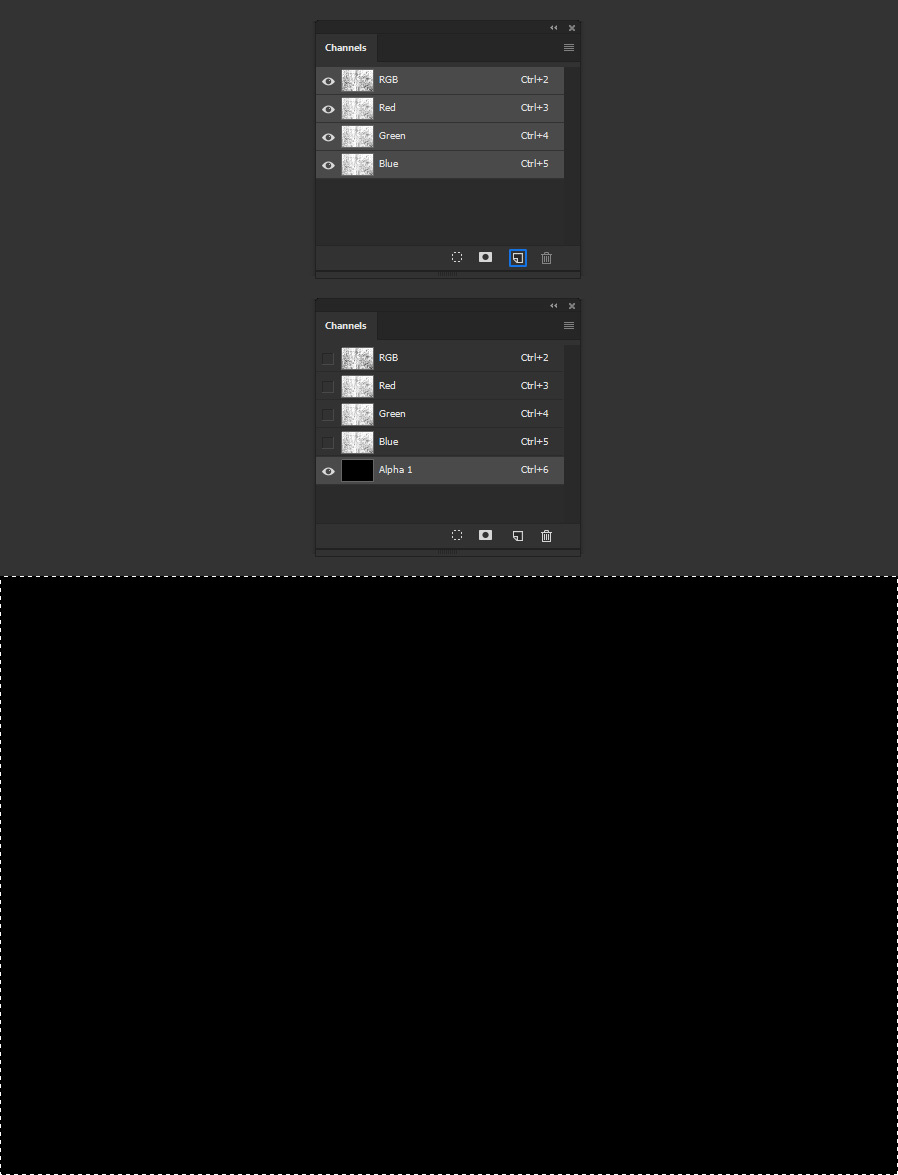
Go to Window > Channels and click on the Create New Channel icon.
Step 8
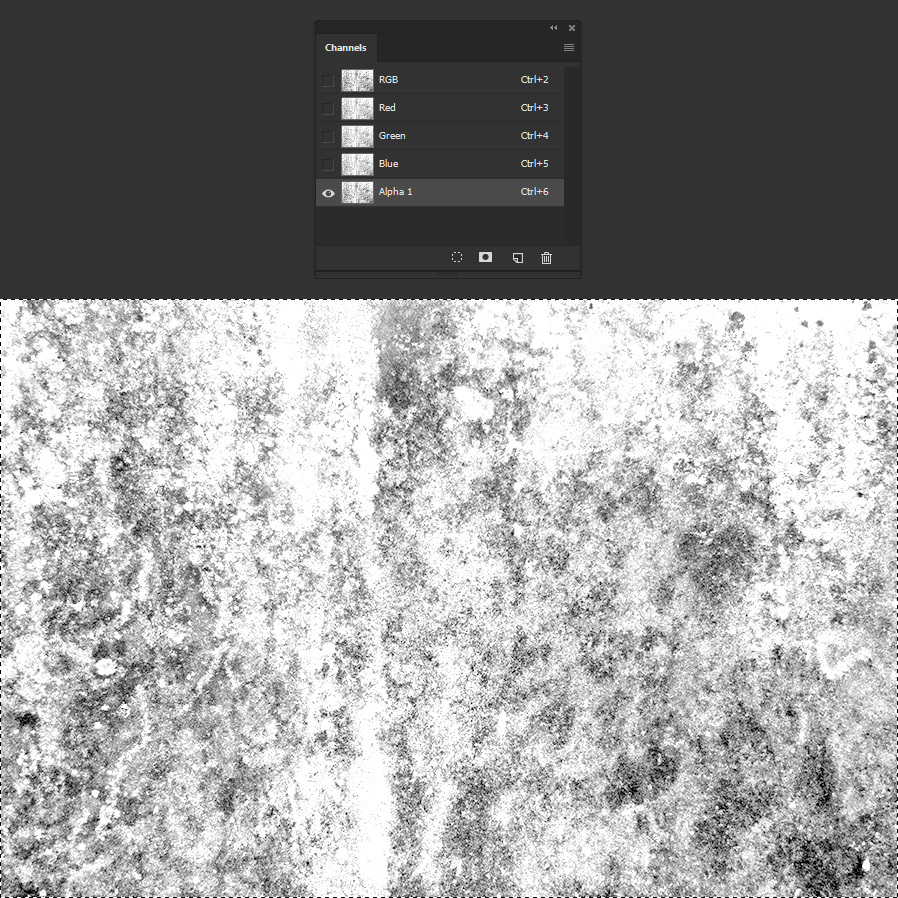
Go to Edit > Paste.
Step 9
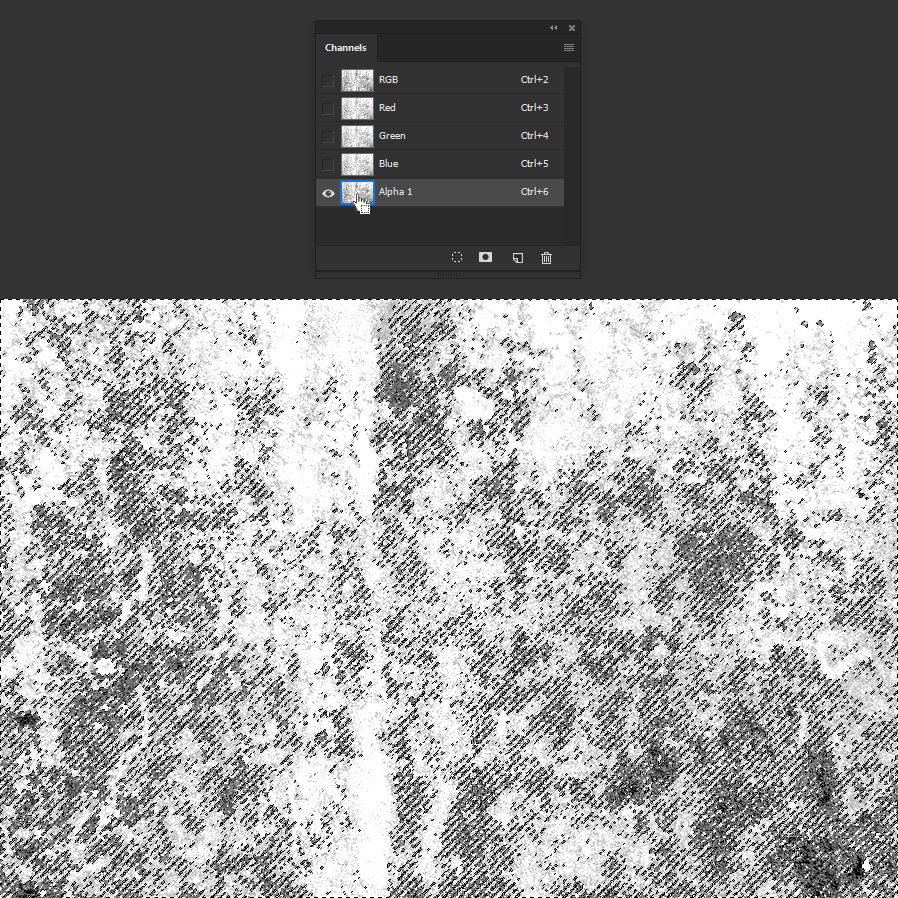
Hold the Ctrl key on your keyboard and click over the Alpha 1 channel thumbnail.
Step 10
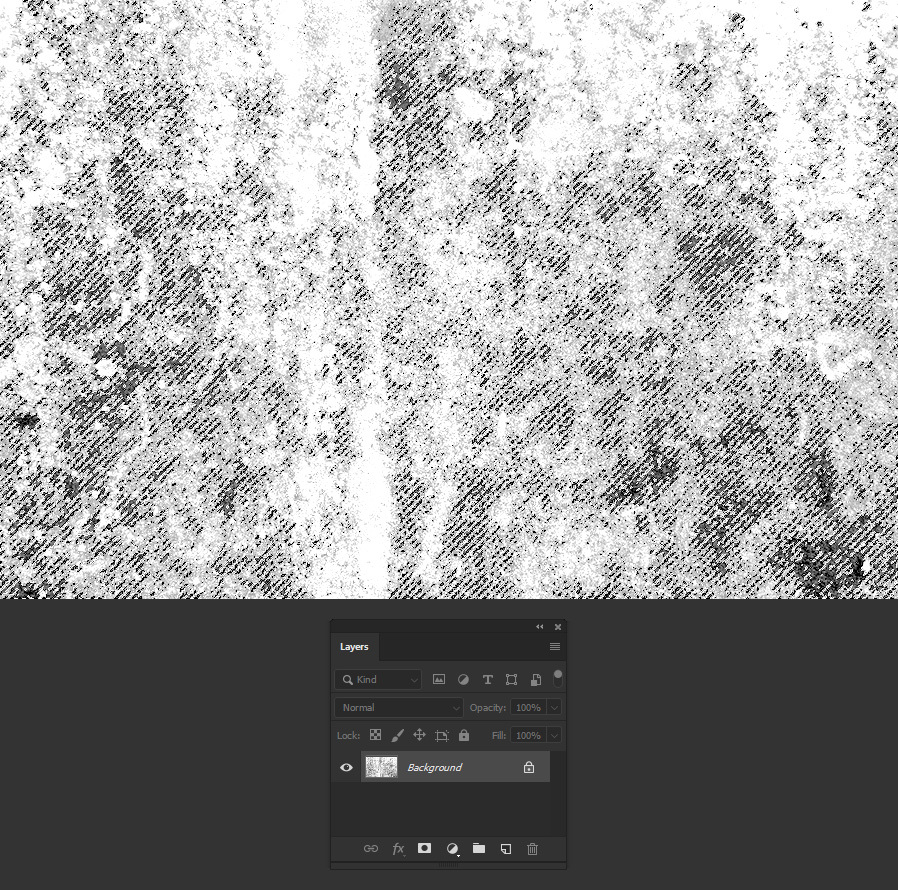
Click on the RGB Channel.

Step 11
Go to Select > Inverse.
Step 12
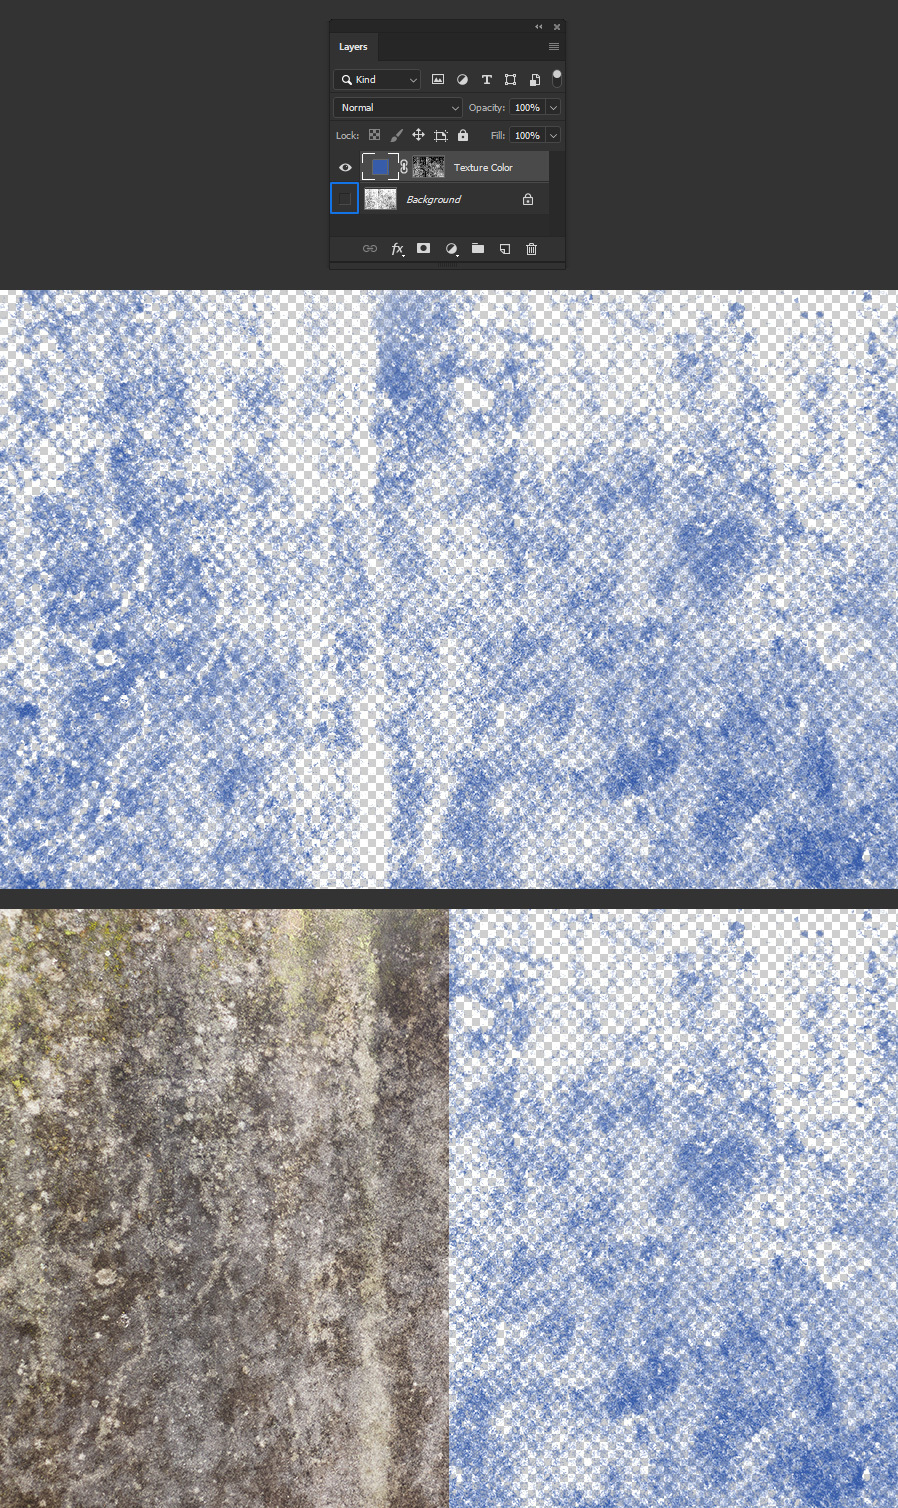
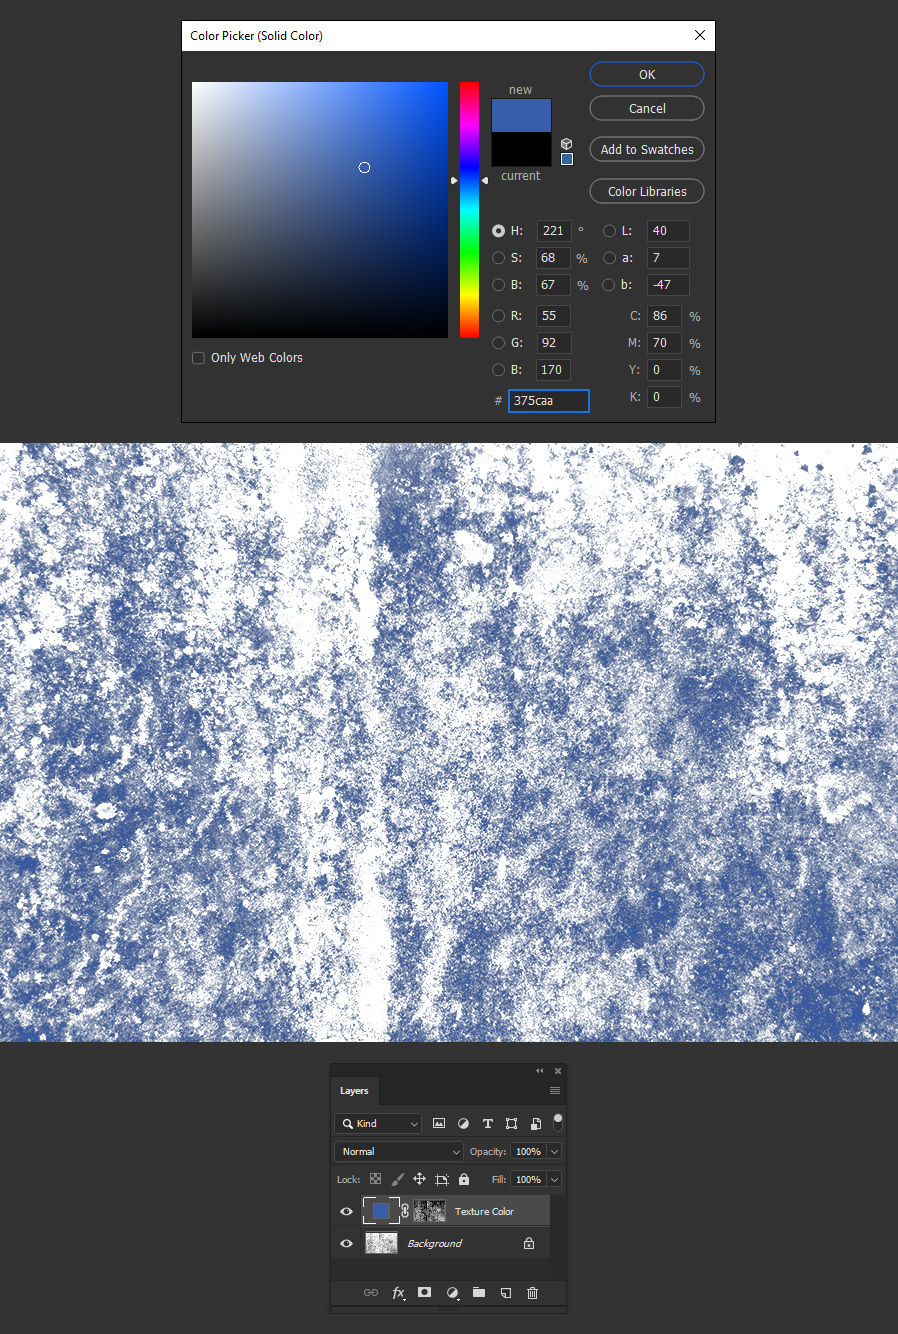
Go to Layer > New Fill Layer > Solid Color. Name this layer as Texture Color and click OK.

Step 13
In the Color Picker window select any color that you want and click OK.
Step 14
Lastly, hide the Background Layer to reveal the extracted texture.
