How To Easily Make a Halftone Effect in Photoshop
Photoshop Photo Effects
Known for the ability to transform images into captivating patterns of dots, halftones have stood the test of time as a beloved artistic technique. And in Photoshop, there are many different methods to achieve this effect. Some are a bit more time consuming than others, but with the latest updates in Adobe Photoshop, creating stunning halftone effects has become easier and more accessible than ever. Today, I will show you how you can give a halftone effect to any image using only the default Photoshop tools in less than 5 minutes with professional results.
Step 1
Open your image in Photoshop.

Step 2
Go to Image > Mode > Grayscale.

Step 3
Go to Image > Mode > Bitmap. Set the Output to 72 ppi, under Method be sure to select "Halftone Screen" and click OK.

Step 4
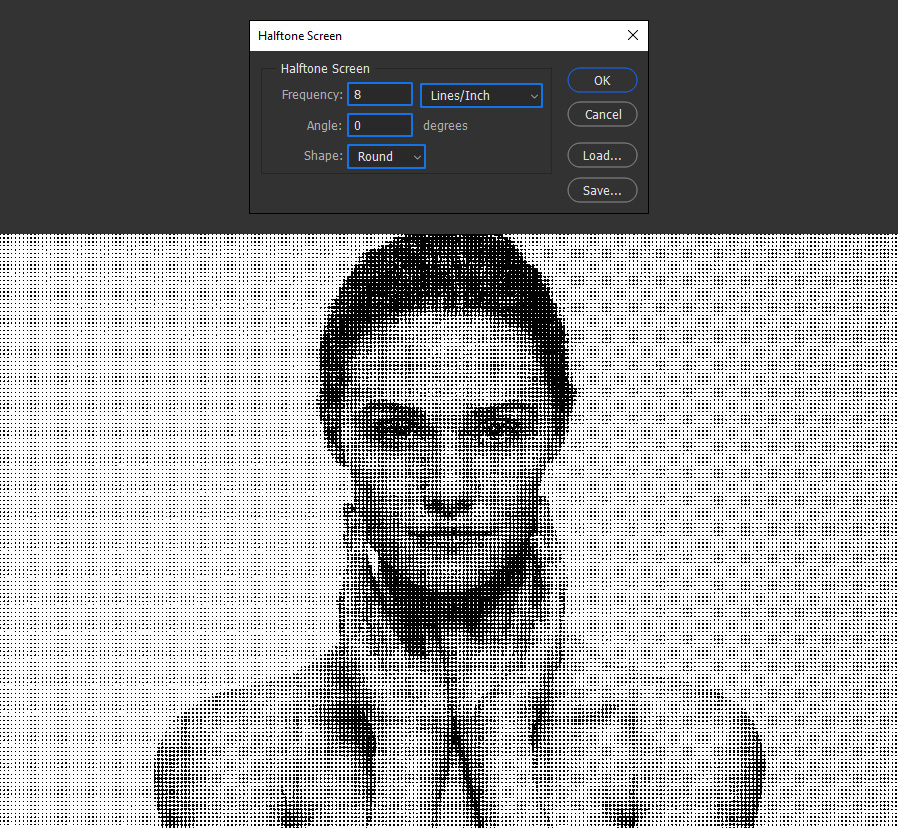
In the Halftone Screen window apply the following settings and click OK.
Note: under "Shape" you may choose the one you like, in this case I've selected "Round".

Step 5
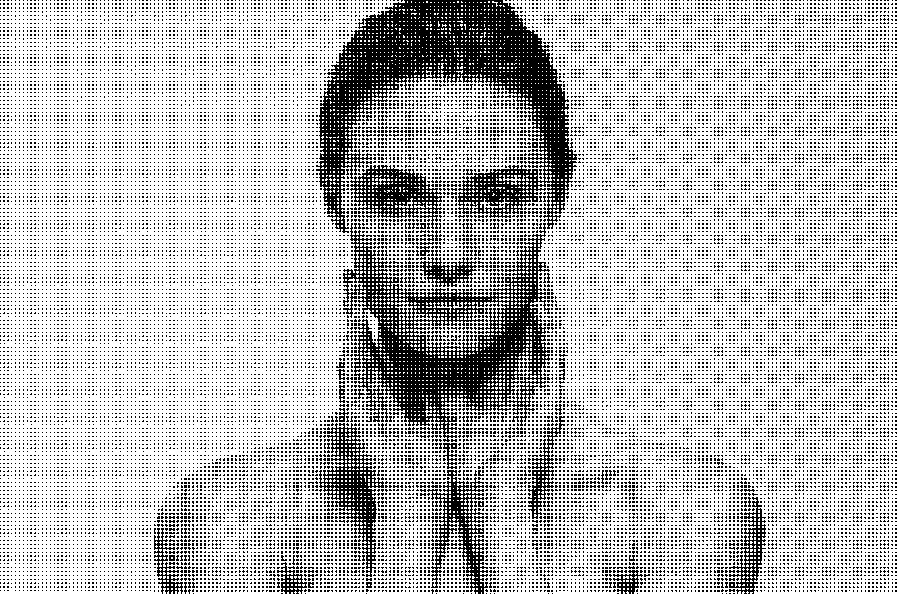
Go to Image > Mode > Grayscale. Set the Size Ratio to 1 and click OK.

Step 6
Go to Image > Mode > RGB Color.

Step 7
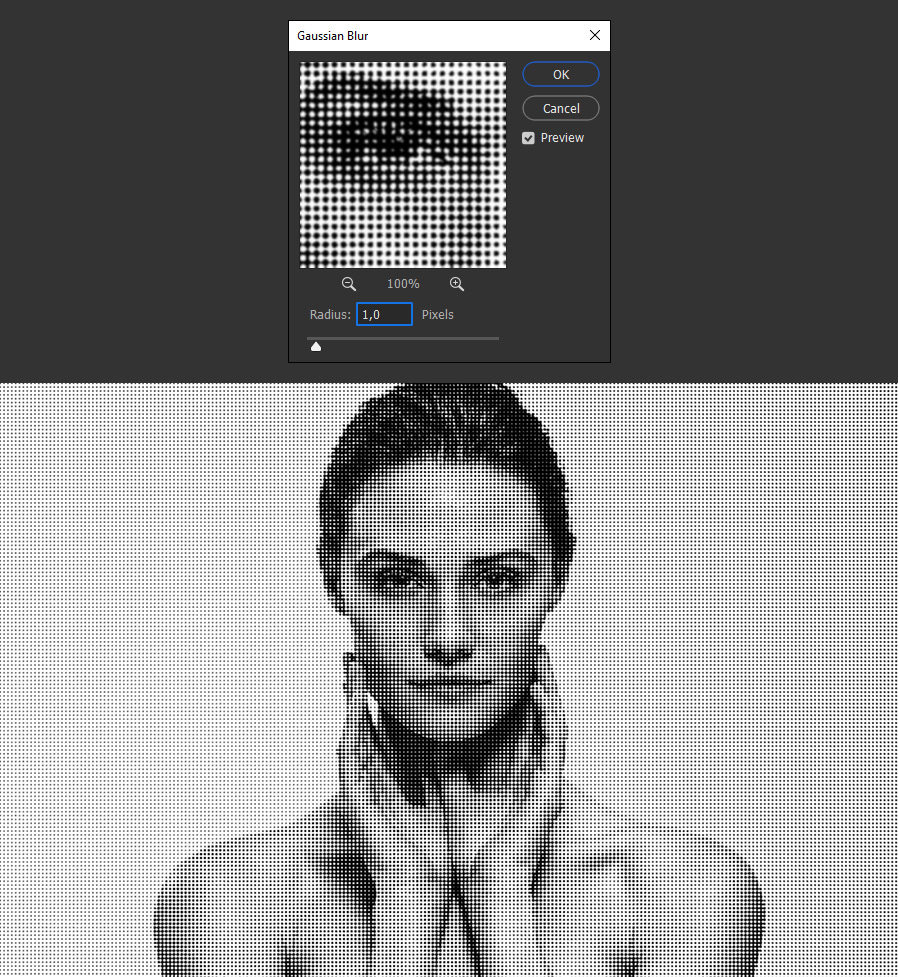
Go to Filter > Blur > Gaussian Blur. Set the Radius to 1 px and click OK.

Step 8
Lastly, go to Filter > Sharpen > Unsharp Mask. Apply the following settings and click OK.

Conclusion
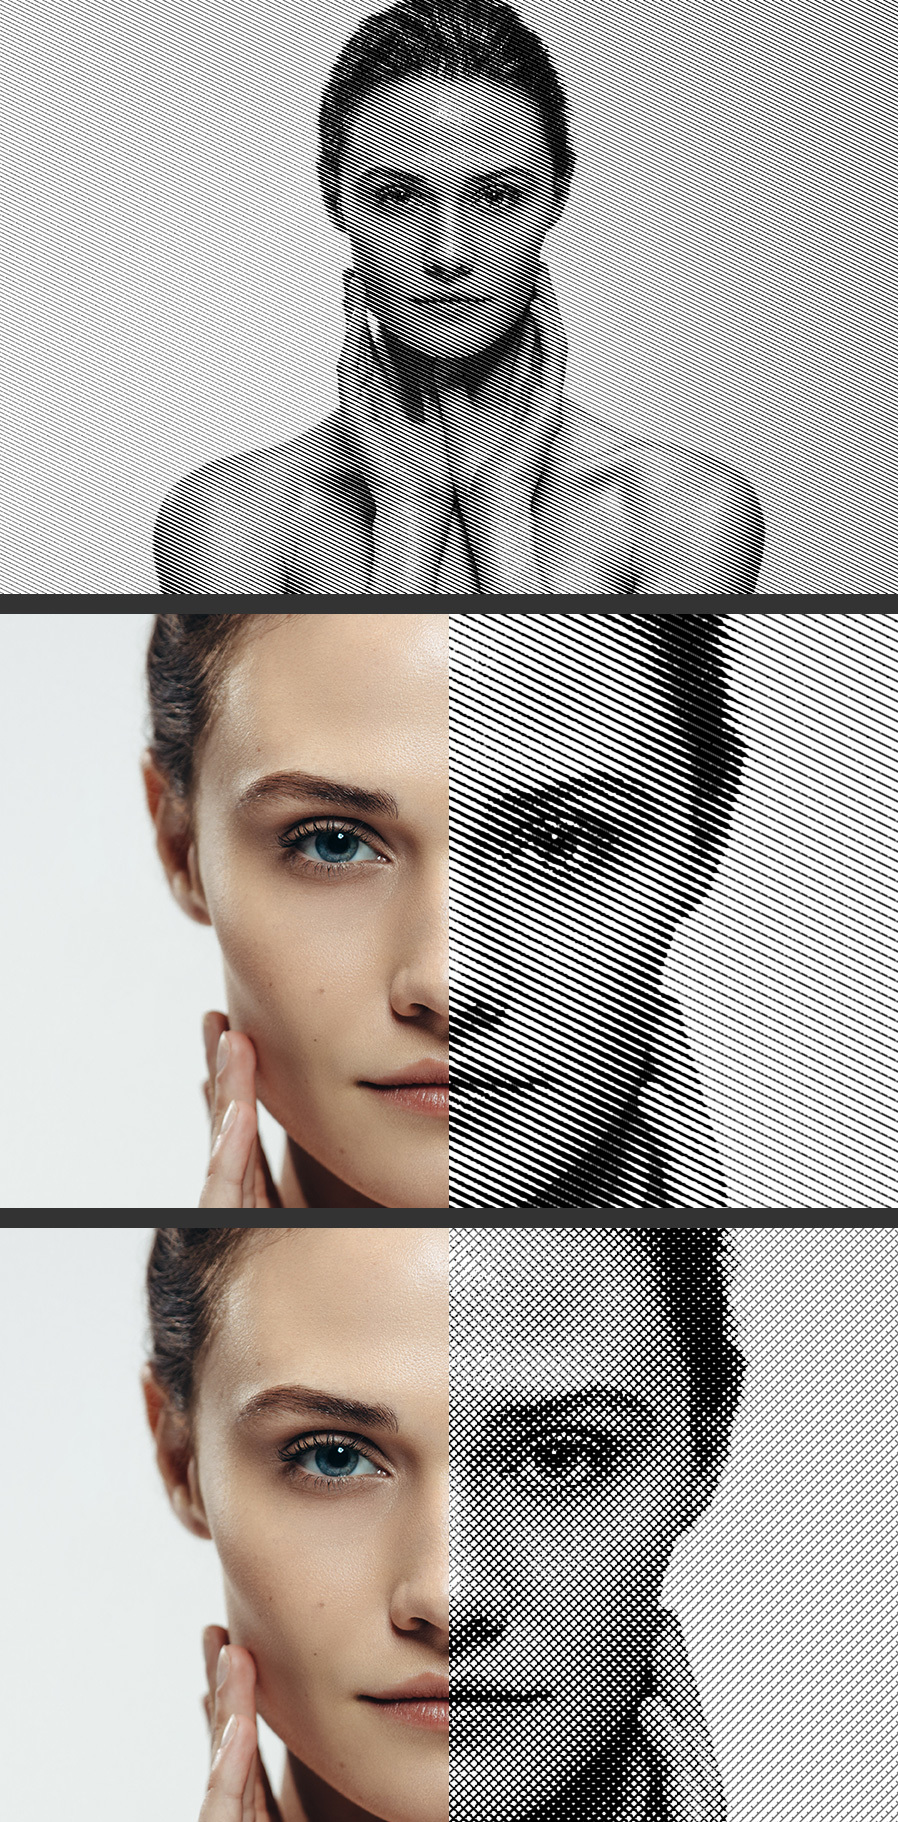
Now you know how you can make a halftone effect out of any image, you can try different values on the Halftone Screen window, like changing the Frequency, Angle and even the halftone shape to create many different effects from a single photo.


