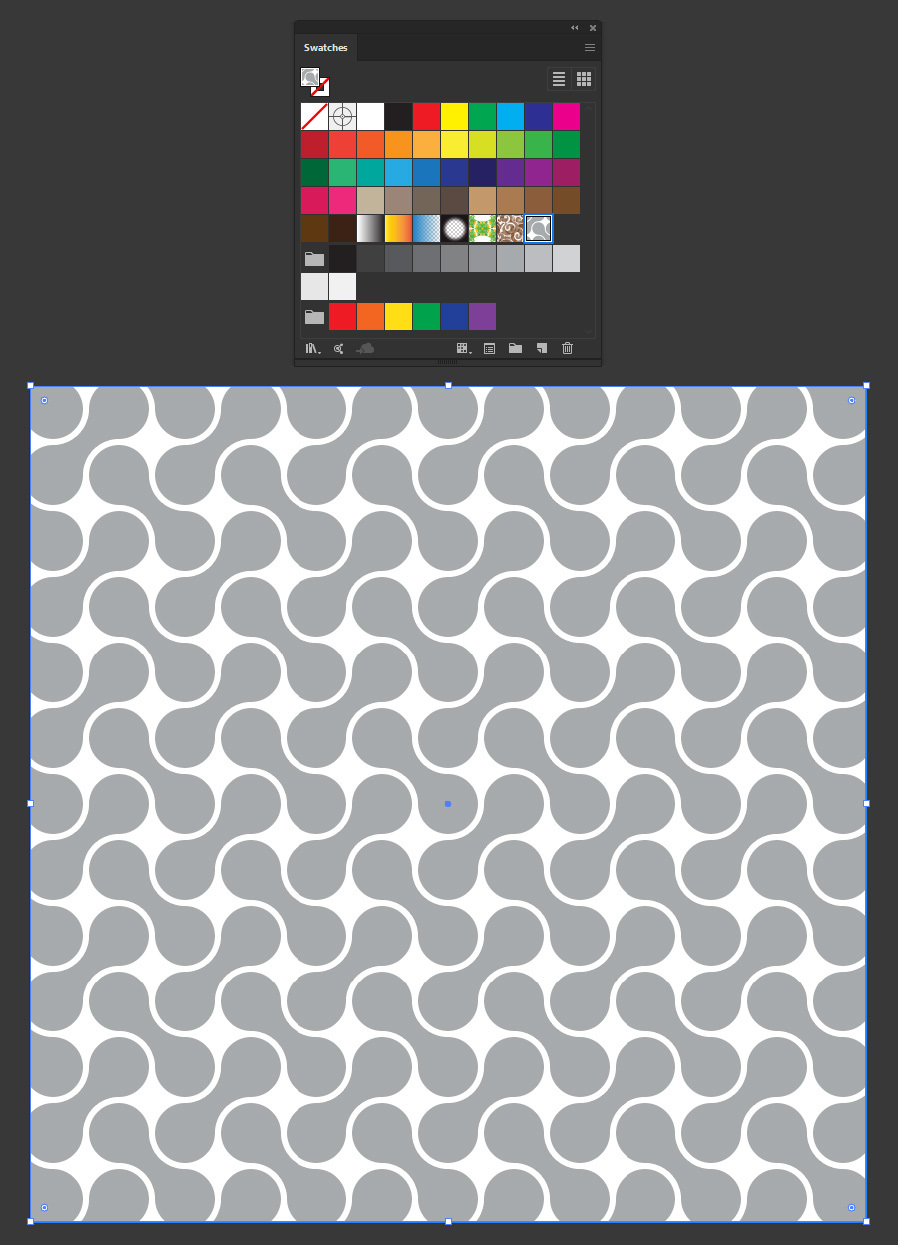
How to Easily Make a Cell Pattern in Illustrator
Illustrator Patterns
There are times when you'll need to use a pattern to fill areas of your design to make them more appealing. Most of the time the just-right pattern is hard to find or it does not even exist. Fortunately, making a pattern in Illustrator is quick and easy. Today I will show you how you can make a cell pattern in less than 5 minutes by using only the default Illustrator tools.
Step 1
Open Illustrator and make a new file at any size you want. In this case, I will make mine 800 x 800 px.
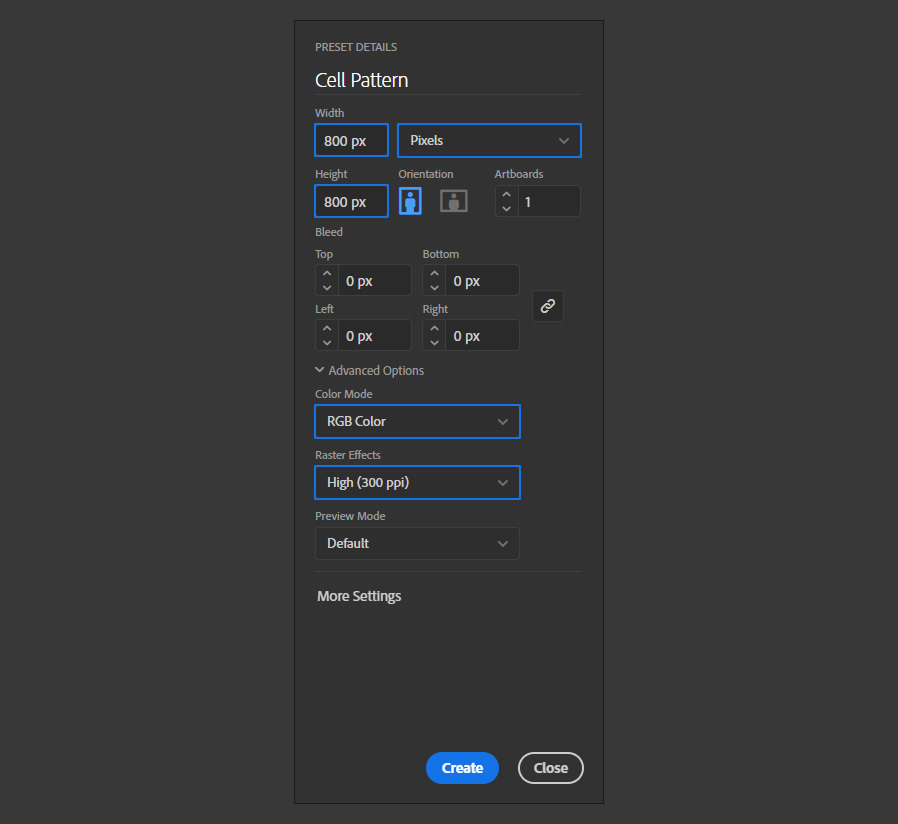
Step 2
Select the Ellipse Tool (L) and click once over the artboard. Set the Width and Height to 100 px and click OK.
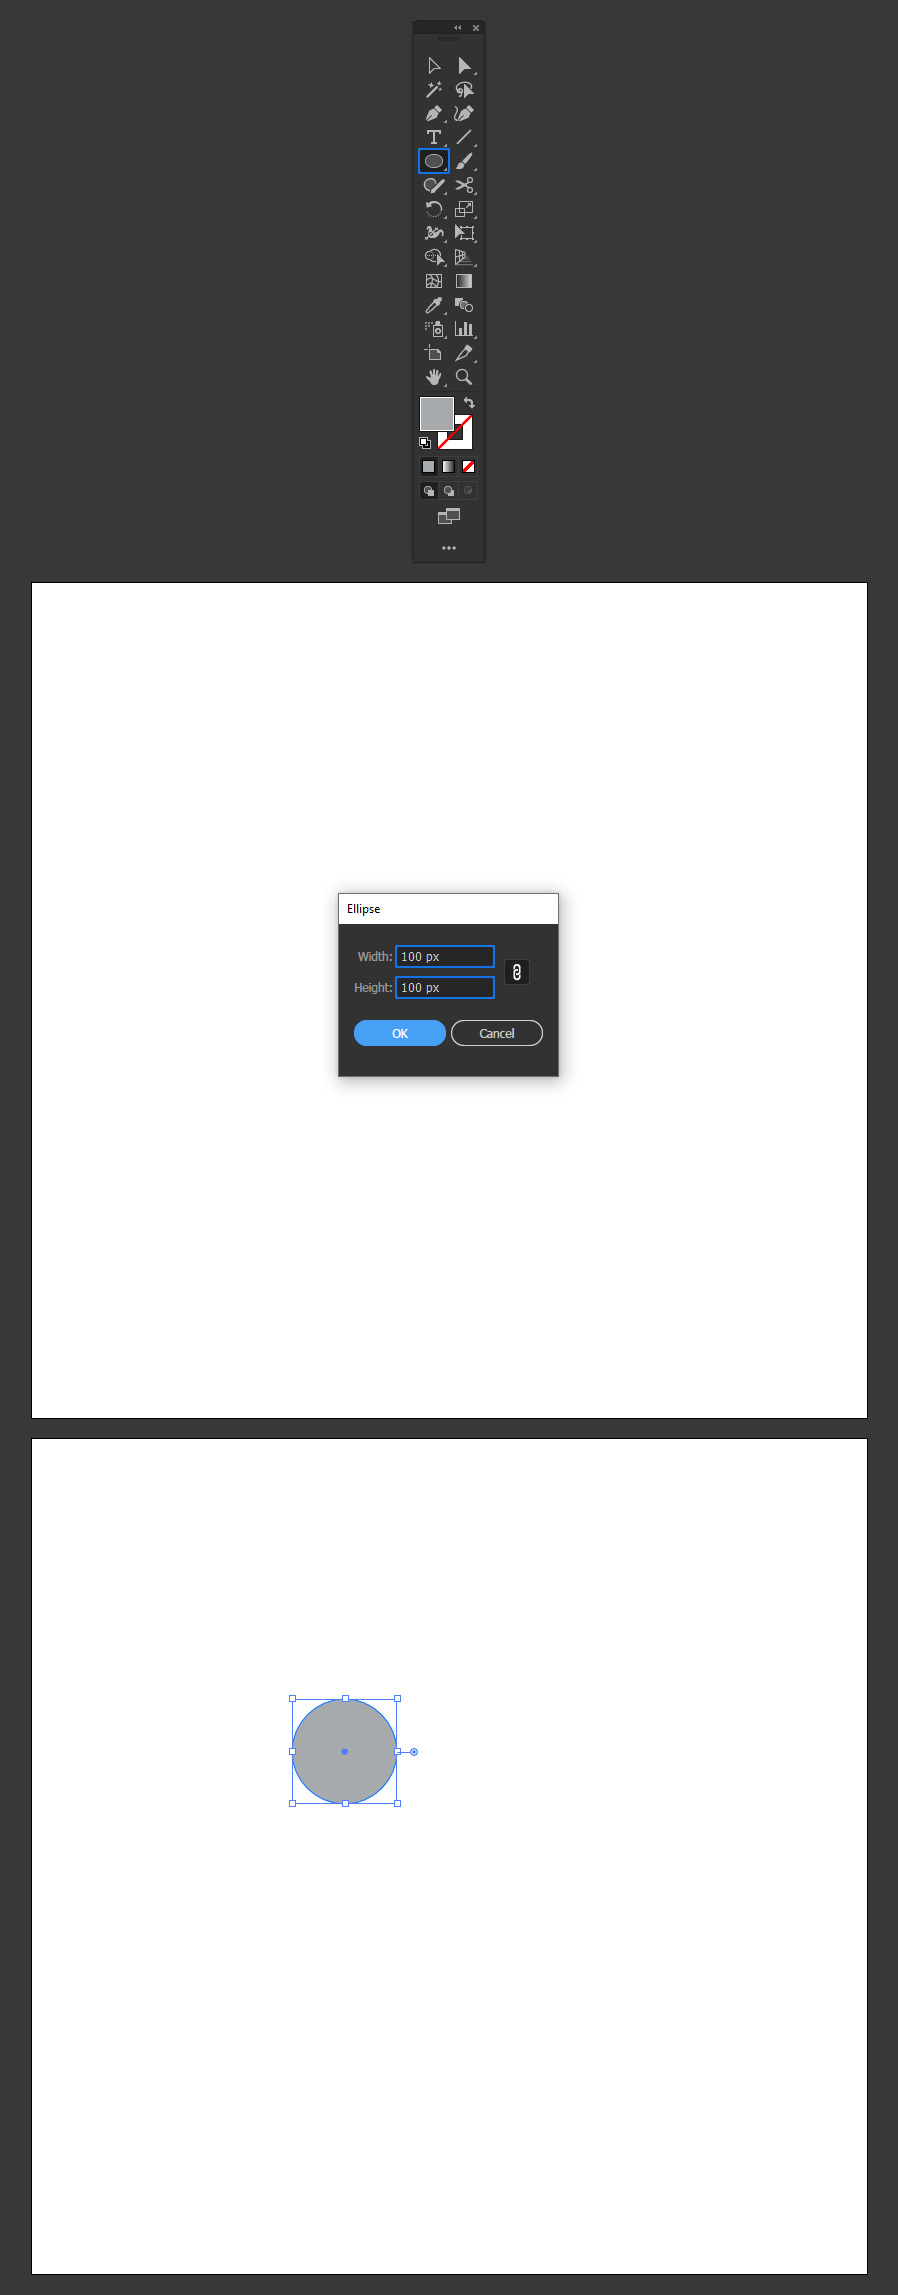
Step 3
Go to Edit > Copy and then to Edit > Paste in Front.
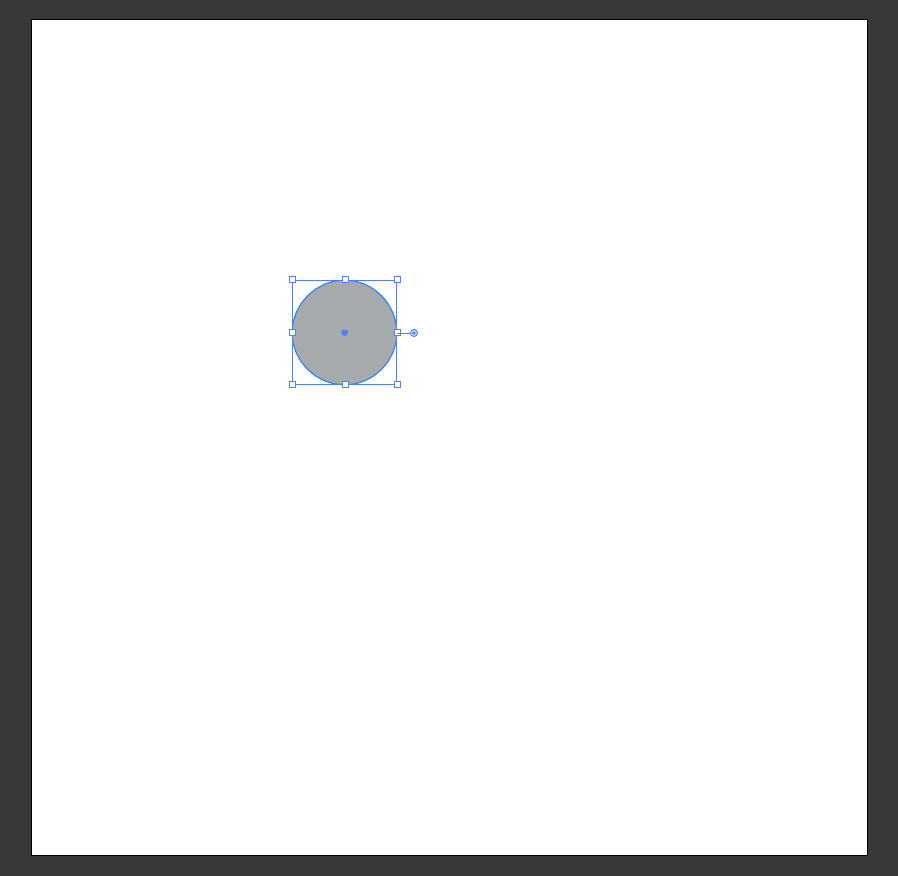
Step 4
While holding the Shift key on your keyboard, drag the copied circle to the right until it is aligned with the end of the original one, as shown.
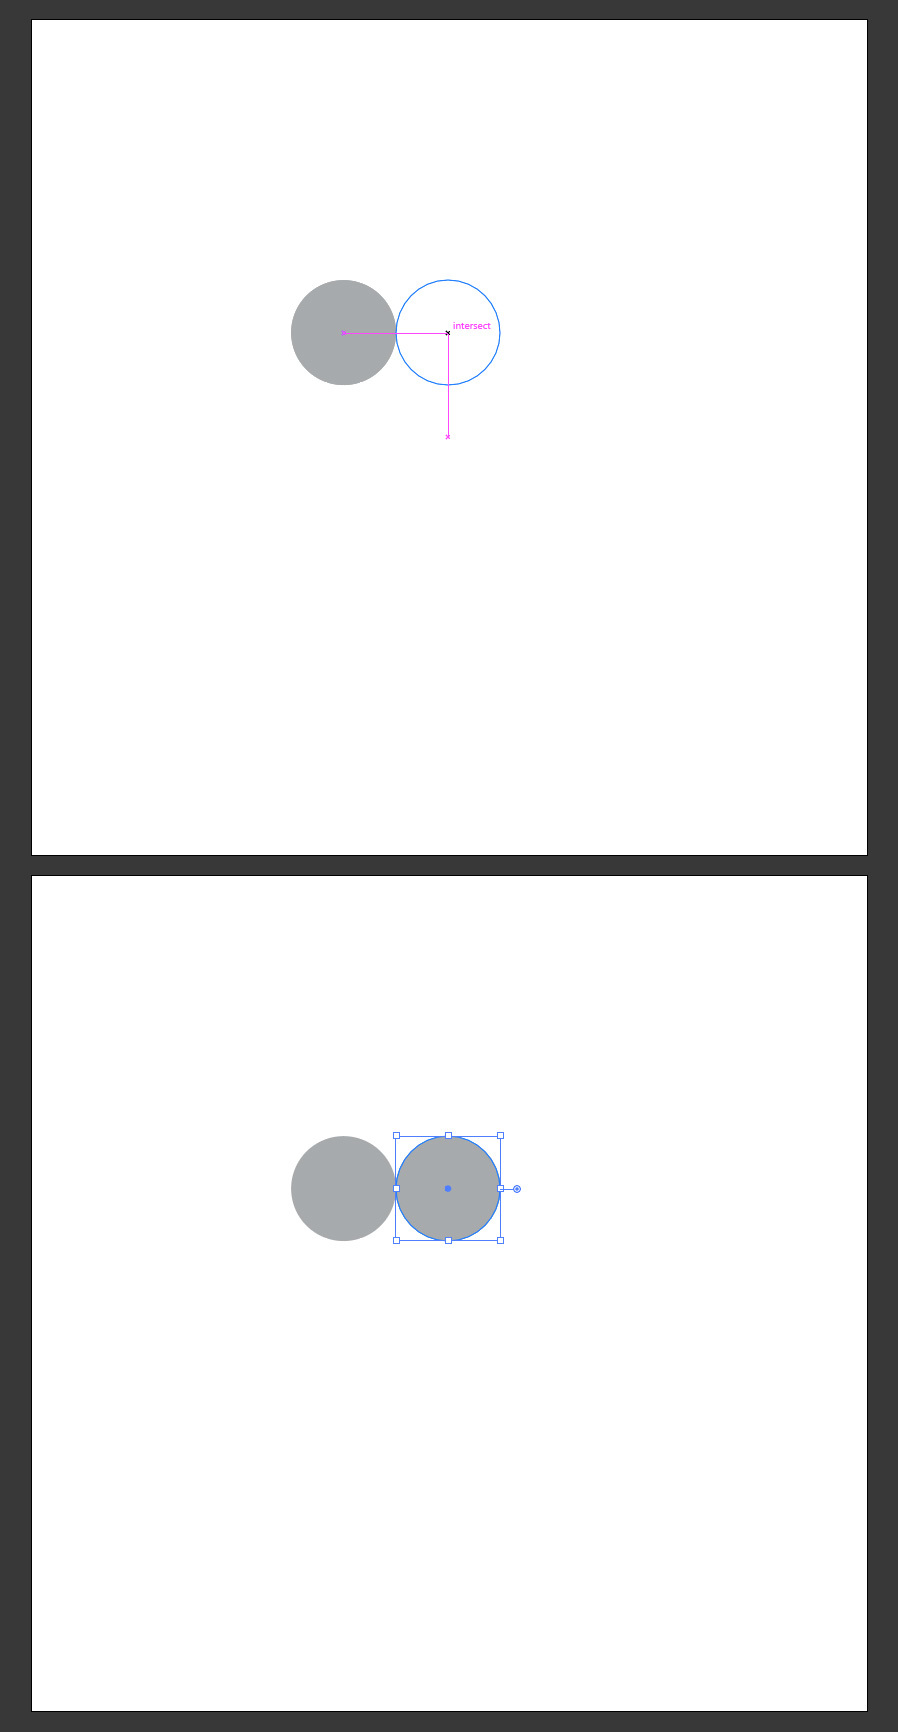
Step 5
Again, copy, paste and drag the copied circle to the right until it is aligned with the end of the second circle as shown.
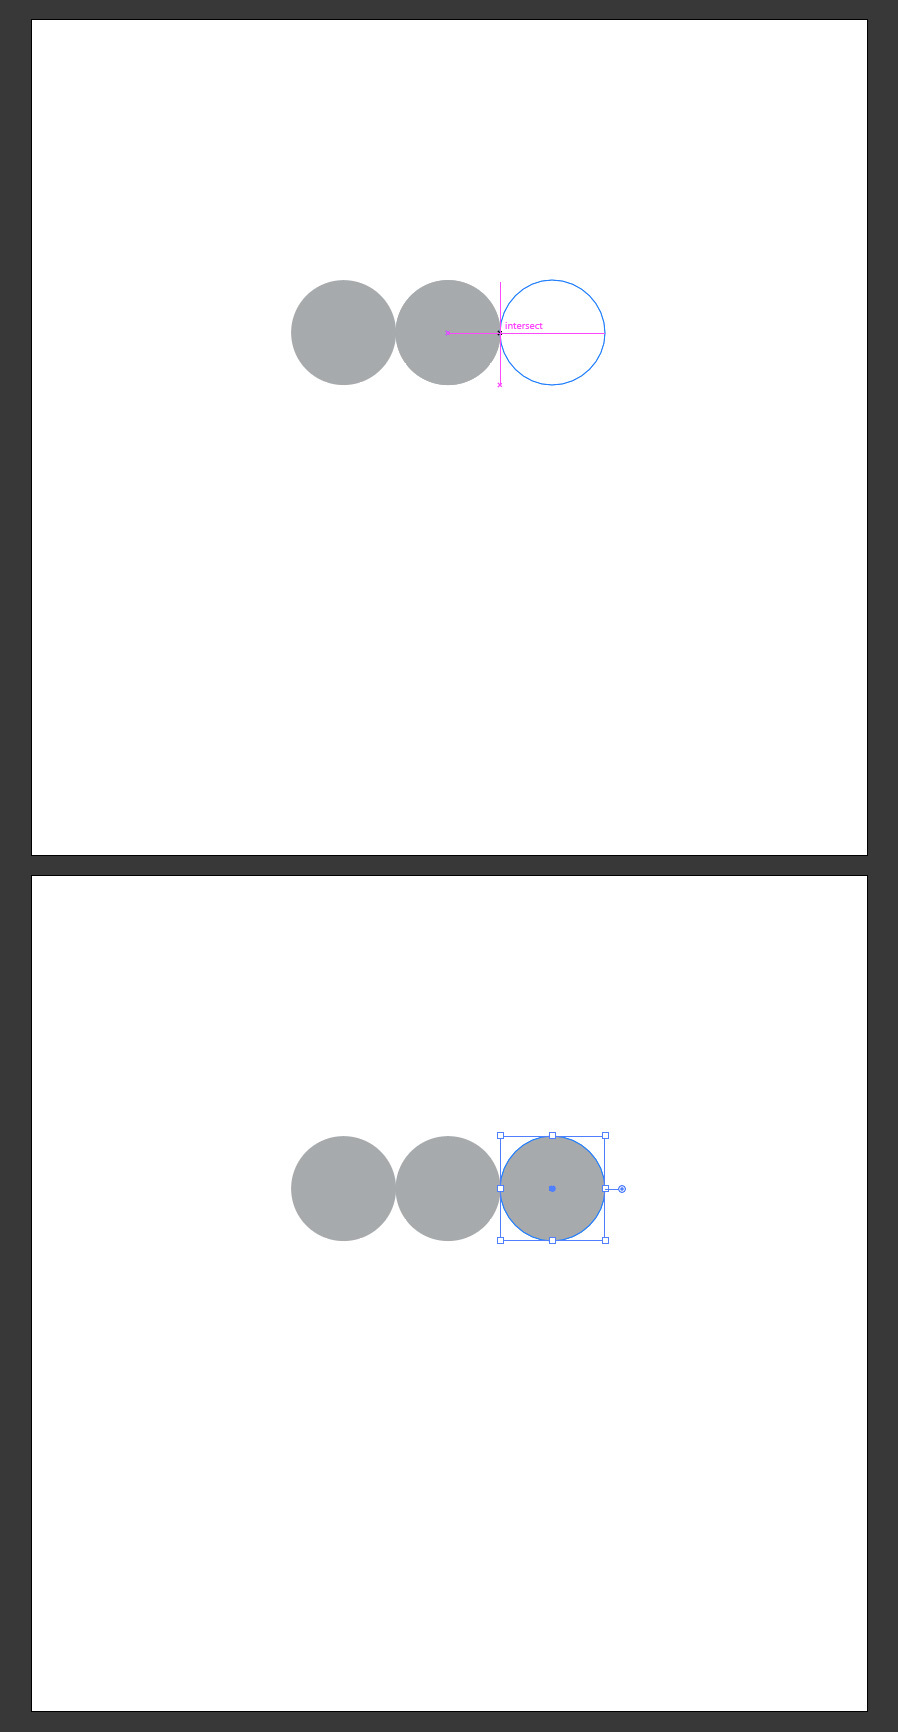
Step 6
Select the 3 circles, copy, paste and drag the copied circles down until they are aligned with the end of the first circles row as shown.
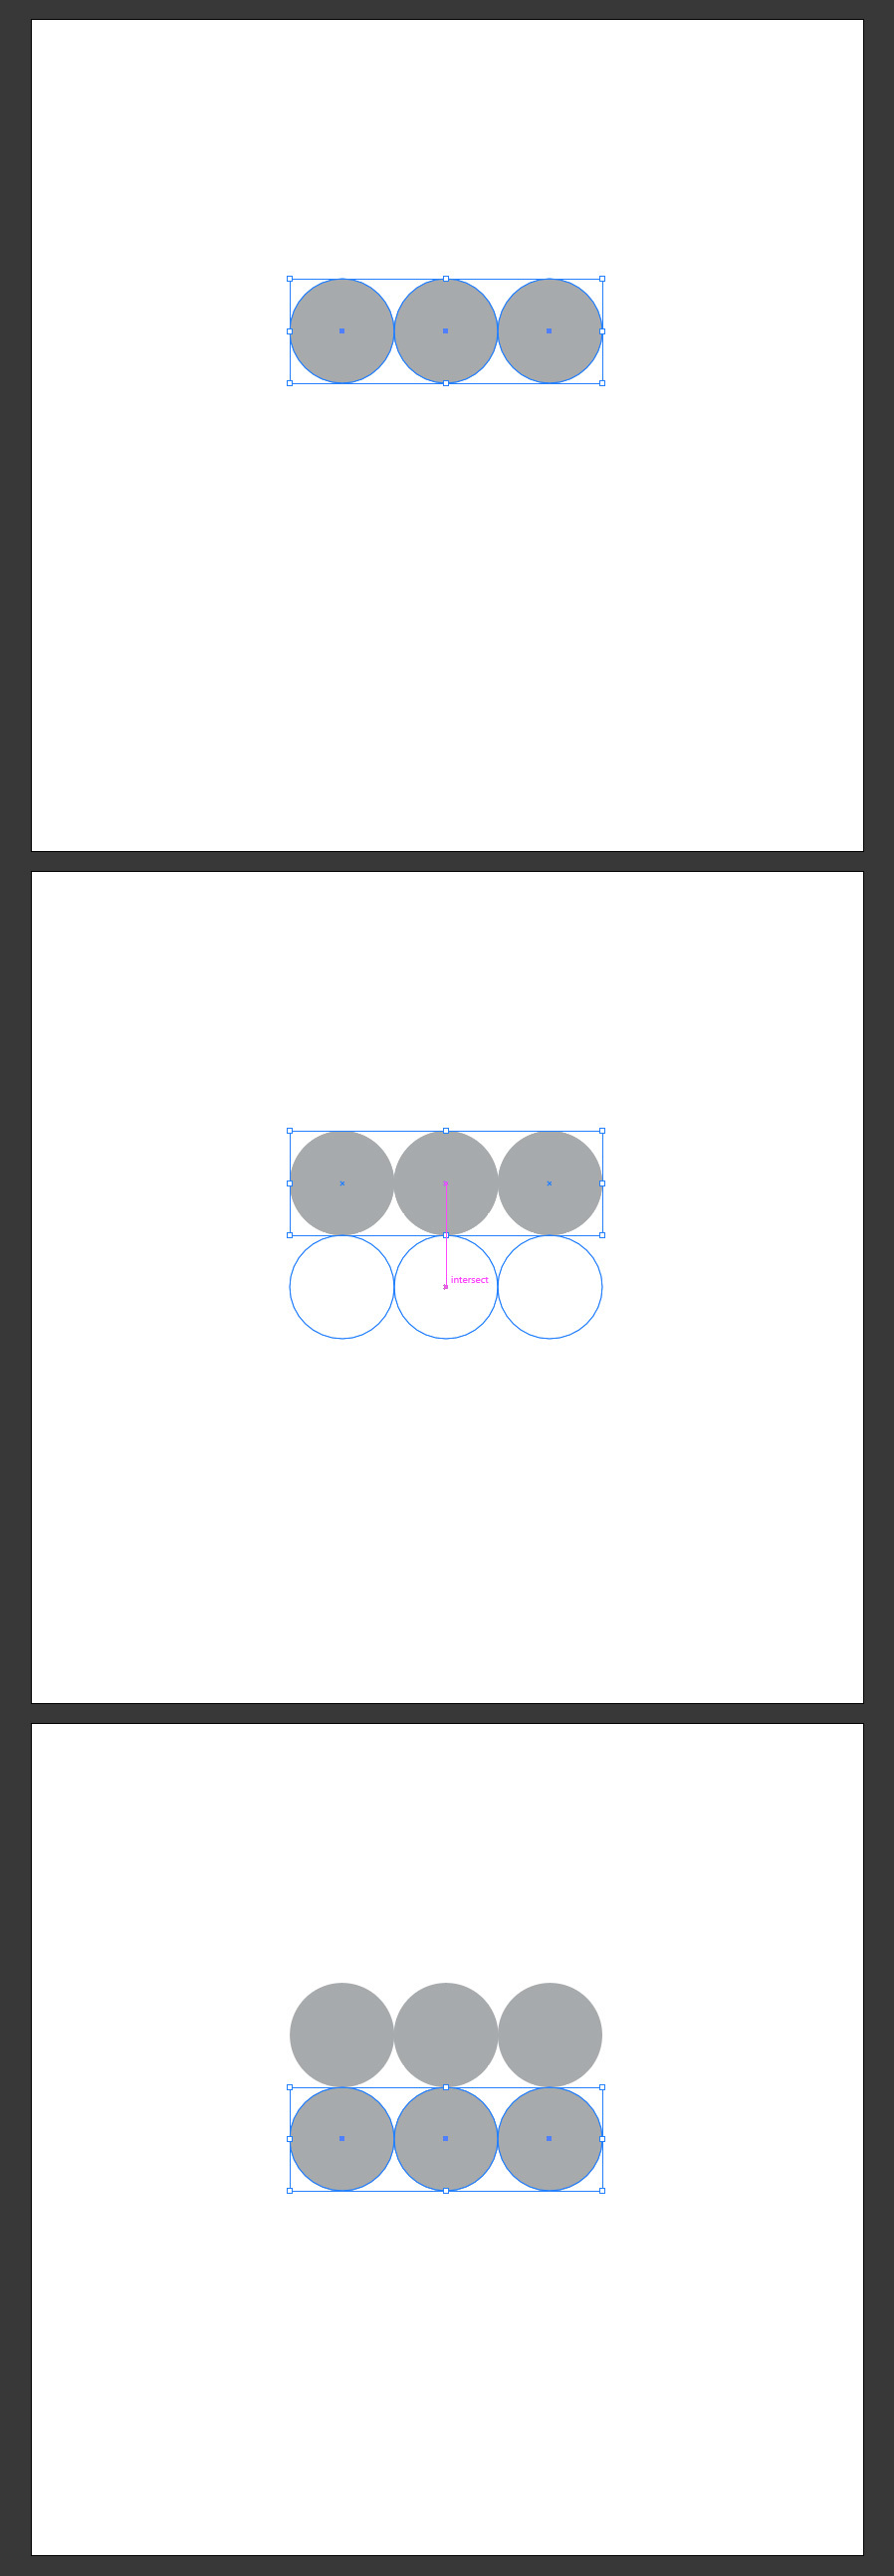
Step 7
Again, copy, paste and drag the copied circles down until they are aligned with the end of the second circles row as shown.
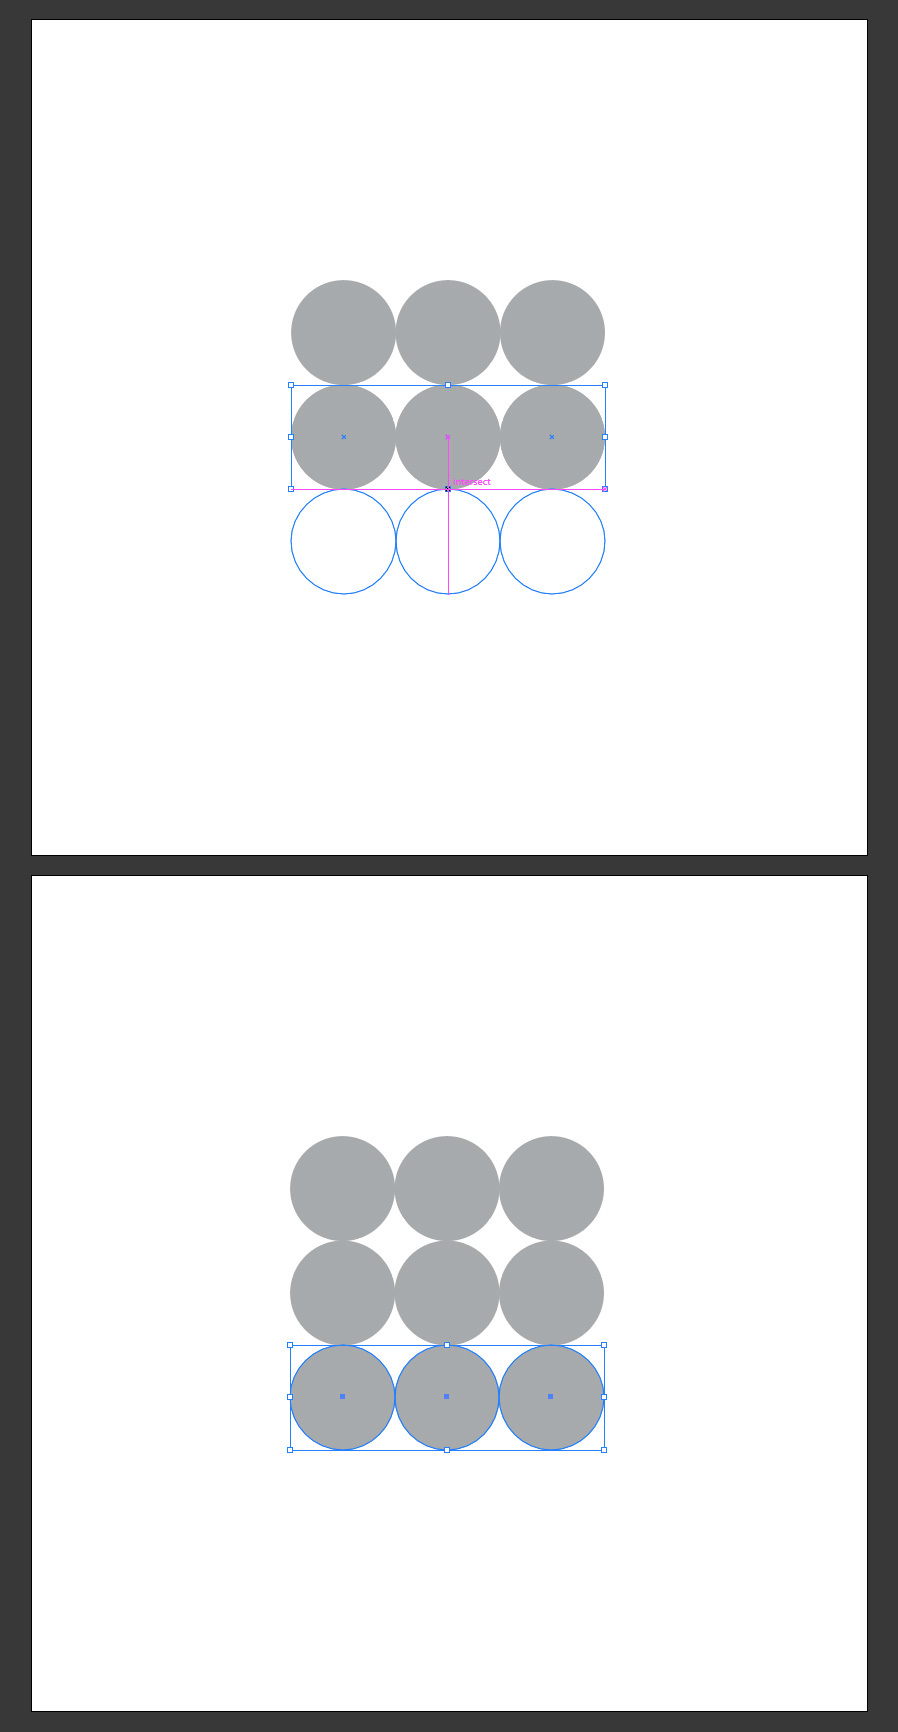
Step 8
Select All circles and go to Window > Stroke. Set the stroke Weight to 10 pt.
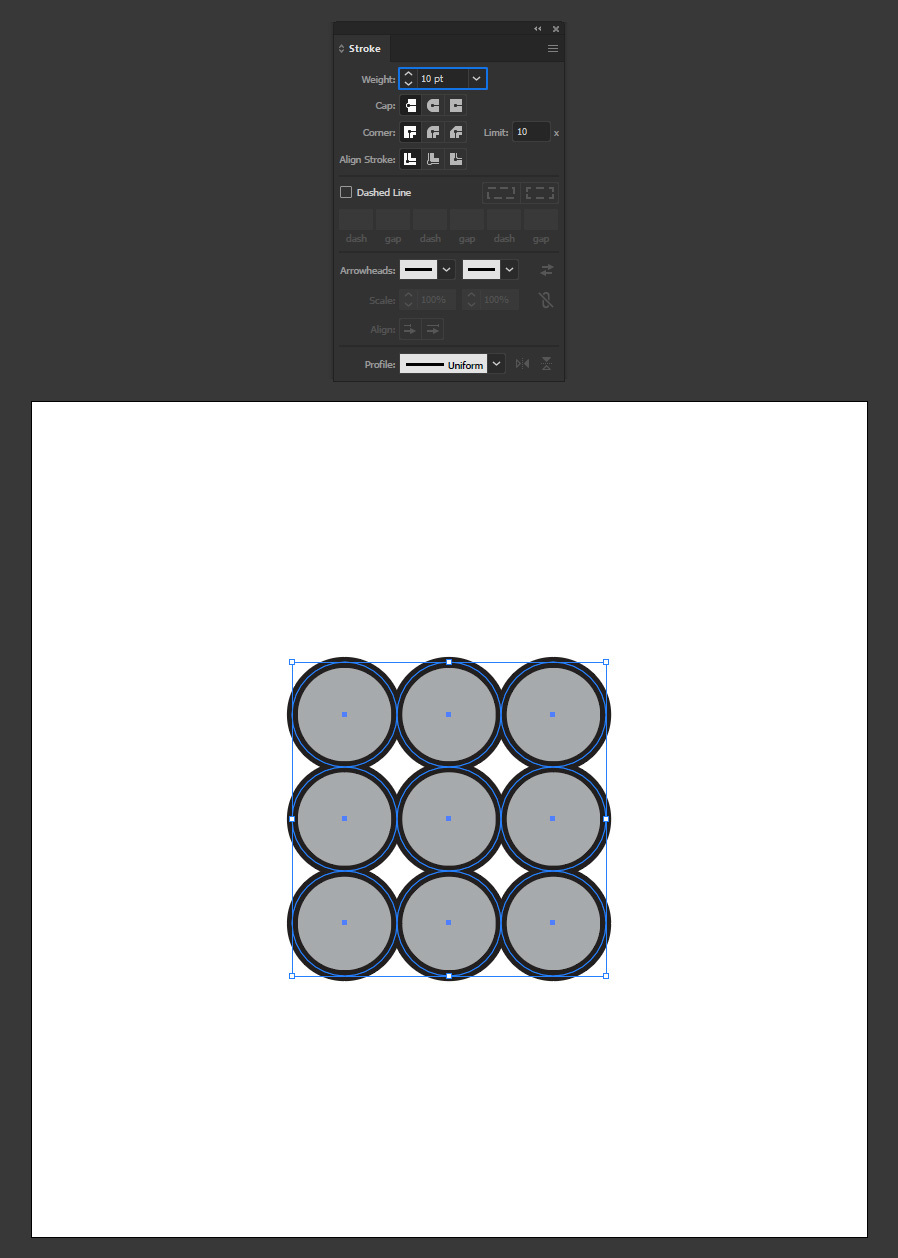
Step 9
With all circles selected, go to Object > Expand. Check both Fill and Stroke and click OK in the expand window.
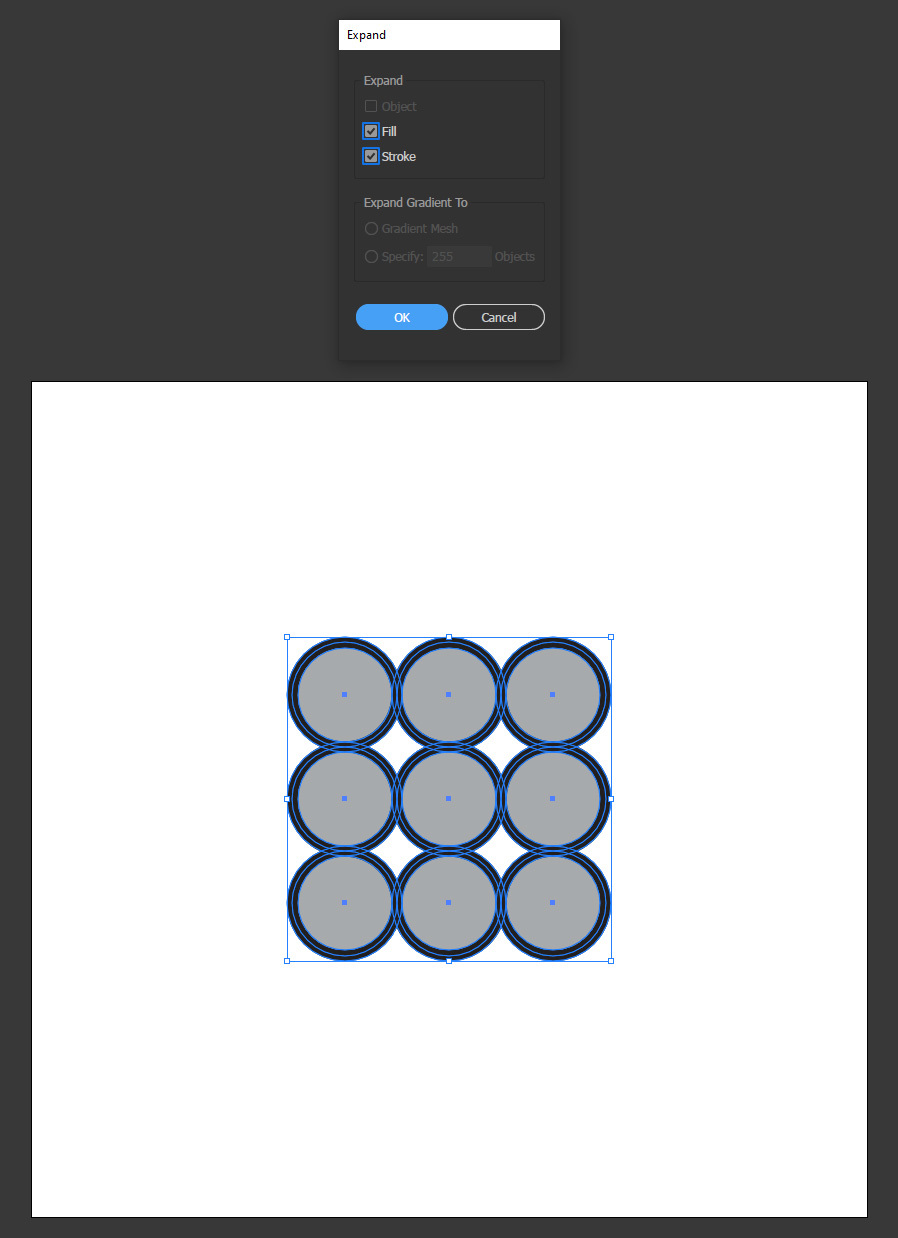
Step 10
Pick the Shape Builder Tool (Shift+M) and then drag a line across the bottom right circle to the middle one as shown.
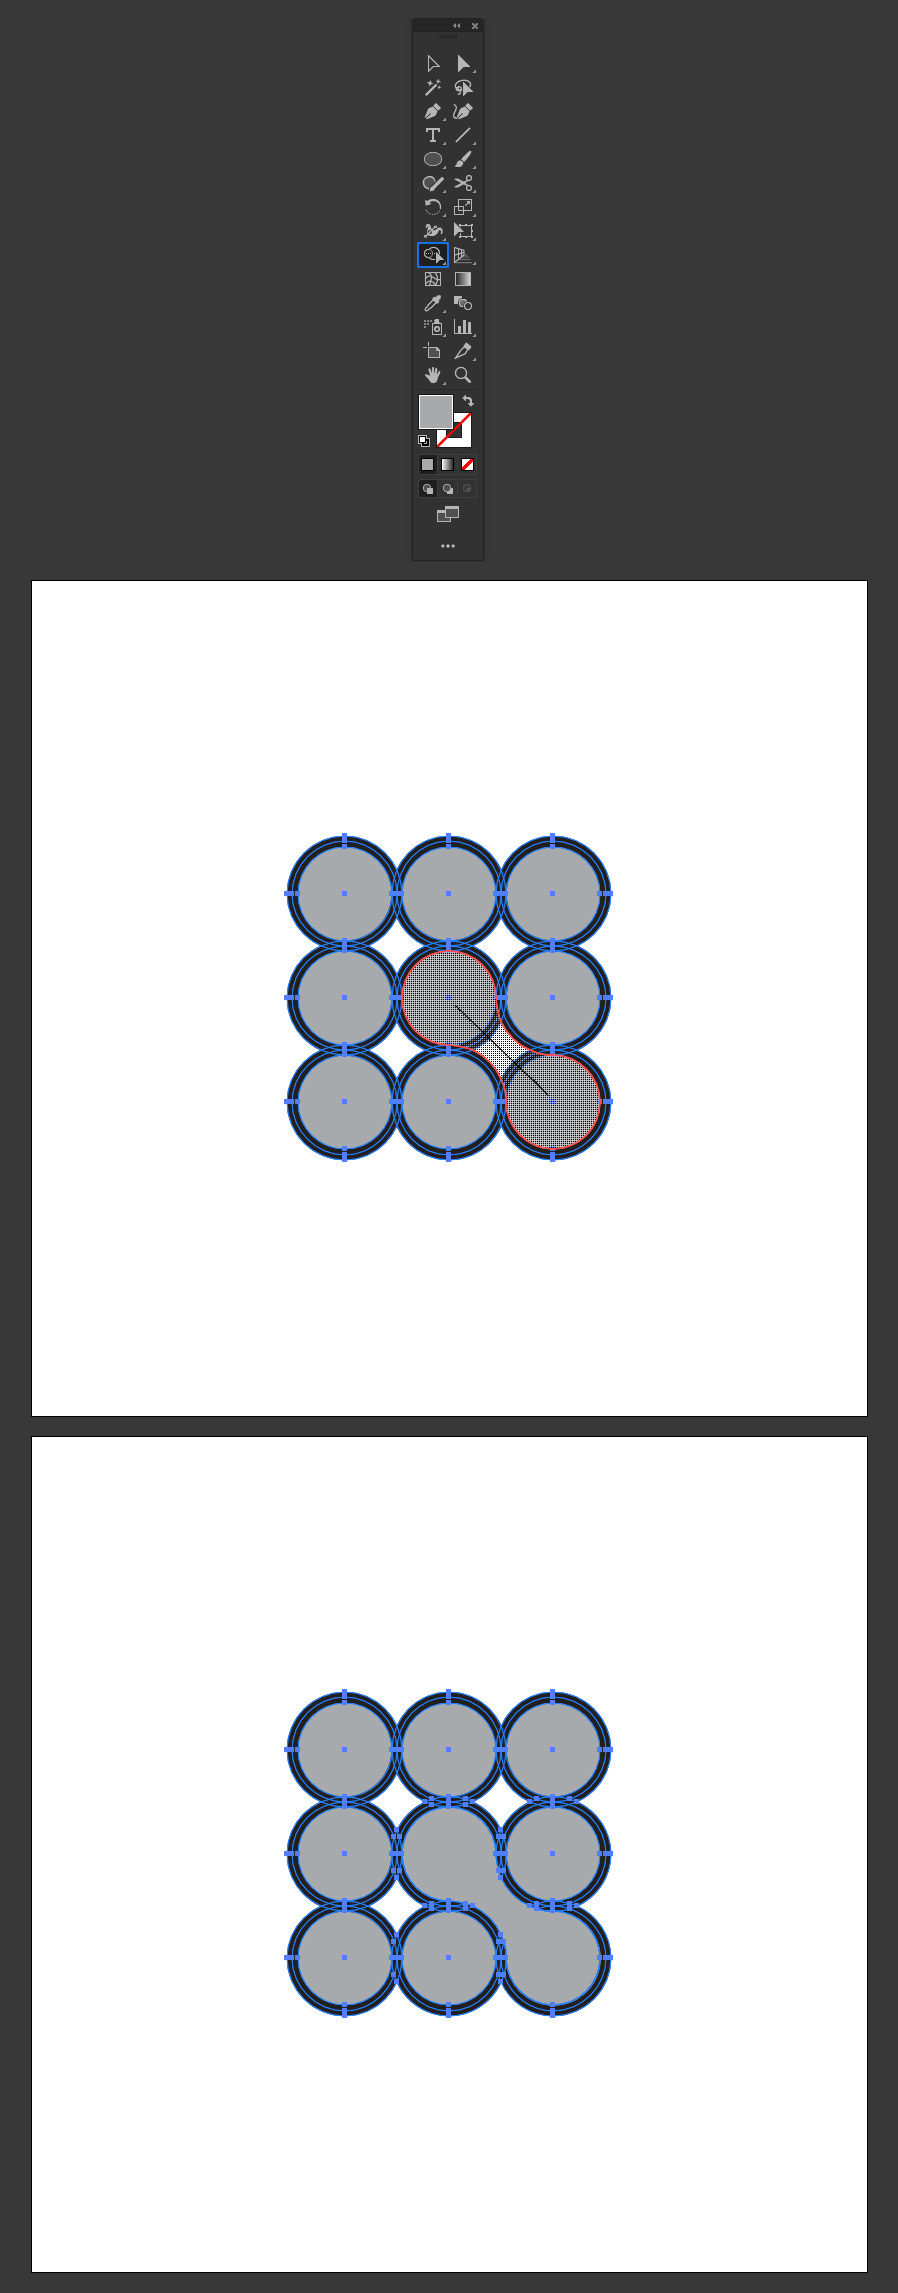
Step 11
Now drag a line across the middle left circle to the middle top one as shown.
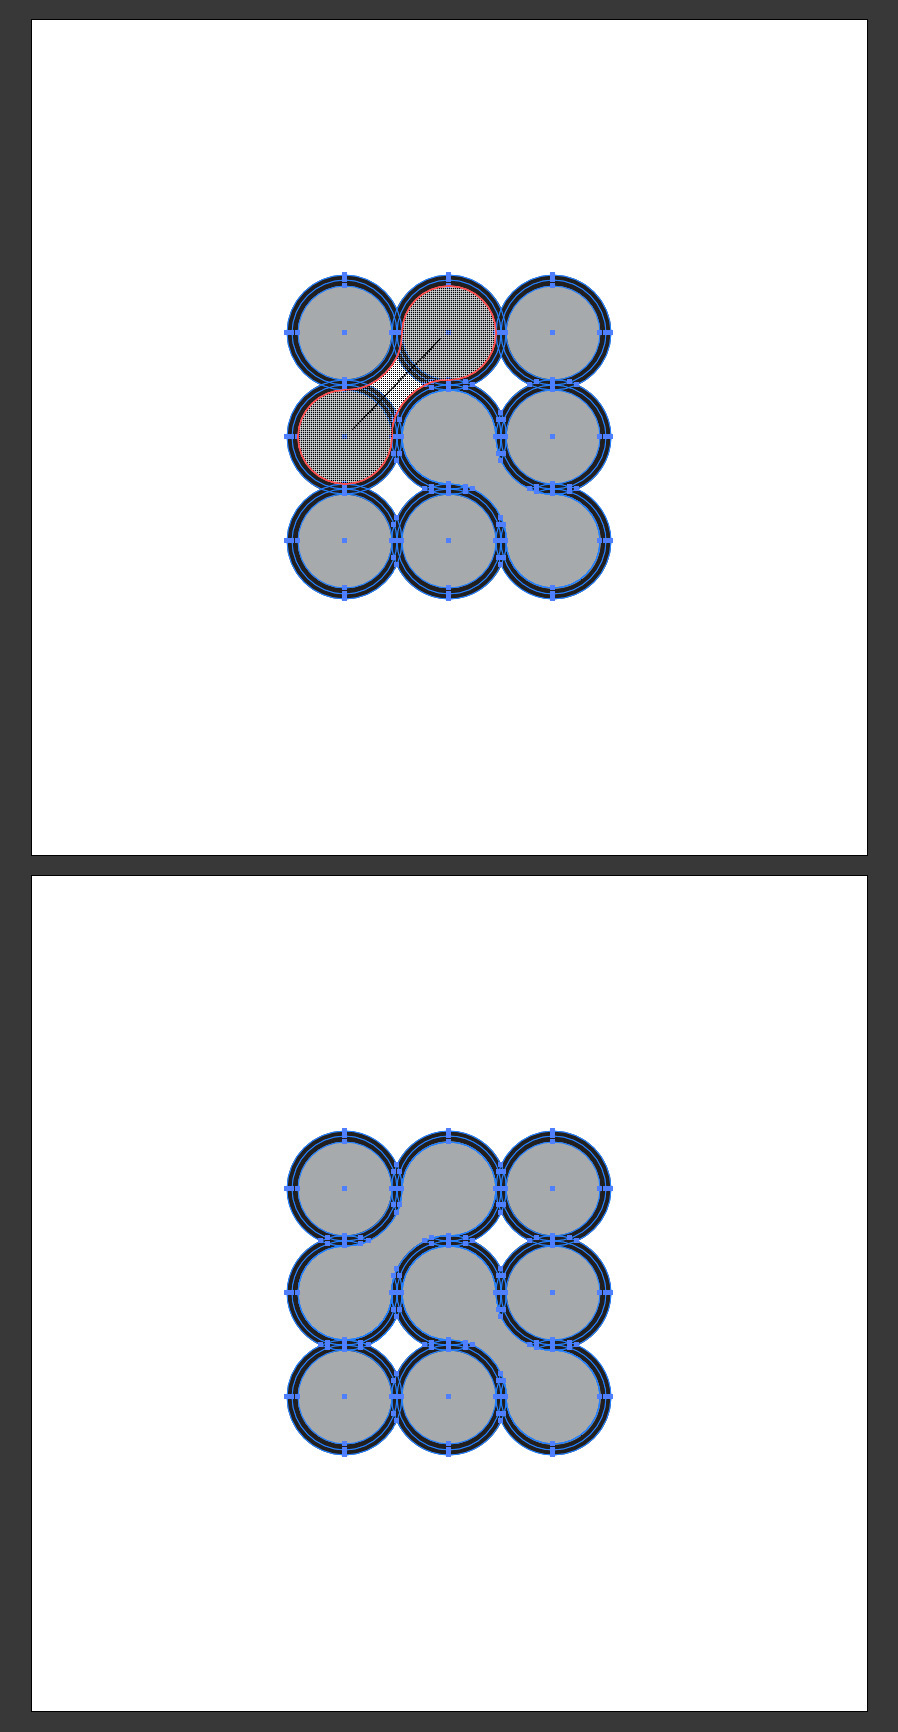
Step 12
Using the Selection Tool (V) select both shapes and go to Object > Pattern > Make. Apply the following settings and then click "Done" in the top toolbar.

Step 13
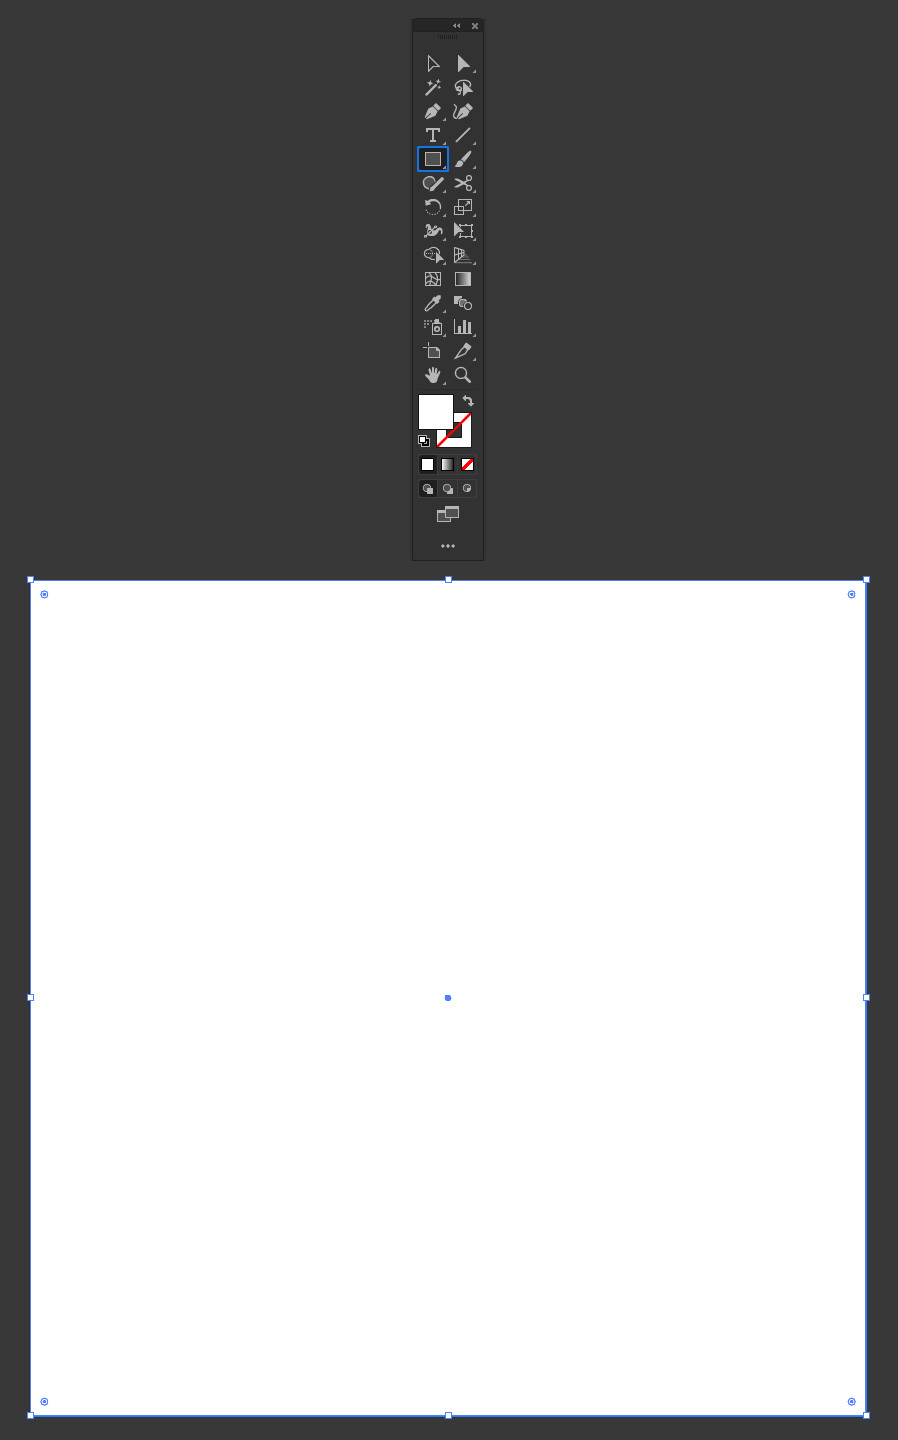
Delete all elements in the artboard and using the Rectangle Tool (M) make a rectangle covering the whole canvas area.
Step 14
Lastly, with the rectangle selected go to Window > Swatches. Be sure to have the Fill selected and click once over the new pattern.
