
How to Create Furry Text in Photoshop
A Simple Furry Text Photoshop Technique
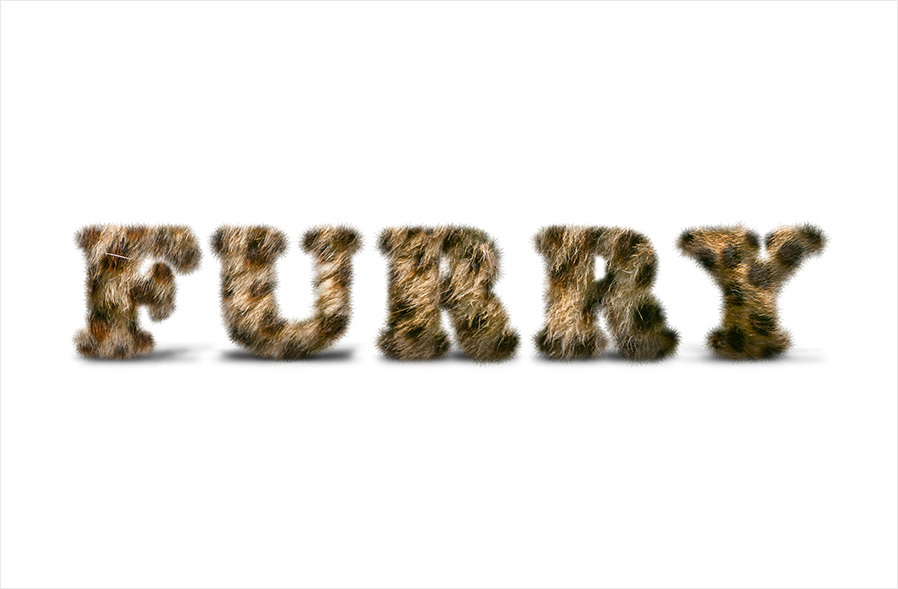
In this tutorial, you will learn an easy and effective technique to transform any text to a furry one using only Photoshop native tools, very basic layer styles and one single texture which you can easily change later without making the whole process again.
But before we begin, and if you want to follow this tutorial exactly as described, please download the following image from Pixabay: Download
What you'll be creating
Step 1
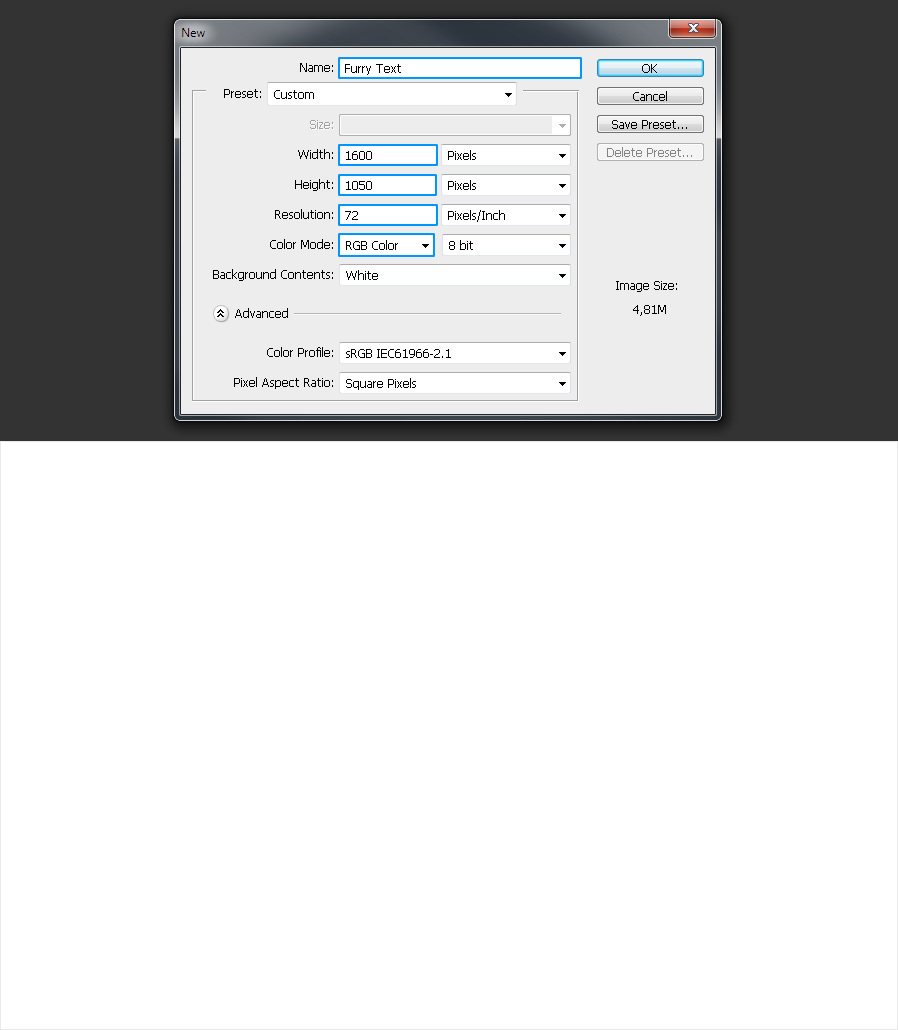
Open Photoshop and make a new document. I will setup mine at 1600 x 1050 px for the dimensions, but you can use any size you want depending on the text you will type.
Step 2
Set the Foreground color to Black.

Step 3
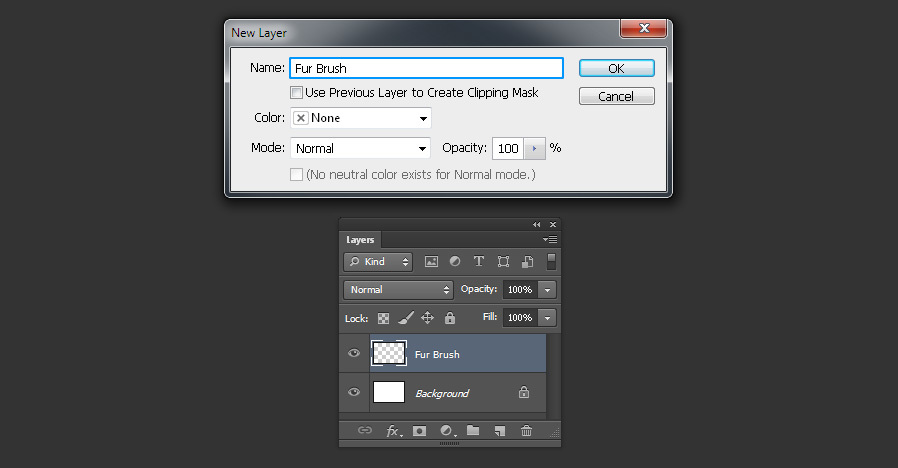
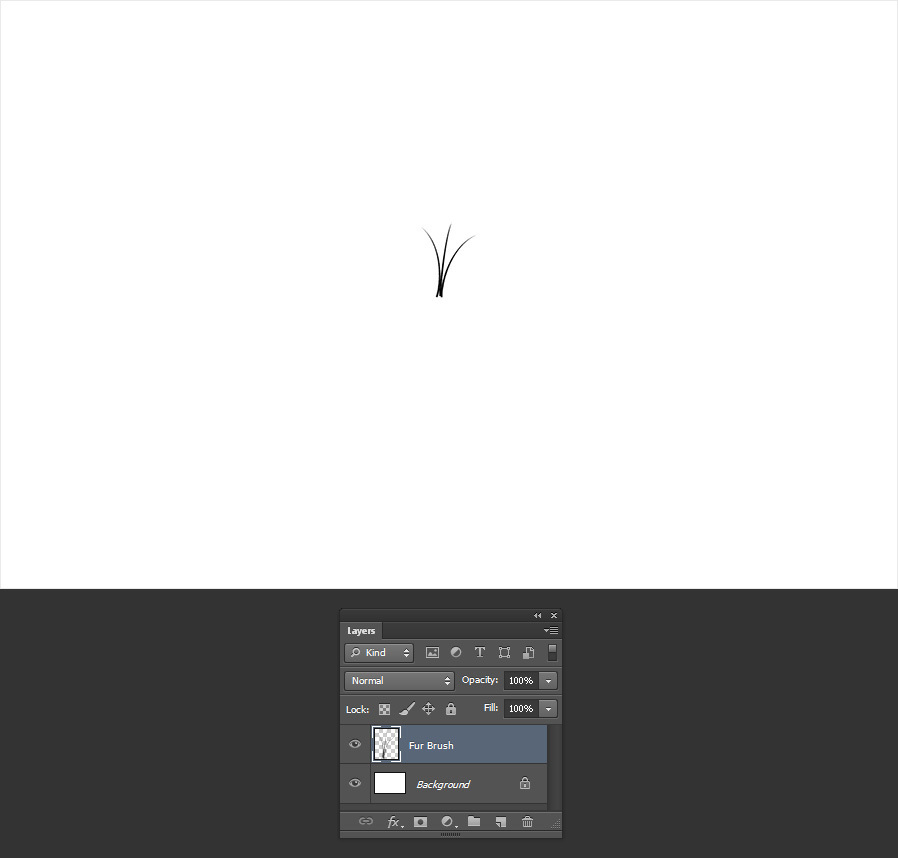
Go to Layer > New > Layer. Name this layer as “Fur Brush” and click OK.
Step 4
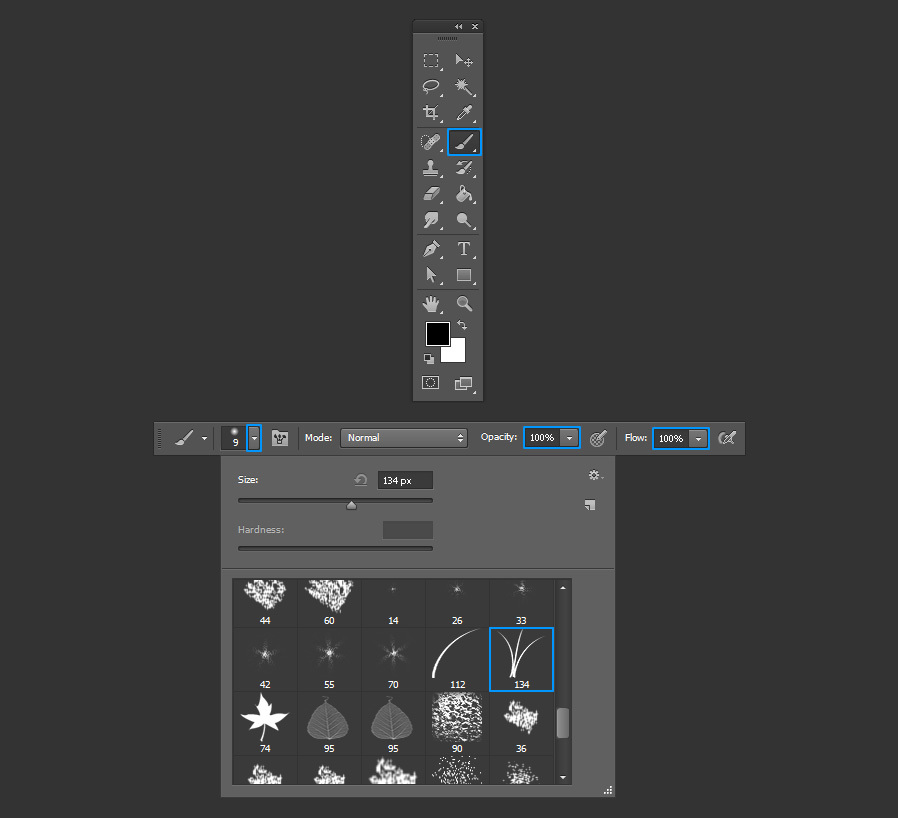
Select the Brush Tool (B) and from the Brush Preset Picker in the top toolbar, select the “Grass” one. Be sure to have the Opacity and Flow set to 100%.
Step 5
Go to Window > Brush. In the Brush window, be sure to uncheck all the default options of this brush.
Step 6
With the Brush Tool selected, click once over the canvas.
Step 7
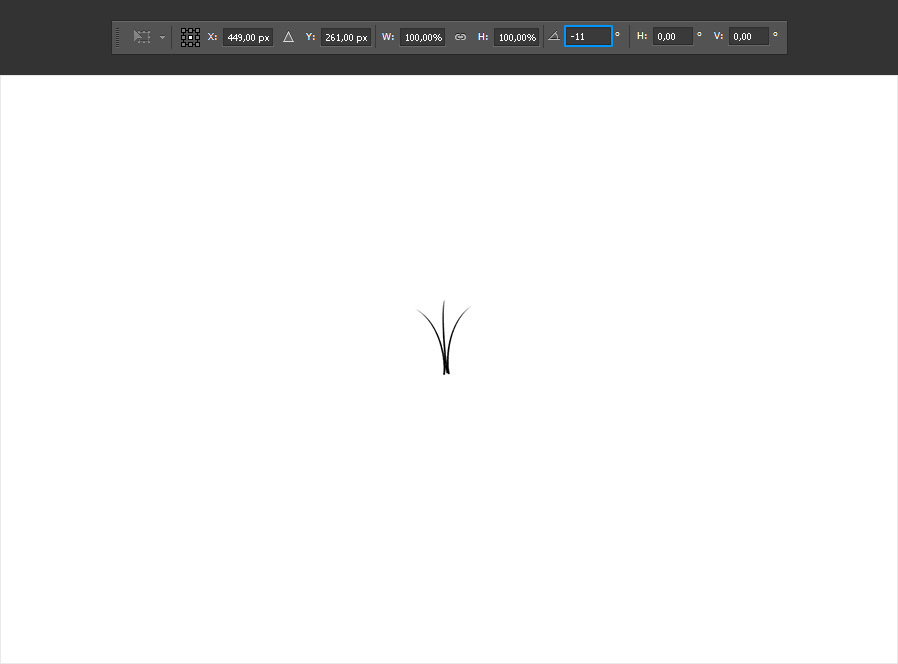
Go to Edit > Transform > Rotate. Set the angle to -11º and hit the enter key on your keyboard to commit the changes.
Step 8
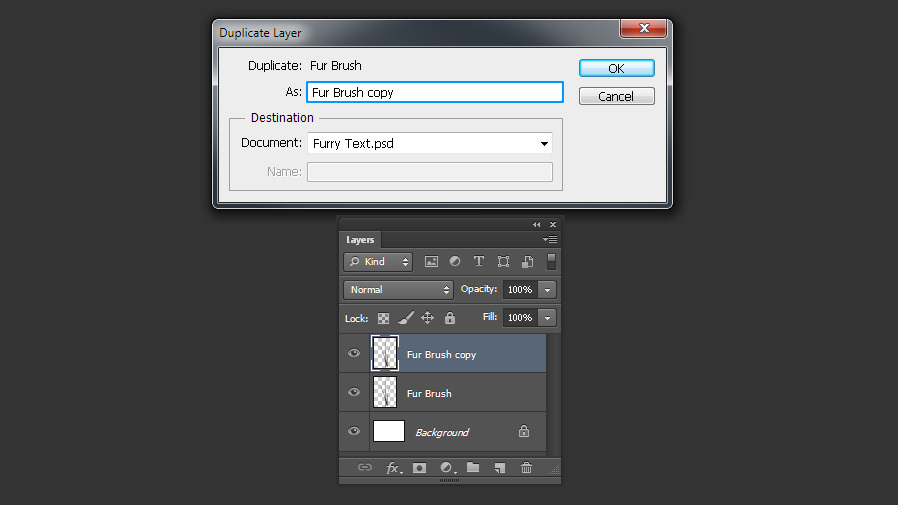
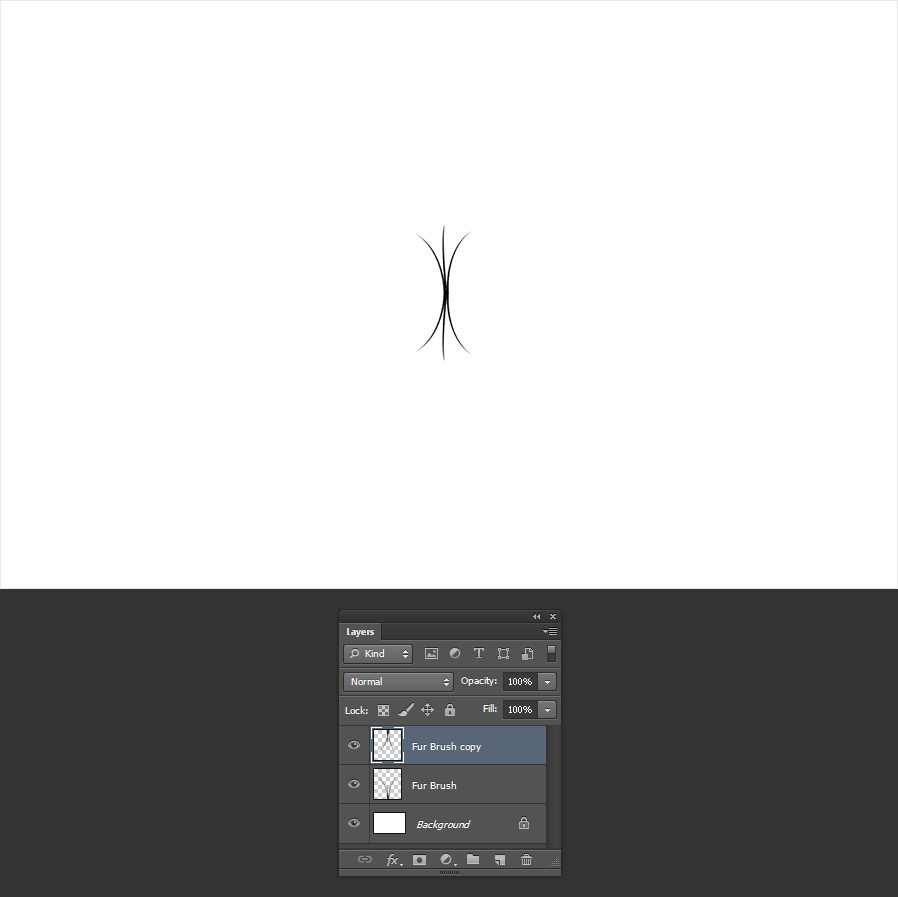
Go to Layer > Duplicate Layer. Name this layer as Fur Brush copy and click OK.
Step 9
Go to Edit > Transform > Flip Vertical and position the new layer as shown.
Step 10
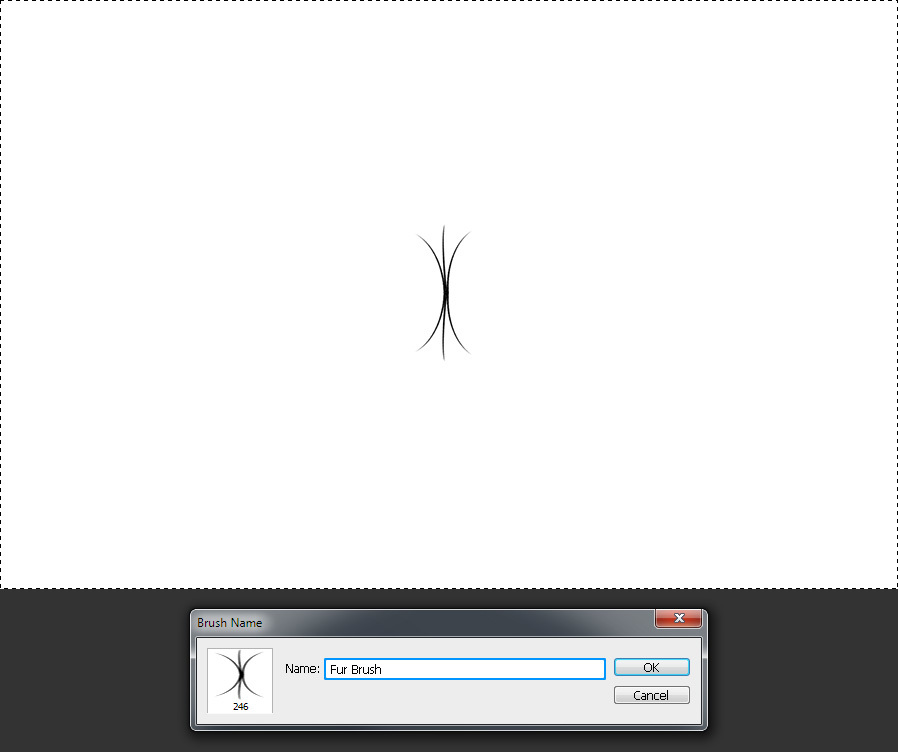
Go to Select > All and then to Edit > Define Brush Preset. Name the new brush as “Fur Brush” and click OK.
Step 11
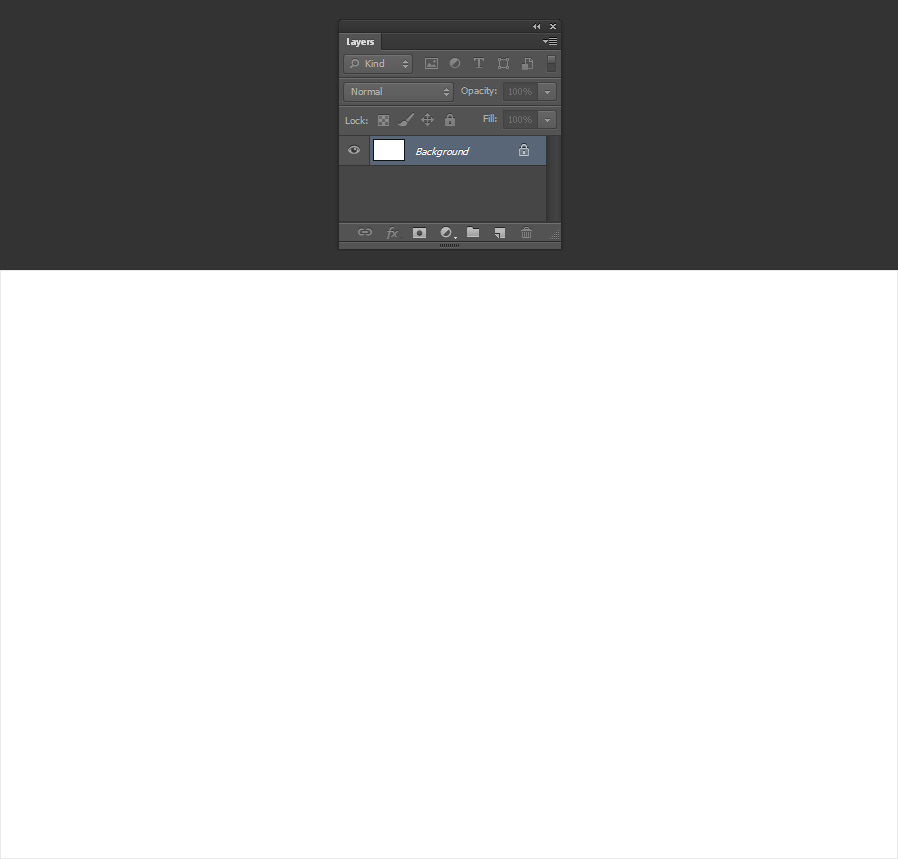
Go to Select > Deselect and delete both “Fur Brush” layers.
Step 12
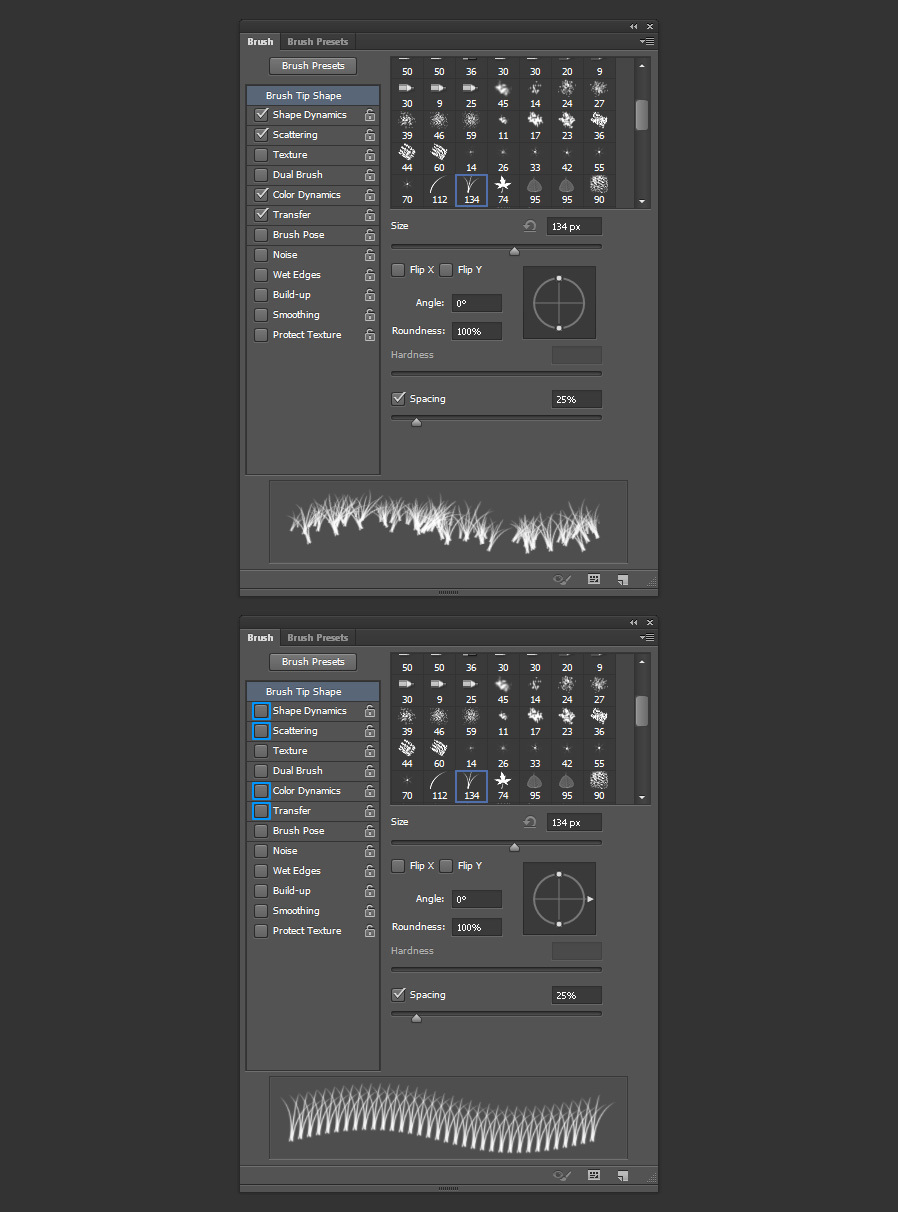
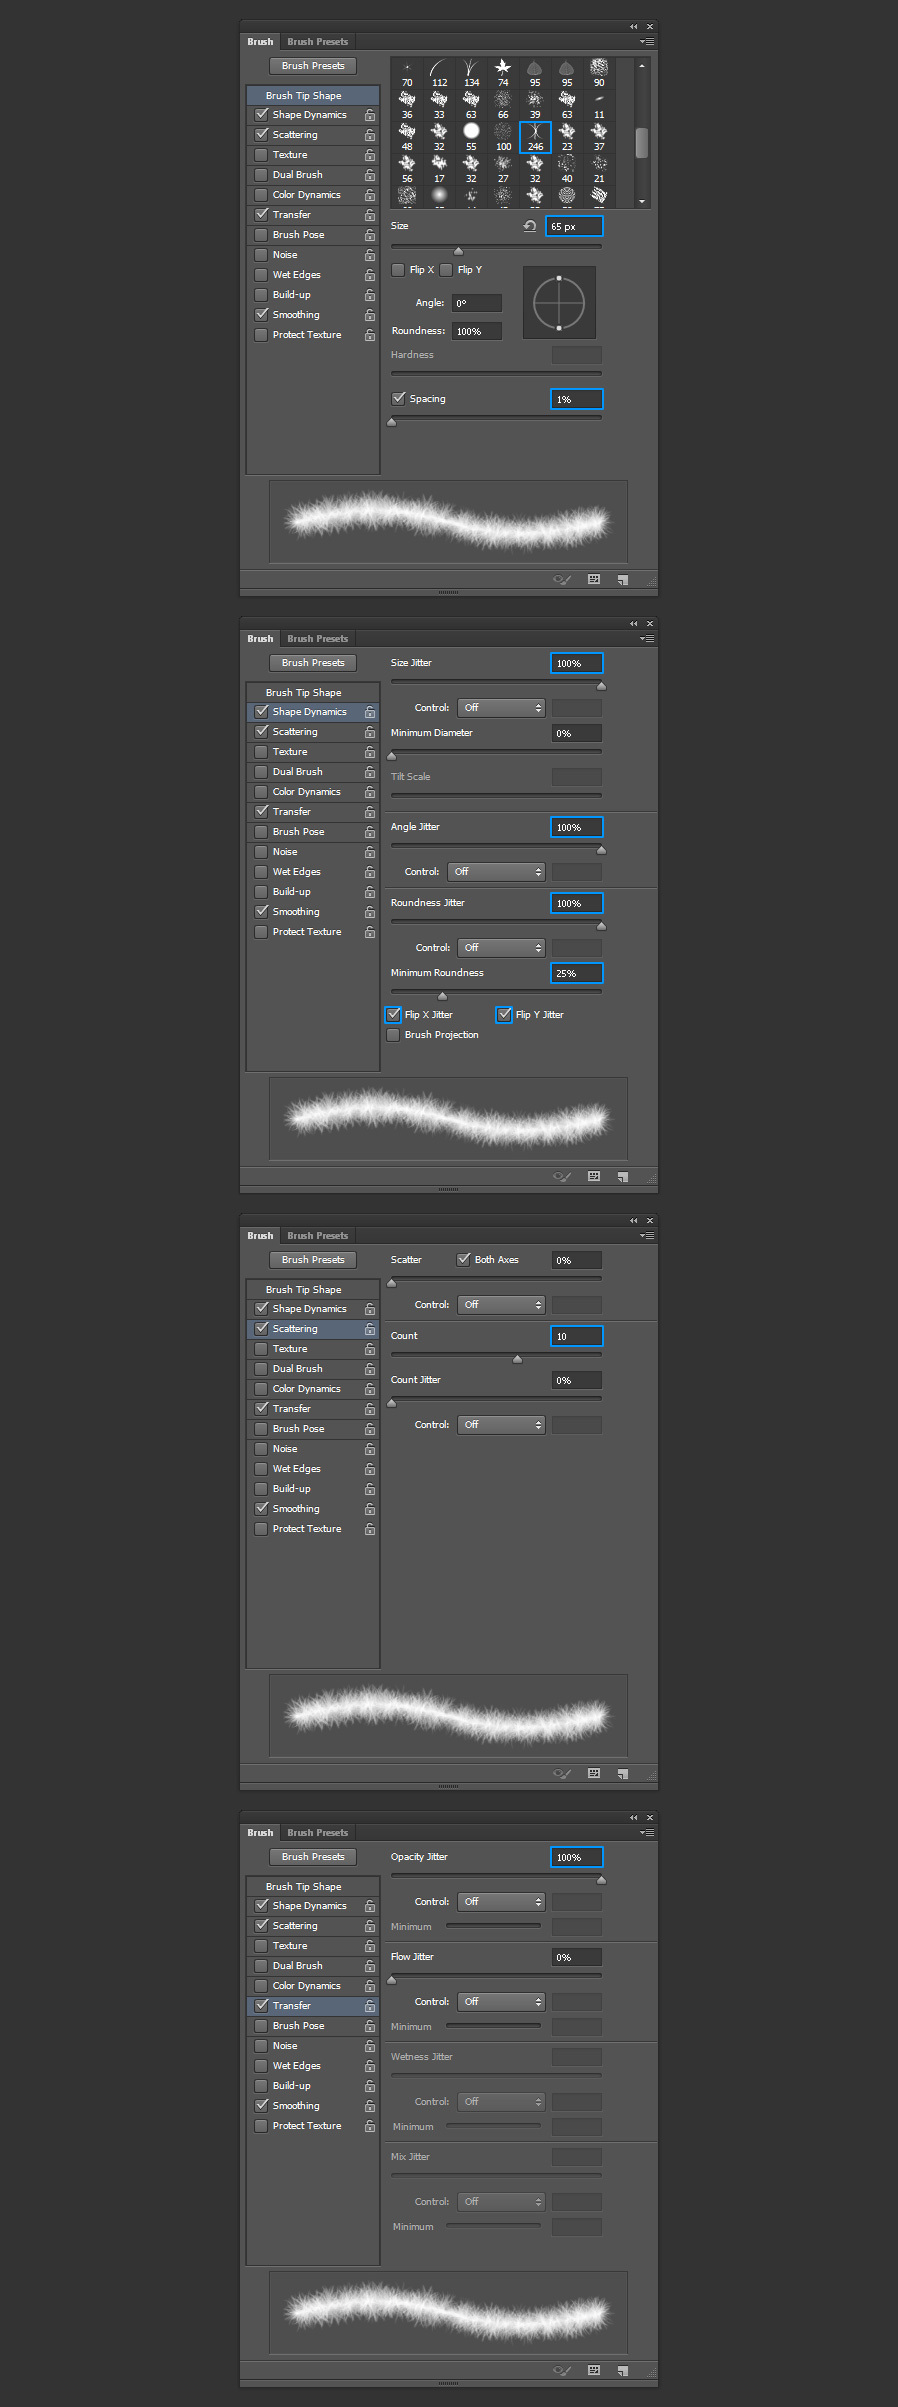
With the Brush Tool (B) selected go to Window > Brush. In the brush window, select the “Fur Brush” we just made and apply the following settings:
Step 13
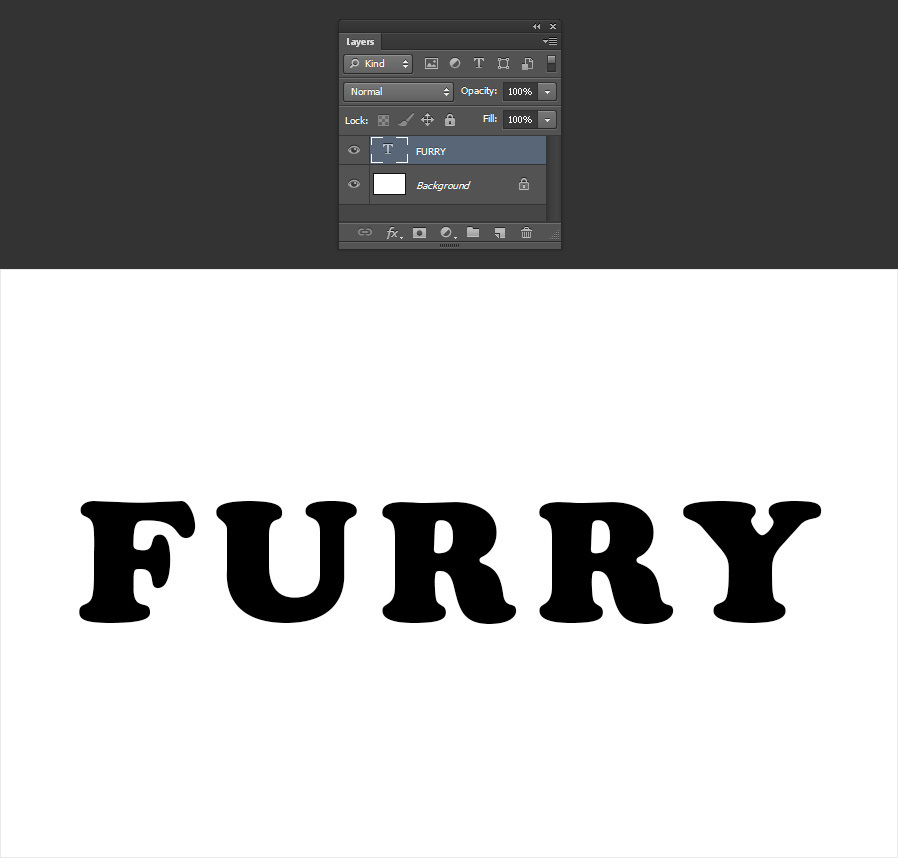
Type your text in a new layer.
Step 14
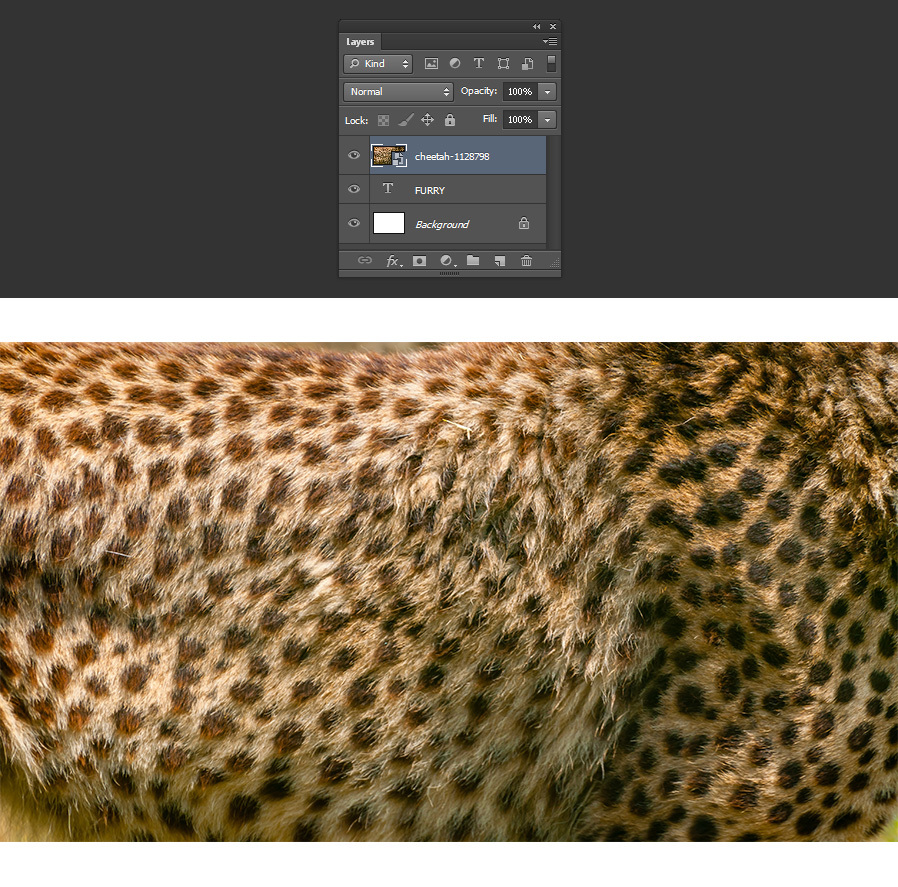
Go to File > Place. Locate the “Cheetah fur texture” and click on Place. Position the image to cover the whole text and hit the Enter key on your keyboard to commit the changes.
Step 15
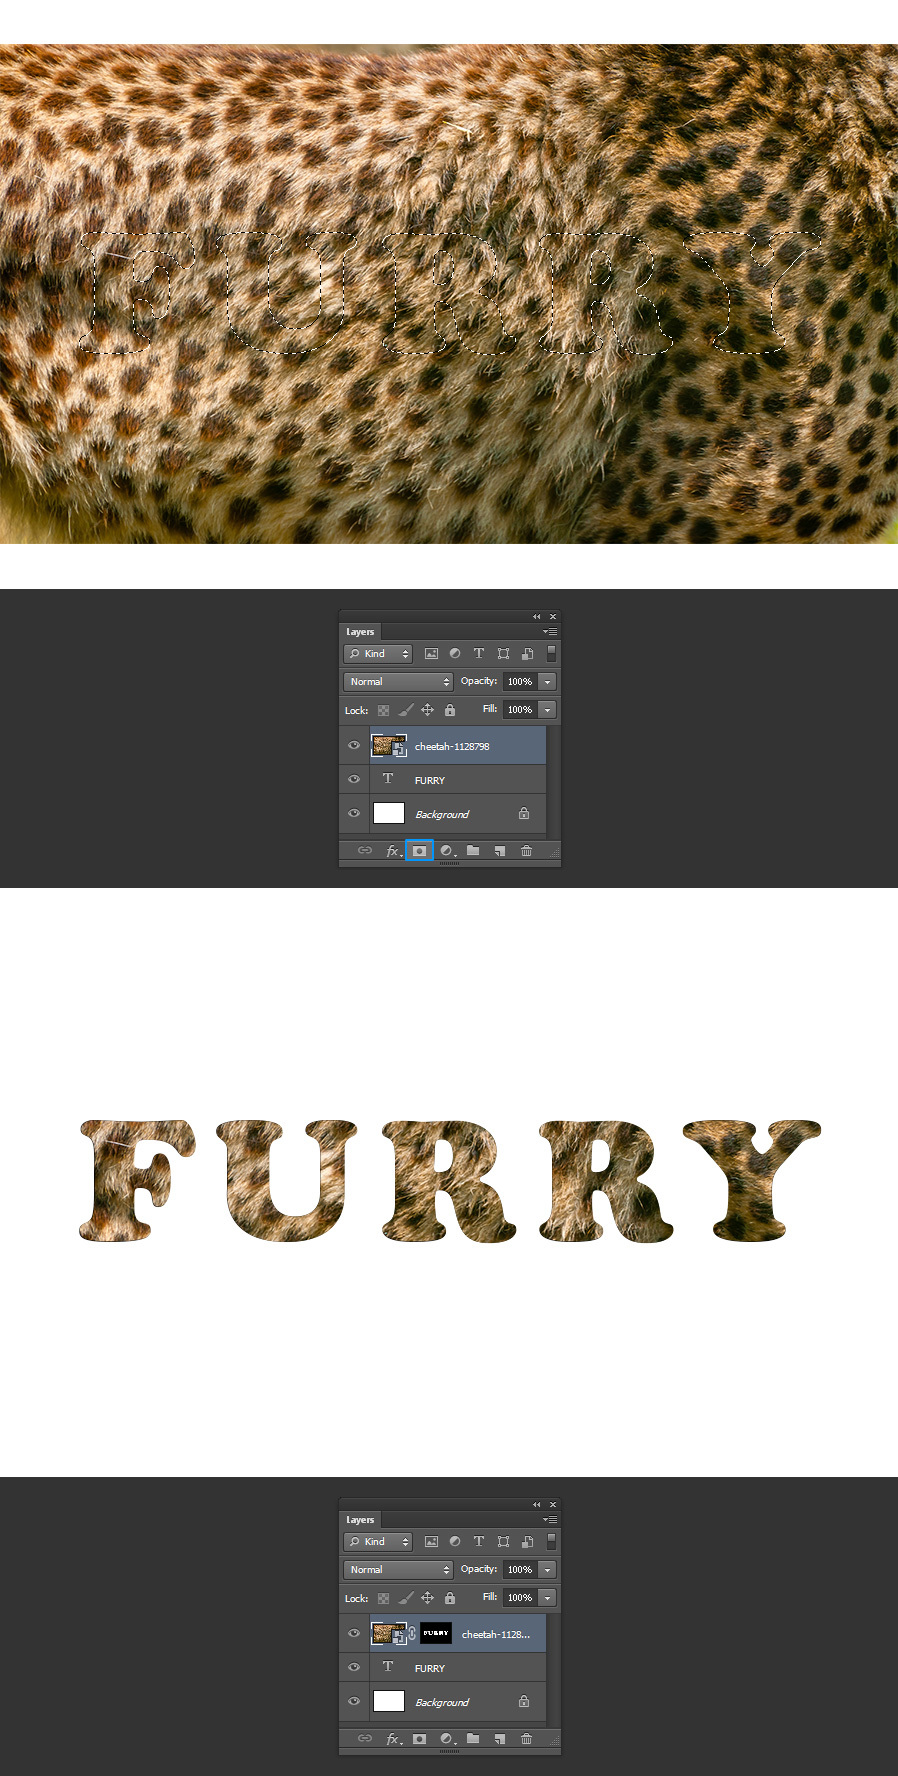
Hold the Ctrl key on your keyboard and click over the “T” icon of the text layer.

Step 16
With the selection active, click on the Add Layer Mask icon in the layers panel.
Step 17
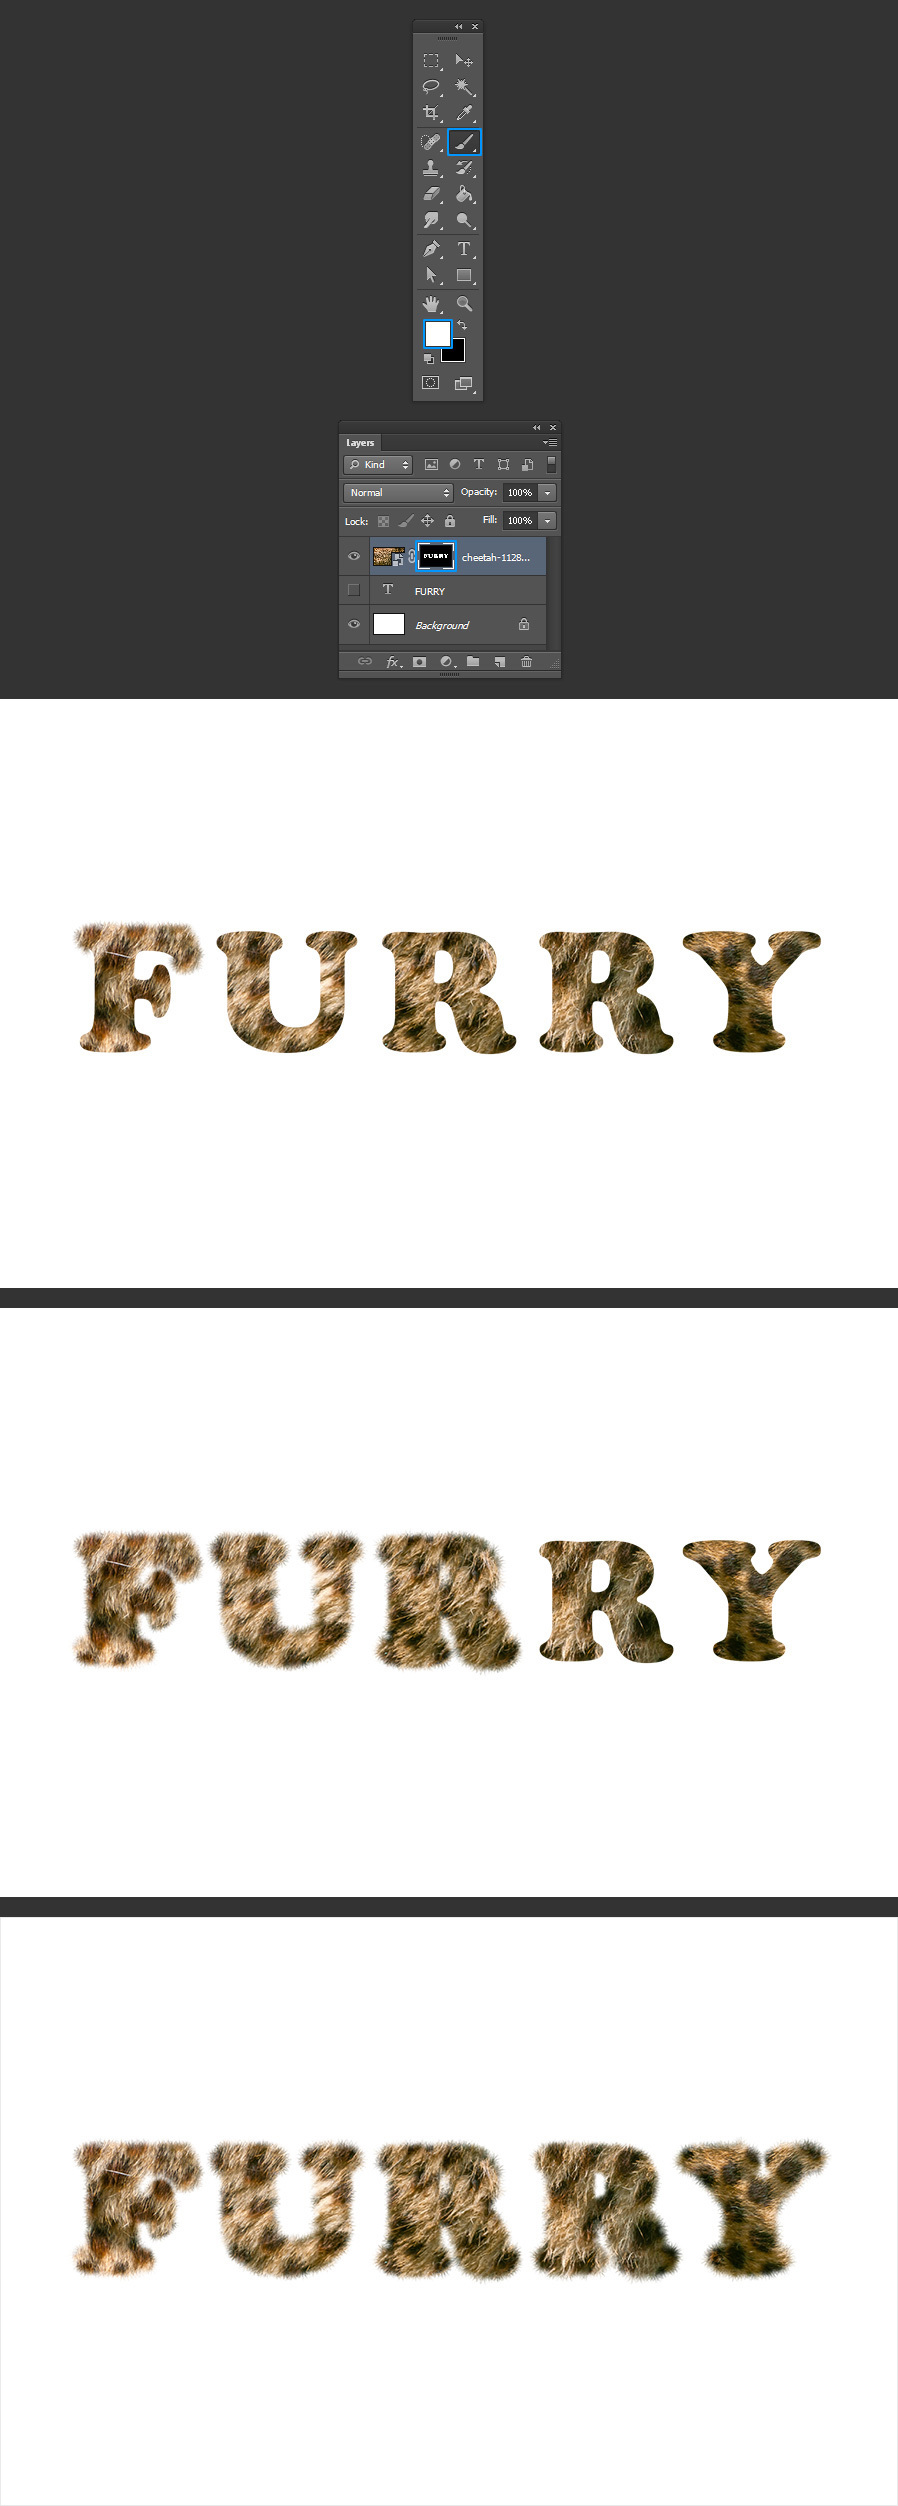
Hide the text layer and click the Layer Mask Thumbnail of the texture layer.

Step 18
Select the Brush Tool (B) and be sure that the foreground color is set to White. Now simply start brushing around the letters as shown:
Step 19
Go to Layer > Layer Style > Inner Shadow. Apply the following settings and click OK.
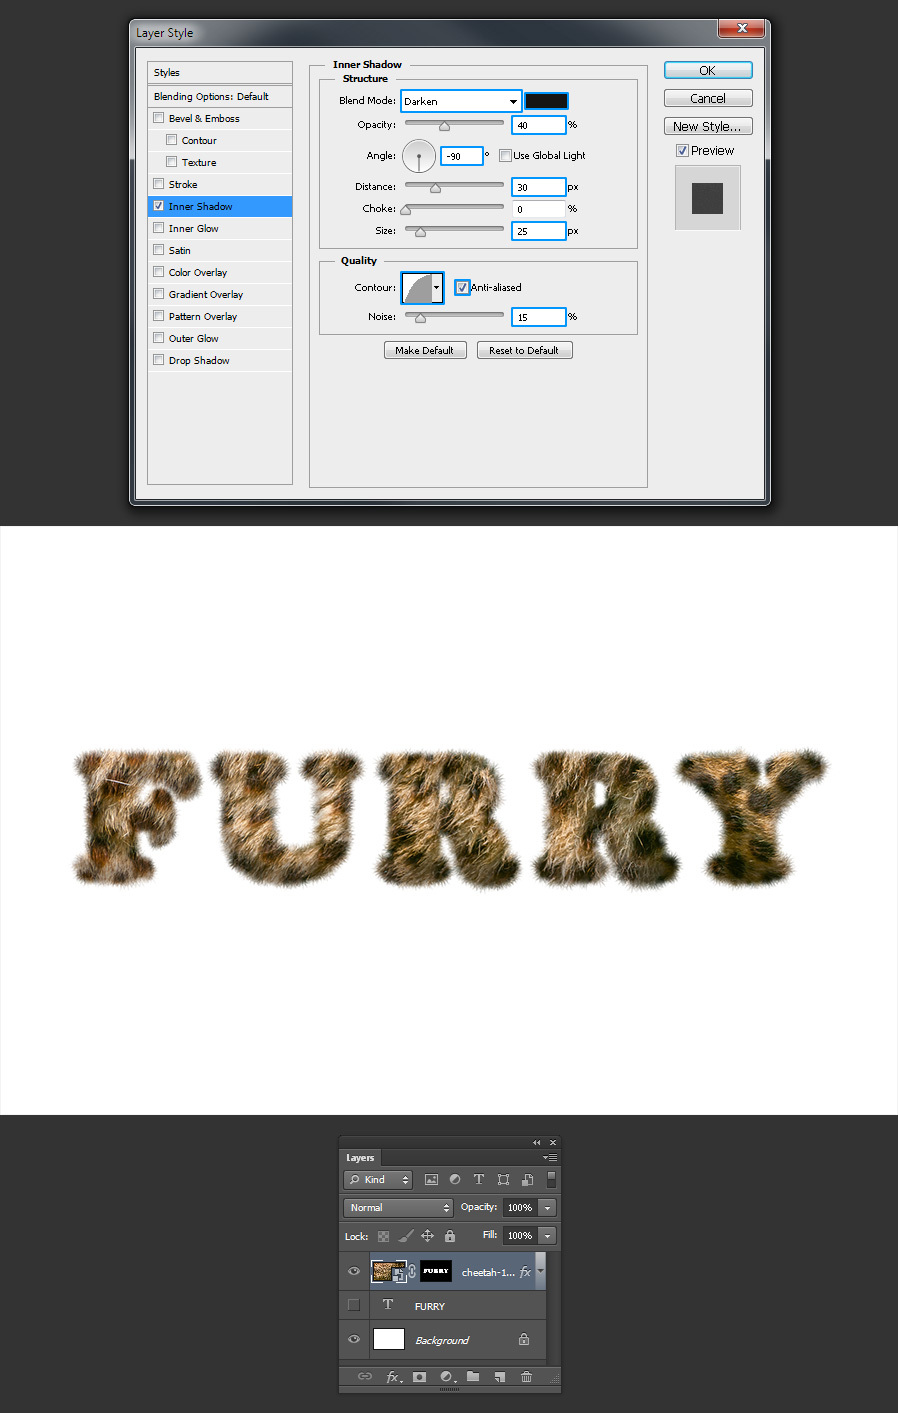
Step 20
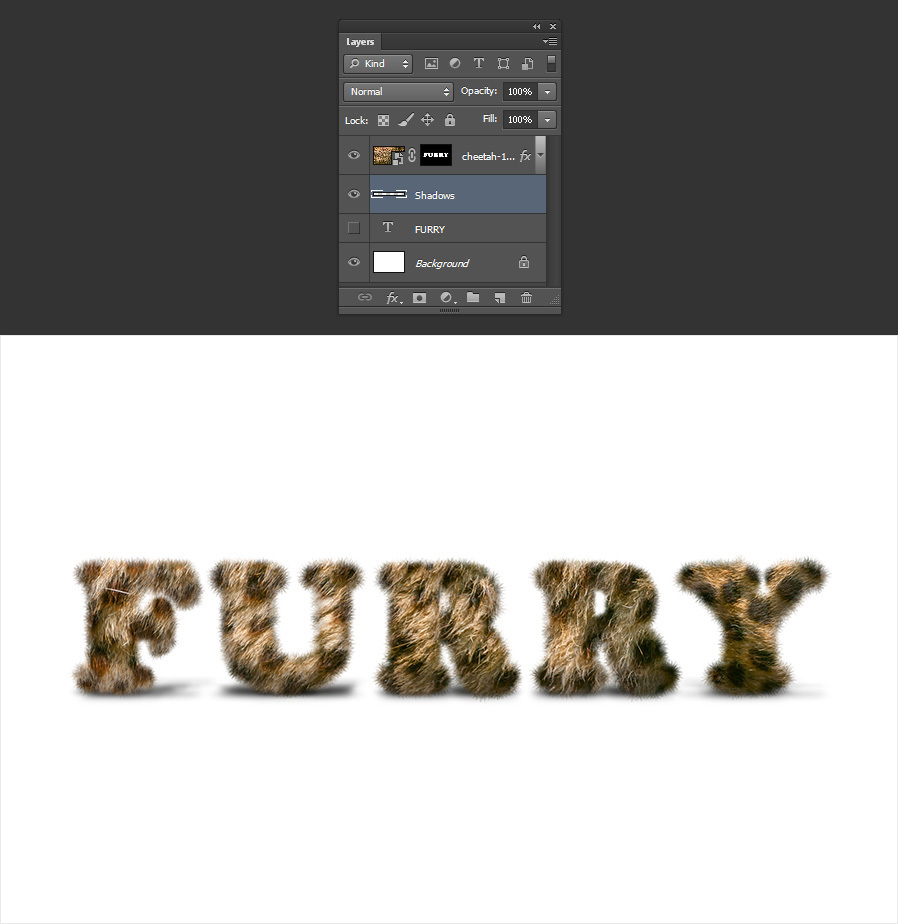
Optionally, to give the text some final touches you can add some shadows in a layer below the texture or simply leave it as is.
A Final Tip
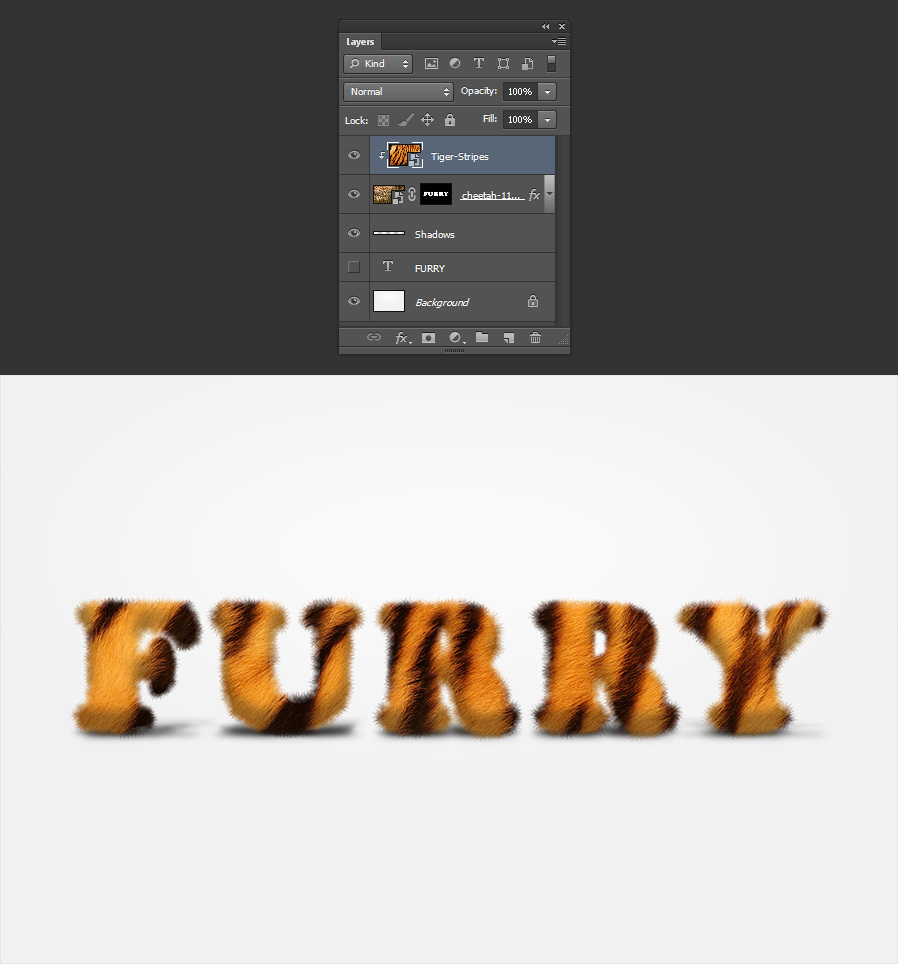
If you want to change the fur texture, simply place the new texture on top of the one we did and go to Layer > Create Clipping Mask.
More from Tutorials

How to Make Light Leaks From Images in Photoshop
Tutorialsby Diego Sanchez
Light leaks can instantly add warmth, depth, and a cinematic feel to your images, and creating them in Photoshop is much easier than you might think. In this tutorial, we’ll transform ordinary images into beautiful light leak overlays using just a few simple tools like Blur, Contrast adjustments, and the Liquify filter. By manipulating colors and shapes, you can craft soft gradients of light that bring a nostalgic, film-inspired atmosphere to your photos. Whether you want to enhance portraits, add flair to design projects, or create dreamy lighting effects, this method gives you full control over the final look in just a few minutes.
Read more
Enhance Autumn Colors in Lightroom with Ease
Tutorialsby Diego Sanchez
Enhancing the warm and vibrant tones of autumn photography is easier than it seems with just a few simple adjustments in Lightroom. By carefully refining exposure, boosting contrast, and enhancing the reds, oranges, and yellows, you can transform any fall image into a rich and captivating scene. Using only Lightroom’s basic tools along with the Color Mixer and Color Grading panels, you’ll bring out the full beauty of autumn landscapes with ease.
Read more
Easily Add a Twilight Mood to Your Photos in Lightroom
Tutorialsby Diego Sanchez
Give your photos a mystical touch by transforming ordinary daylight or sunset shots into captivating twilight scenes. By combining simple adjustments with precise tweaks in the Color Mixer, enhancing tones with Color Grading, and adding a delicate layer of Grain, it’s possible to achieve a soft, cinematic glow. These subtle yet impactful edits can shift the mood of your images, creating a serene, atmospheric look that feels like the perfect blue hour moment.
Read more
How to Create an Editable Soft Glow Text Effect in Illustrator
Tutorialsby Diego Sanchez
Creating eye-catching visual effects in Illustrator doesn’t always require complex tools or multiple layers. Sometimes, a single feature—used creatively—can deliver stunning results. Today, I’ll show you how to create a soft glow text effect using nothing but the Appearance Panel in Illustrator. Thanks to its non-destructive structure, you’ll be able to edit your text at any time without losing the effect, making it perfect for experimenting with different styles, colors, and typefaces without starting over.
Read more