How to Create a Stress Relief Coloring Book Page in Adobe Illustrator
I?ve noticed a recent trend of coloring books targeted to adults. It centers around the idea that coloring intricate patterns can be a method of stress relief and relaxation. These patterns are often complex with tons of detail and repeating patterns. While these pages may look very intricate they can be created quite easily with a few simple tricks in Adobe Illustrator.
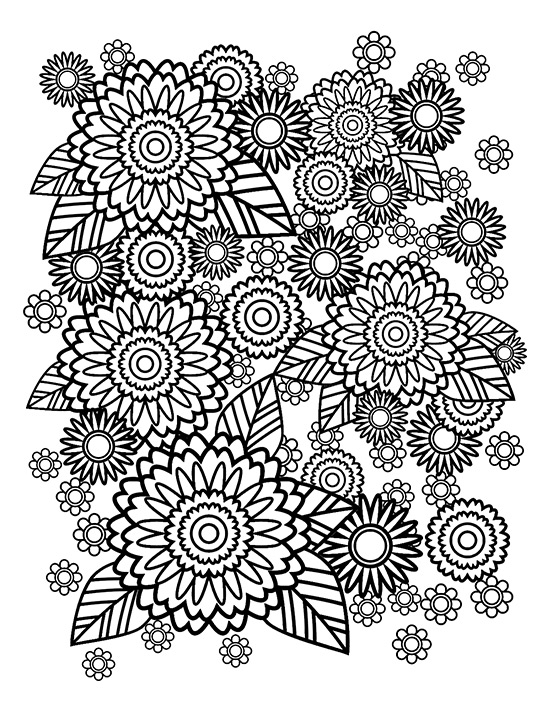
 Let?s take a look at how I created this page in a matter of minutes.
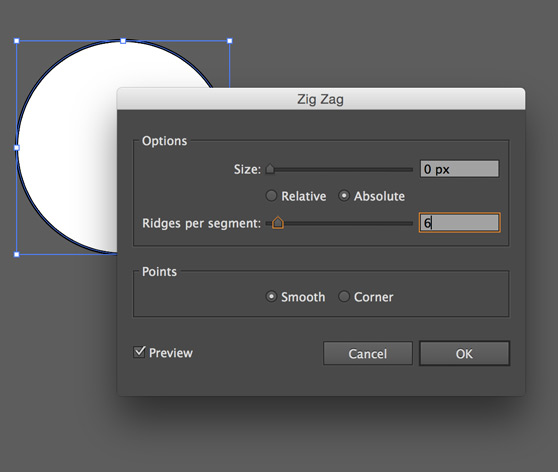
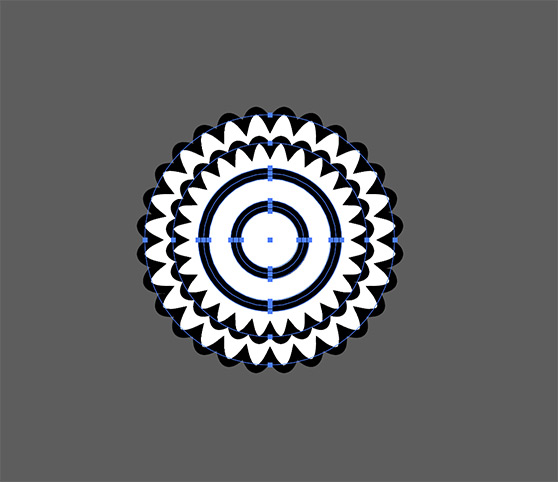
 Start by creating a circle with the Ellipse Tool (L). Use white as the fill and a 2 pt black stroke for the border. Apply a Zig Zag filter by clicking Effect | Distort and Transform | Zig Zag. Use the settings that I?m using below.
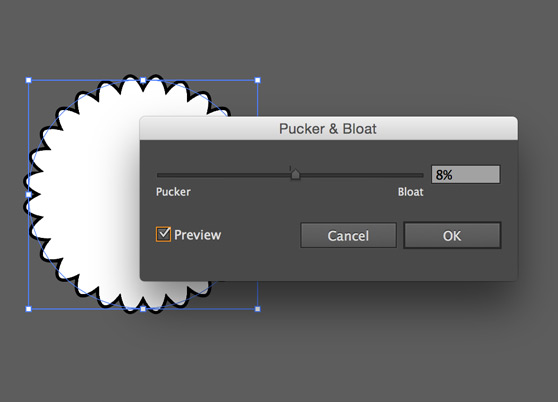
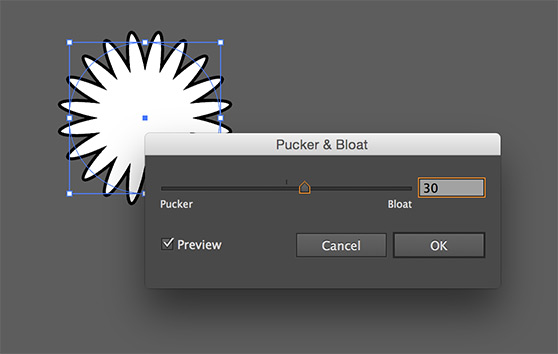
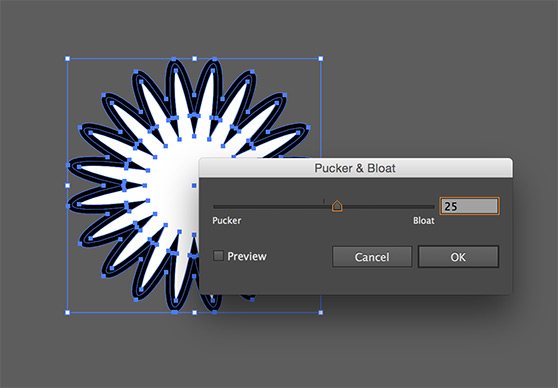
 You won?t see much change until we apply the next effect. Now click Effect | Distort and Transform | Pucker and Bloat. Use the settings that I?ve applied below
 Now copy and paste the shape. Reduce the scale a bit and center the two shapes by clicking the Horizontal and Vertical align buttons on the Align Panel. If you don?t see the align panel click Window | Align.
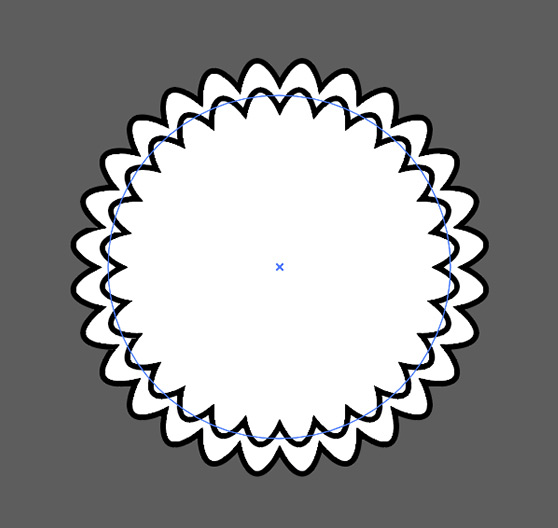
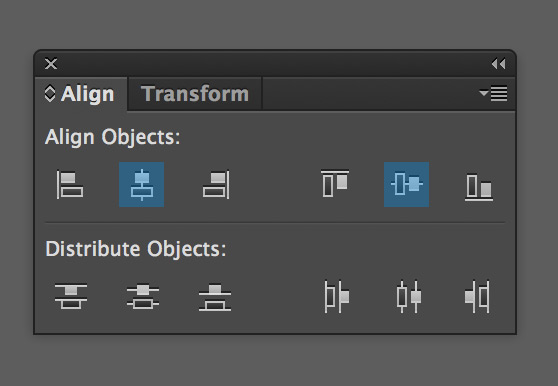 Now create a new circle and apply the same Zig Zag effect but with 4 as the ridges per segment. Then apply another Pucker and Bloat with a higher setting. Scale this new portion of the flower and center it over the first two using the align panel buttons again.
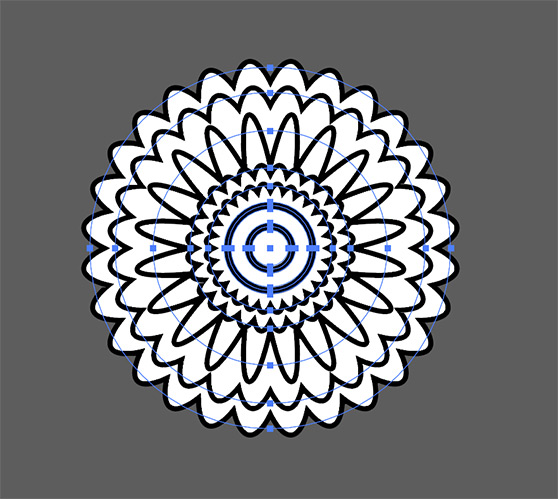
 Now copy and paste the first two flower patterns and scale them down to fit in the center of the flower. Use the align tools again to center them perfectly. Add two more circles and center them as well. This completes our first pattern.
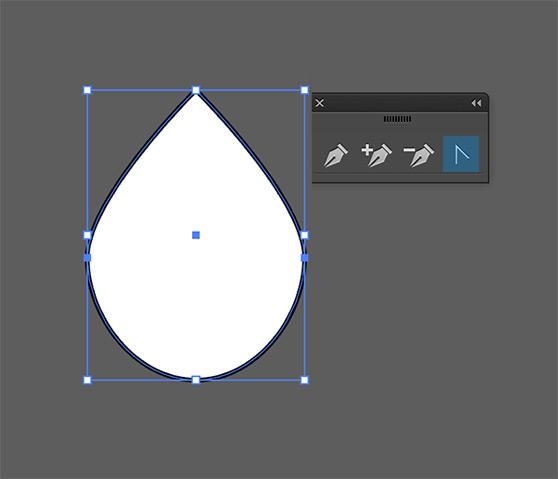
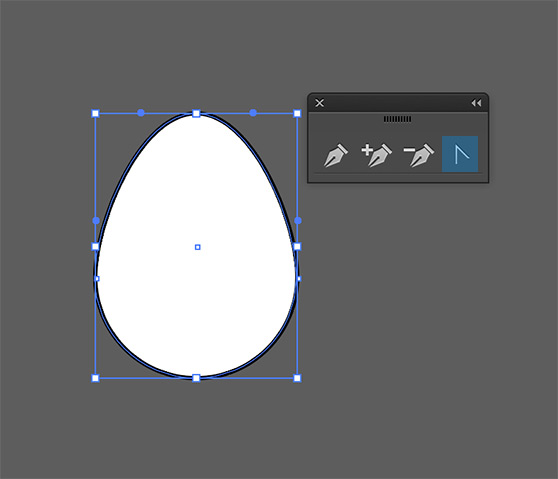 Then use the Anchor Point Tool to click the top most point. This will remove the curve from the point.
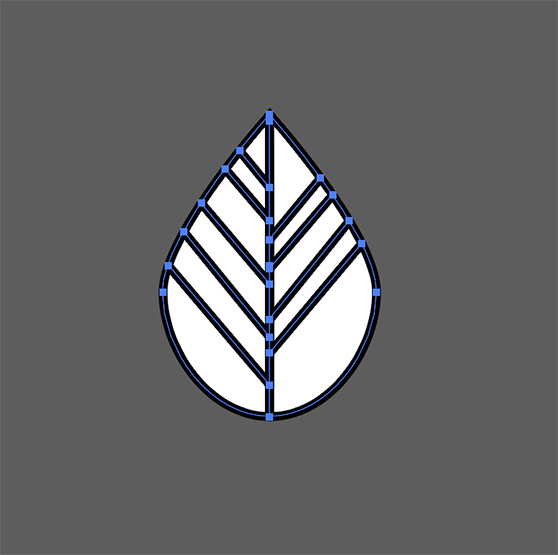
 Now use the Pen Tool (P) to draw some lines within the leaf shape.
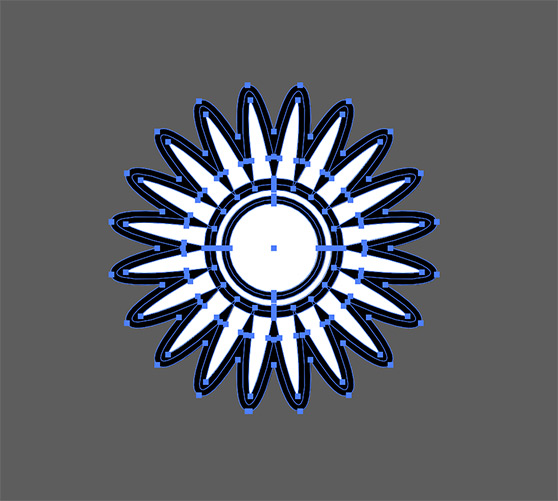
 Now create two smaller circles and align them to the middle.
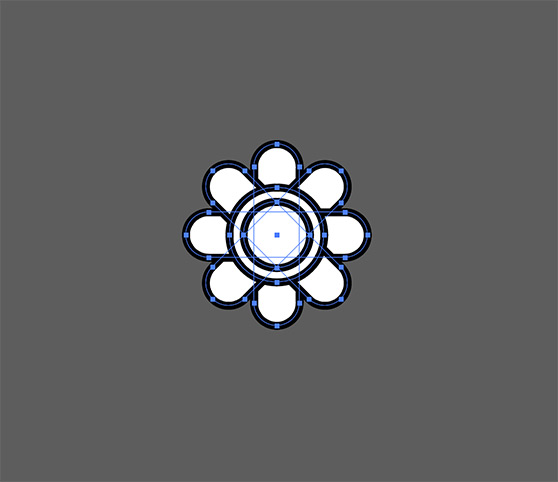
 For our next flower pattern, draw a pill shape using the rounded rectangle tool.
 Then copy and paste the shape 3 times, each time holding the shift key and rotating the shapes. Then align them all using the buttons on the align panel.
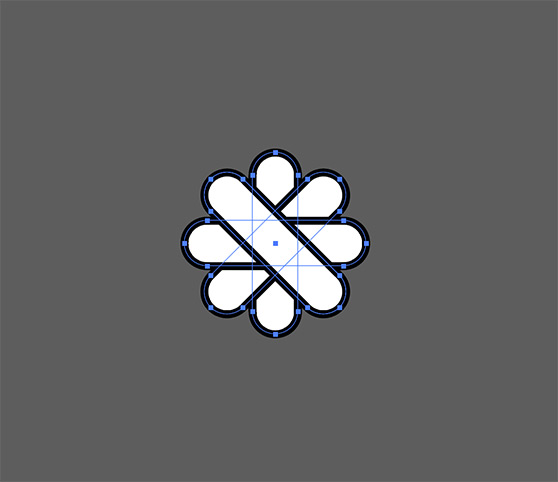 Now add two smaller circles, select all of the objects and align them to the center.
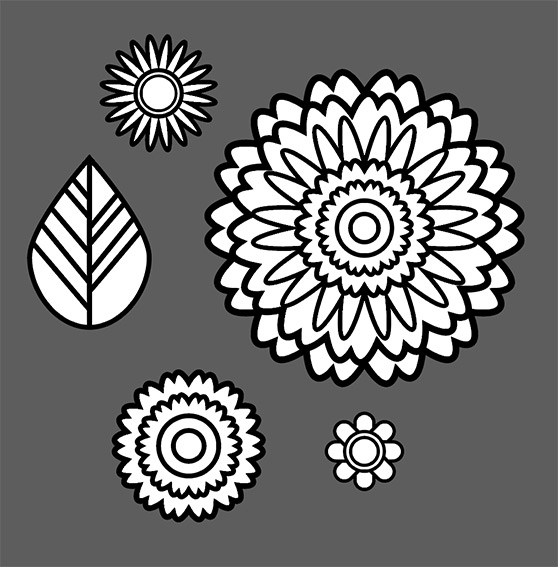
 Our 5th and final flower pattern is simply taken from the center of the first larger pattern. Select it and copy and paste it as a new shape.
 Make sure that all of your flower patterns are grouped by selecting all of their individual shapes and pressing Cmd+G on your keyboard (Ctrl+G on a PC). This will allow you to select the shapes without breaking them apart.
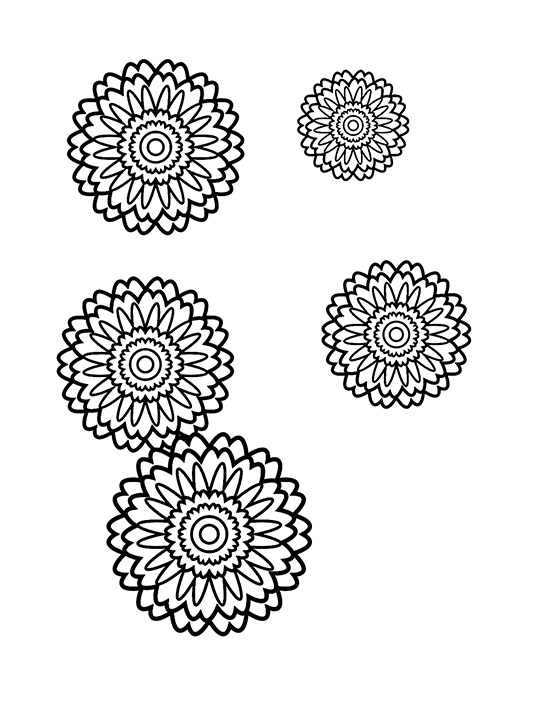 Now add the leaf shapes. Copy and paste the leaves and rotate and scale them. Use the keyboard shortcut Cmd+Shift+[ to move the leaves behind the flowers.
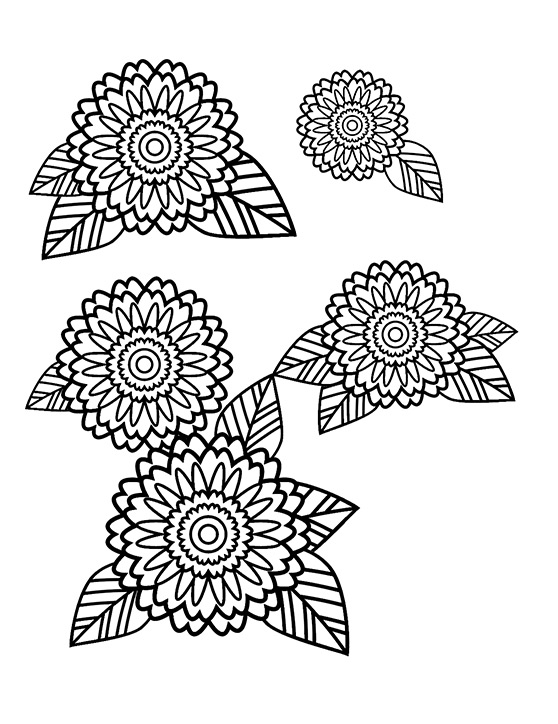 Now add in one of the secondary flower shapes. Use the same methods to place them randomly. Use Cmd+Shift+[ to move some of them behind the first flowers and leaves.
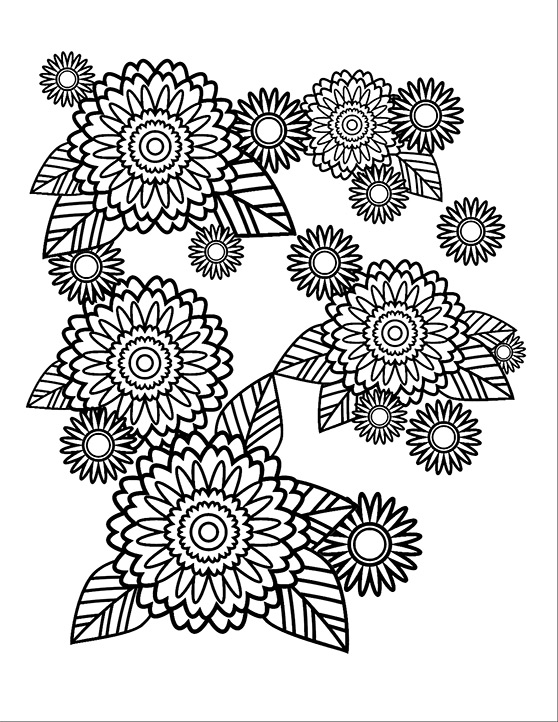 Now repeat the same process for placing the other flower pattern. This is the pattern that was taken from the center of the larger flower.
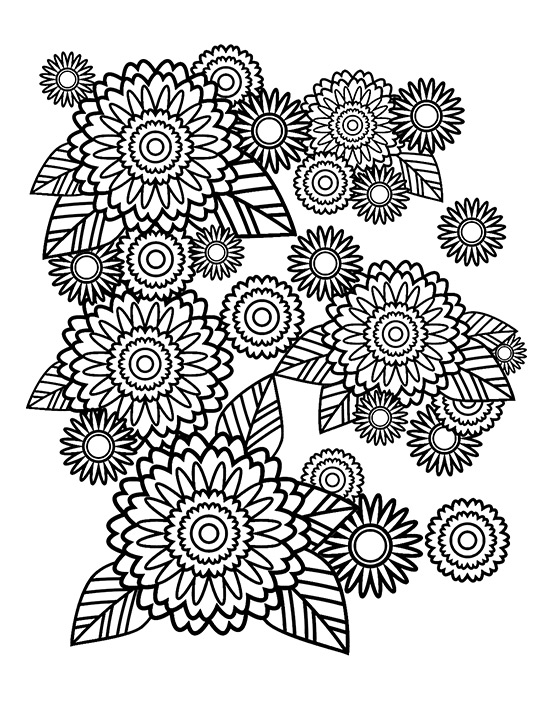
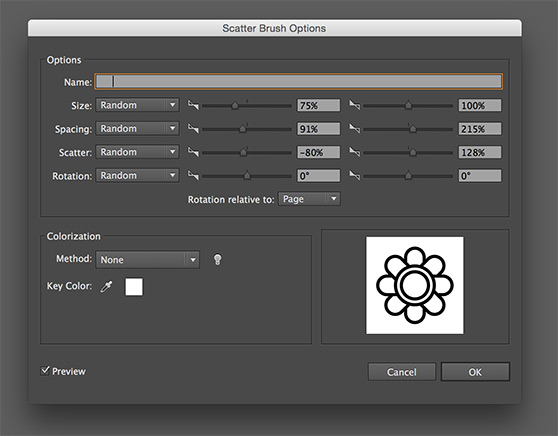 Now on a new layer below our original art, draw some random paths using this newly created scatter brush. This will quickly place a lot of flowers randomly.
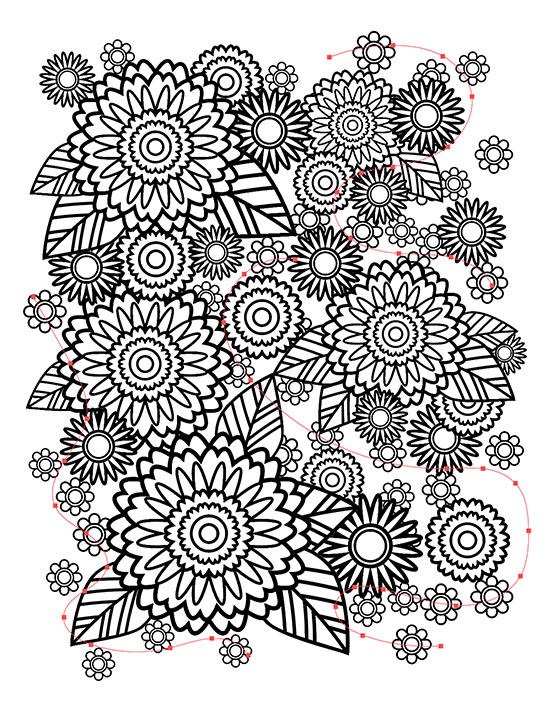 This method allows you to quickly place a lot of these flowers without having to do a copy and paste each time. But the placement may not be exactly perfect to your eye. You can expand the paths by clicking Object | Expand, and ungroup the flowers by clicking Cmd+Shift+G. From there you can select the individual flowers and adjust their placement manually.
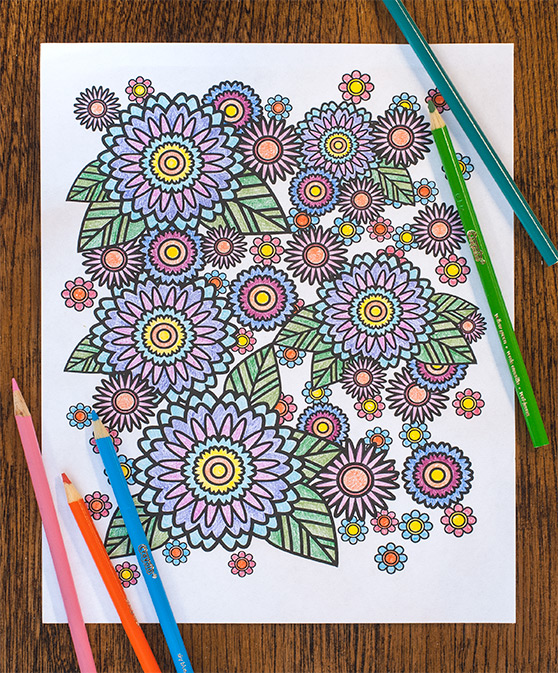 Now click File | Print and break out the map pencils and brew some coffee? It?s time for a relaxing color session. I?d love to see your results, or custom coloring pages. Feel free to share using the comment fields below! If you don't feel like making your own, check out or set of 5 free coloring pages here.
 Let?s take a look at how I created this page in a matter of minutes.

Step 1 - Creating The Initial Flower Pattern
First up, we?ll create the 5 basic shapes that I used to repeat throughout the design. Start by creating a circle with the Ellipse Tool (L). Use white as the fill and a 2 pt black stroke for the border. Apply a Zig Zag filter by clicking Effect | Distort and Transform | Zig Zag. Use the settings that I?m using below.
 You won?t see much change until we apply the next effect. Now click Effect | Distort and Transform | Pucker and Bloat. Use the settings that I?ve applied below
 Now copy and paste the shape. Reduce the scale a bit and center the two shapes by clicking the Horizontal and Vertical align buttons on the Align Panel. If you don?t see the align panel click Window | Align.

 Now create a new circle and apply the same Zig Zag effect but with 4 as the ridges per segment. Then apply another Pucker and Bloat with a higher setting. Scale this new portion of the flower and center it over the first two using the align panel buttons again.
 Now copy and paste the first two flower patterns and scale them down to fit in the center of the flower. Use the align tools again to center them perfectly. Add two more circles and center them as well. This completes our first pattern.

Step 2 - Creating a Leaf Pattern
To draw the leaf, simply add another circle using the Ellipse Tool again. Using the Direct Selection Tool (A) select the top most point of the circle and nudge it up using the arrow keys on your keyboard. Then use the Anchor Point Tool to click the top most point. This will remove the curve from the point.
 Now use the Pen Tool (P) to draw some lines within the leaf shape.

Step 3 - Create the Remaining Flower Patterns
The third pattern is a smaller flower. To create it, draw another circle with a heavier stroke, and apply another Zig Zag effect to it. Use 6 as the number of ridges per segment. Then apply the Pucker and Bloat again. Now create two smaller circles and align them to the middle.
 For our next flower pattern, draw a pill shape using the rounded rectangle tool.
 Then copy and paste the shape 3 times, each time holding the shift key and rotating the shapes. Then align them all using the buttons on the align panel.
 Now add two smaller circles, select all of the objects and align them to the center.
 Our 5th and final flower pattern is simply taken from the center of the first larger pattern. Select it and copy and paste it as a new shape.
 Make sure that all of your flower patterns are grouped by selecting all of their individual shapes and pressing Cmd+G on your keyboard (Ctrl+G on a PC). This will allow you to select the shapes without breaking them apart.
Step 4 - Arranging the Flower Patterns
This is where your creative eye comes into play. Start with the biggest flower pattern and copy and paste it, then scale the copies and arrange them in a way that pleases your eye. Now add the leaf shapes. Copy and paste the leaves and rotate and scale them. Use the keyboard shortcut Cmd+Shift+[ to move the leaves behind the flowers.
 Now add in one of the secondary flower shapes. Use the same methods to place them randomly. Use Cmd+Shift+[ to move some of them behind the first flowers and leaves.
 Now repeat the same process for placing the other flower pattern. This is the pattern that was taken from the center of the larger flower.

Step 5 - Creating a Custom Scatter Brush for the Final Pattern
For the final and smallest flower pattern, drag the flower to the Brushes Panel. If you don?t see the Brushes Panel, click Window | Brushes. Then choose ?Scatter Brush? from the dialog box that appears. Use settings similar to the ones I?m using below. Now on a new layer below our original art, draw some random paths using this newly created scatter brush. This will quickly place a lot of flowers randomly.
 This method allows you to quickly place a lot of these flowers without having to do a copy and paste each time. But the placement may not be exactly perfect to your eye. You can expand the paths by clicking Object | Expand, and ungroup the flowers by clicking Cmd+Shift+G. From there you can select the individual flowers and adjust their placement manually.
 Now click File | Print and break out the map pencils and brew some coffee? It?s time for a relaxing color session. I?d love to see your results, or custom coloring pages. Feel free to share using the comment fields below! If you don't feel like making your own, check out or set of 5 free coloring pages here.