Create Dynamic Lighting Using Custom Brushes in Photoshop
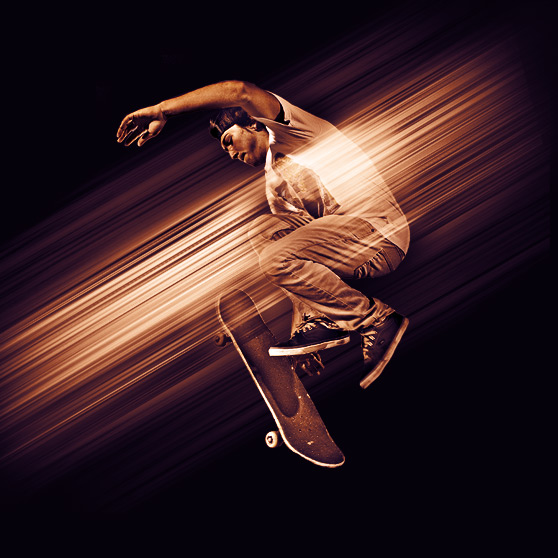
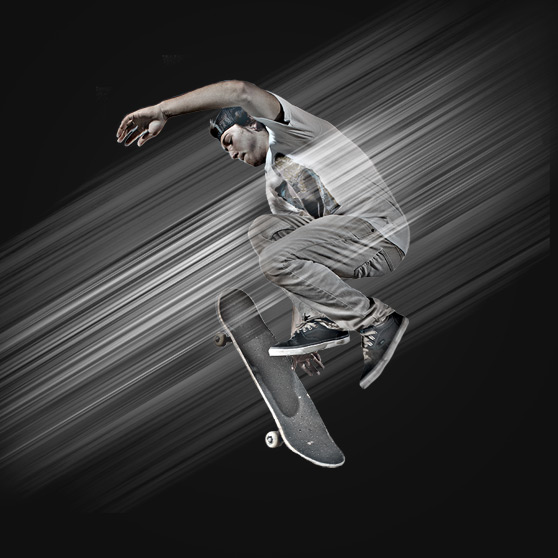
Earlier today we released a free brush set called Rays of Light, and I wanted to follow up that release with a quick tutorial on how to use the brush set. Below is quick design using the brushes. Lets take a look at how this was created.
 First up, you'll need to download and install the new Rays of Light free brush set.
 I then ran a High Pass Filter (Filter | Other | High Pass ) with a Radius around 15 to give the figure a slight HDR look.
 I used a medium gray for the color when applying this brush.
 Next up, on a layer above the skater, I applied another light ray brush. This time I used white as the color, and I adjusted the angle to match that of the background brush.
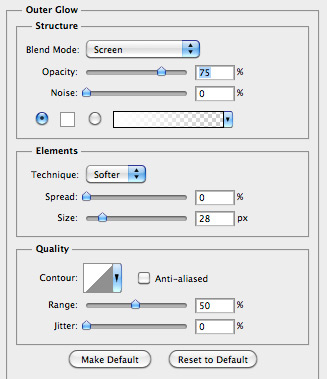
 To punch up the glowing effect of the foreground light rays, I applied an Outer Glow layer style to that brushes layer. I used the following settings.

 Note: This is one of the defaults in the gradient editor.
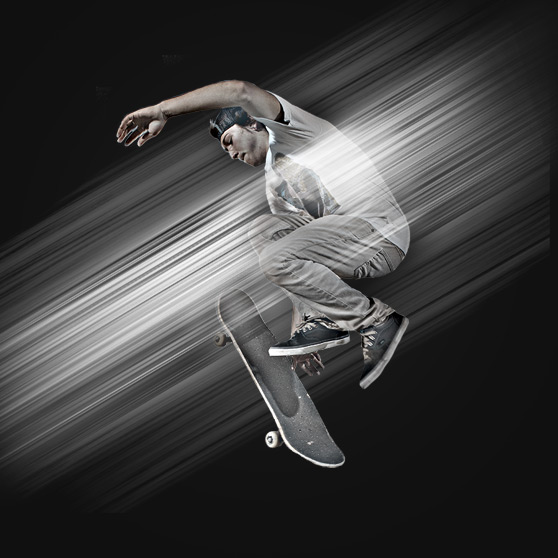
Below is my final image. I hope this gives you some ideas and inspiration for using our latest free brush set.

 First up, you'll need to download and install the new Rays of Light free brush set.
Step 1
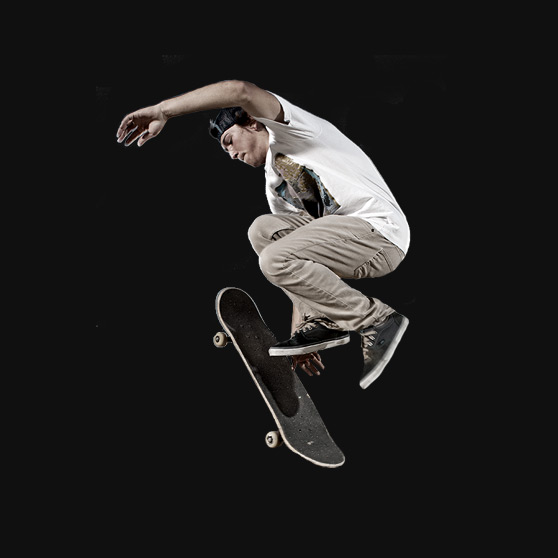
I found this image of a skater by Robert Bejil Photography. I removed the skater from the background using Quick Mask Mode (Q). You can use whatever selection and extraction methods you prefer. I then copied and pasted the skater onto an 800x800 pixel document with a background set to #101010.
 I then ran a High Pass Filter (Filter | Other | High Pass ) with a Radius around 15 to give the figure a slight HDR look.

Step 2
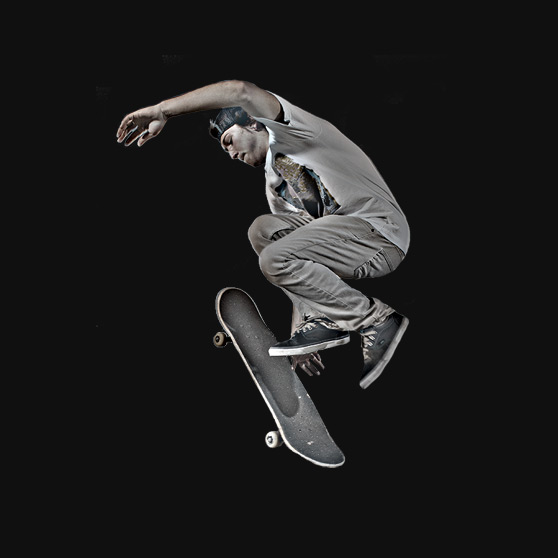
On a layer behind the skater I applied one of the wider light ray brushes at a diagonal. Note: You can adjust the angle of a brush using the adjustment arrow below. It's found on the Brush Panel. (Window | Brush) I used a medium gray for the color when applying this brush.
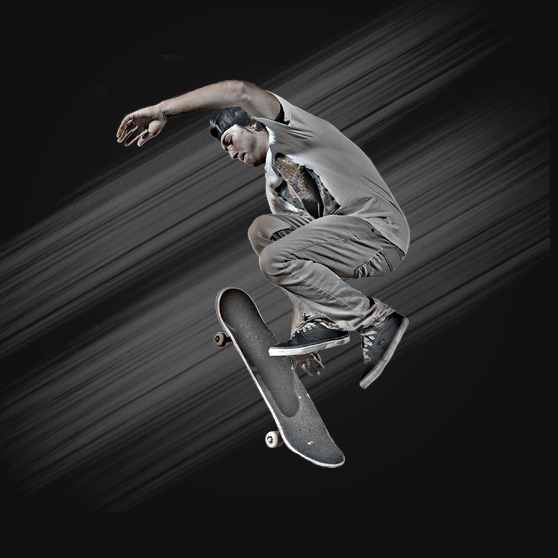
 Next up, on a layer above the skater, I applied another light ray brush. This time I used white as the color, and I adjusted the angle to match that of the background brush.
 To punch up the glowing effect of the foreground light rays, I applied an Outer Glow layer style to that brushes layer. I used the following settings.


Step 3
With a soft black brush I applied some shadows on a layer behind the skater.
Finally...
I added a Gradient Map adjustment layer above all other layers. The adjustment layer's blend mode is set to Overlay. I used the following gradient.