Create a Quick Vintage 3D Effect in Photoshop
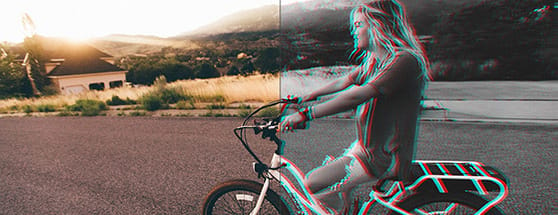
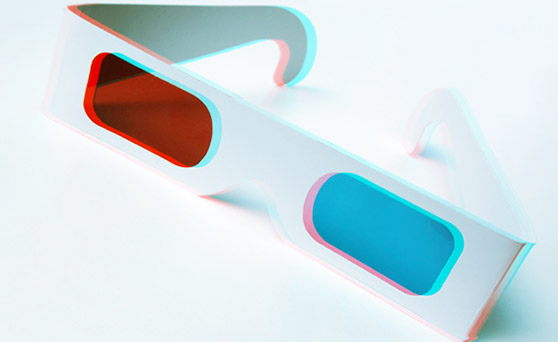
If you?ve ever seen an old 3D movie, comic book or photograph you?ll recognize this look. It?s intended to produce a 3D effect when viewed through the old red and blue 3D glasses. But, if you?re like me, you?ve removed the glasses and wondered about the distorted and colorful image that?s revealed. This look is wonderfully nostalgic, and very easy to create yourself in Photoshop.
 In this tutorial, I?m going to add to the image a bit using the free Dust Particle PS Brush Set found here at WeGraphics. After all, what?s the point of creating a 3D image without something intended to ?come at? the viewer. Also, I will be working with this fantastic image from Unsplash.
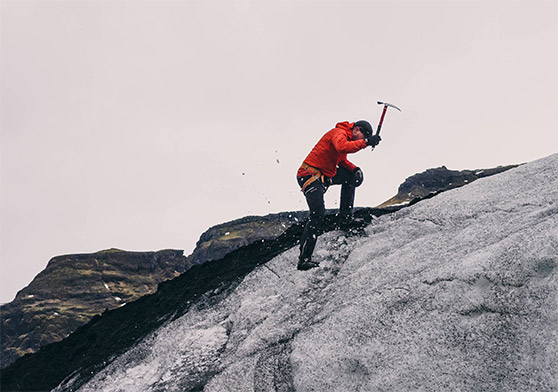
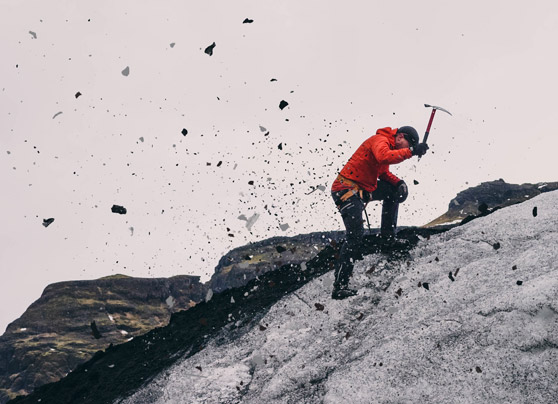
 On another layer I?ll add some lighter colored particles.
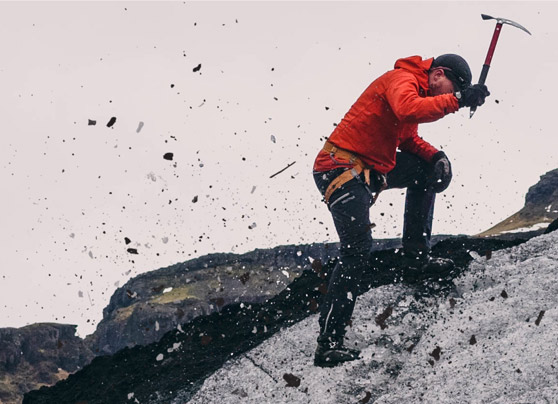 Finally, I?ll add some larger scale particles on another layer, using both the dark and light colors.
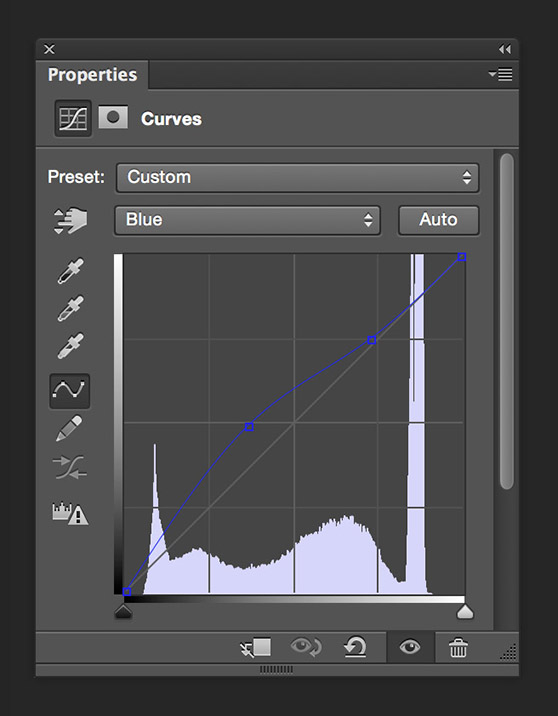
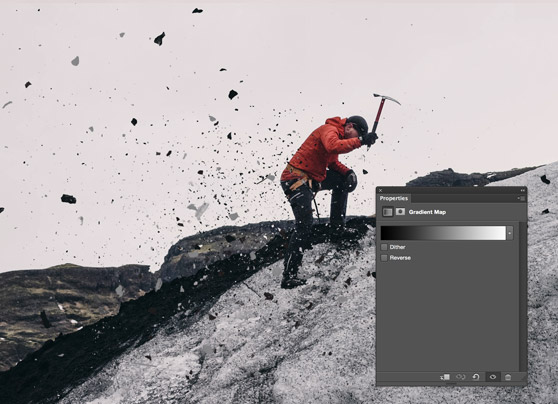 Now add a Curves adjustment layer and adjust each color channel similar to what I have below.
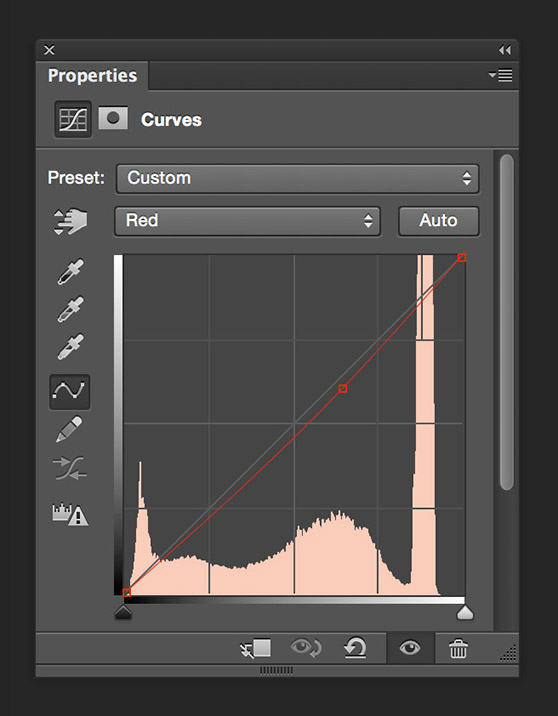
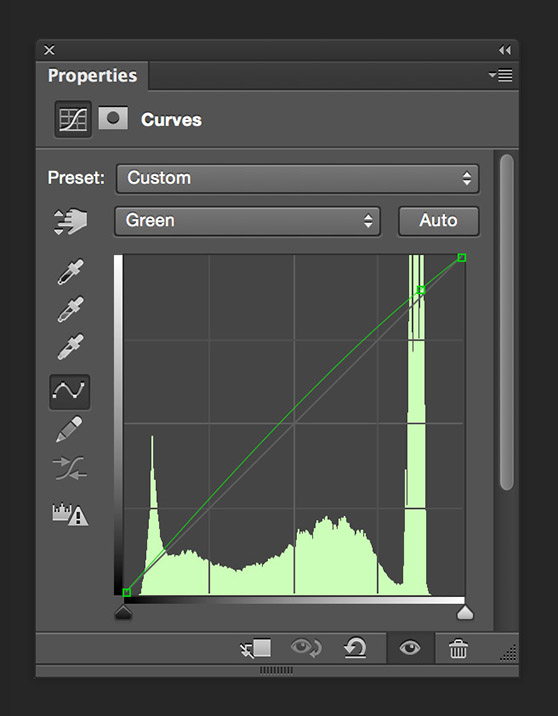
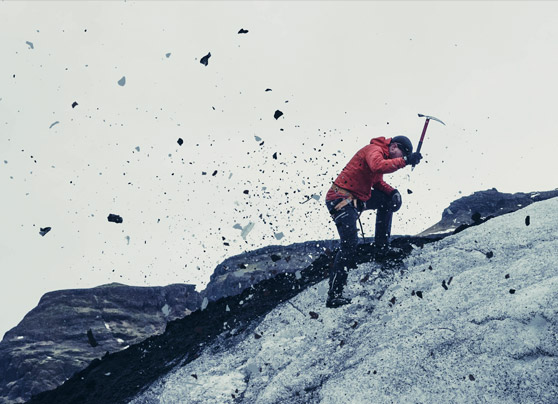
 You should now have a colder, more dramatic, look to your photo.
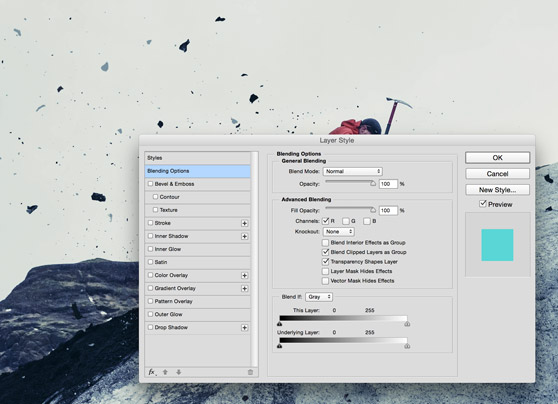
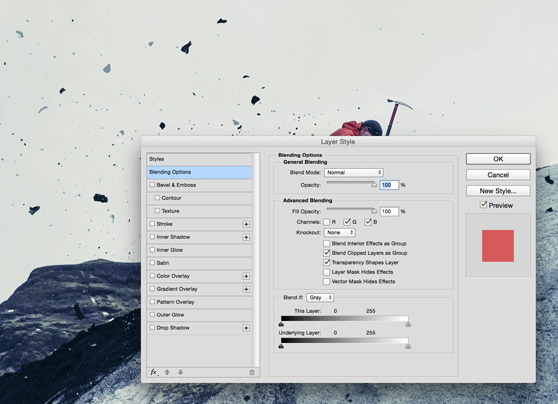 Now duplicate the layer and name it ?Blue?. Double click to open up the Layer Styles again. This time make sure R is checked and G and B are unchecked.
 Now select the ?Red? layer and nudge it 5 pixels to the left using the arrow keys on your keyboard. Then select the ?Blue? layer and nudge it 5 pixels to the right.
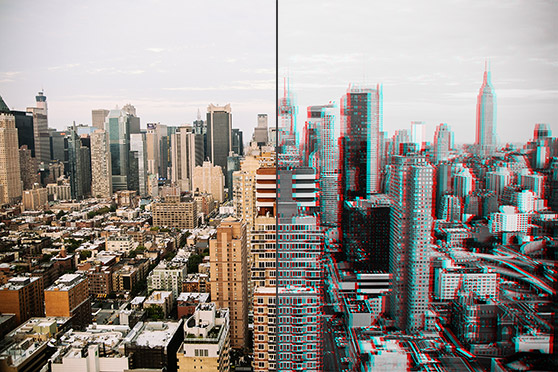
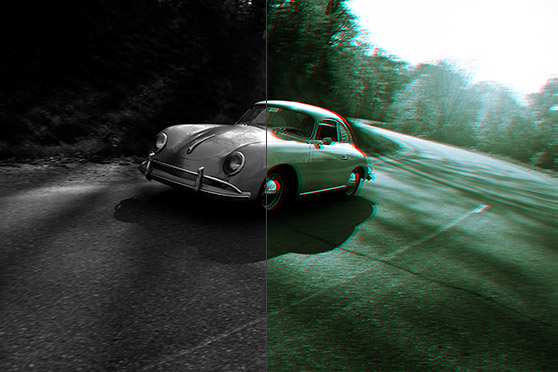
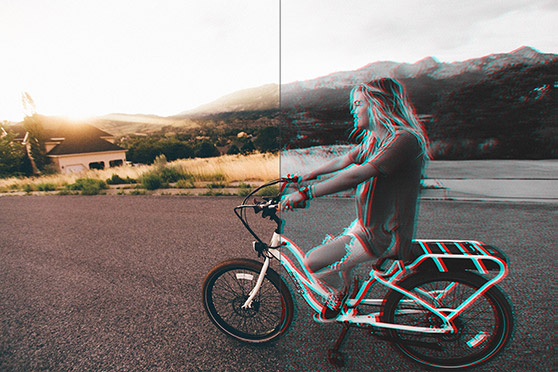
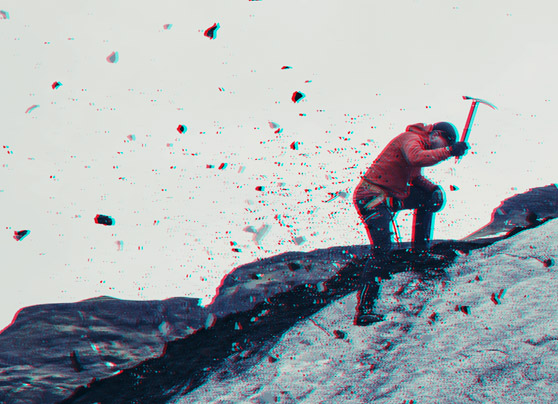 That?s it! A very simple process to create a wonderful vintage look. Here?s some more samples I created using this technique. Also, be sure to check out our free 3D Effect Actions Pack for Photoshop, and create these effects with a single click!
 Looking for some other vintage style resources? Check out this Vintage Postcard Generator from our friends over at Medialoot for a really cool vintage style that's totally different than this one.
 In this tutorial, I?m going to add to the image a bit using the free Dust Particle PS Brush Set found here at WeGraphics. After all, what?s the point of creating a 3D image without something intended to ?come at? the viewer. Also, I will be working with this fantastic image from Unsplash.

Step 1 - Adding Some Particles
First up, I?m going to open the image in Photoshop and install the dust particle brush set. On a new layer above the image, I?ll click and add a few dust particles using a dark (almost black) color. I?ll scale the brush down so that the particles appear pretty small. On another layer I?ll add some lighter colored particles.
 Finally, I?ll add some larger scale particles on another layer, using both the dark and light colors.

Step 2 - Create a Vintage Look
I want this image to appear colder and a bit more dramatic, plus I want it to have a bit of vintage tone to it. We?ll achieve this look with a couple of quick adjustment layers. To mute the colors a bit, let?s add a black and white gradient map adjustment layer. Set this layer?s opacity to 30%. Now add a Curves adjustment layer and adjust each color channel similar to what I have below.


 You should now have a colder, more dramatic, look to your photo.

Step 3 Creating the 3D Effect
Now for the 3D portion. Flatten your image by clicking Layer | Flatten Image. Now copy the background image by pressing Cmd+J (or Ctrl+J on PC). Name this copied layer ?Red?. Double click the layer to open the Layer Styles. Under Blending Options | Advanced Blending uncheck the R (Red) box next to Channels. Now duplicate the layer and name it ?Blue?. Double click to open up the Layer Styles again. This time make sure R is checked and G and B are unchecked.
 Now select the ?Red? layer and nudge it 5 pixels to the left using the arrow keys on your keyboard. Then select the ?Blue? layer and nudge it 5 pixels to the right.
 That?s it! A very simple process to create a wonderful vintage look. Here?s some more samples I created using this technique. Also, be sure to check out our free 3D Effect Actions Pack for Photoshop, and create these effects with a single click!


 Looking for some other vintage style resources? Check out this Vintage Postcard Generator from our friends over at Medialoot for a really cool vintage style that's totally different than this one.
