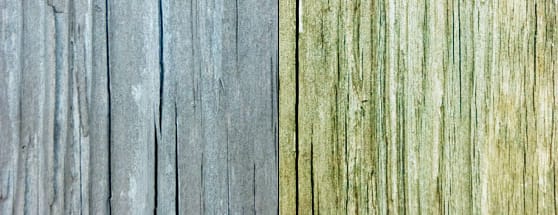
5 Simple Tricks to Enhance Your Textures in Photoshop
I take a lot of texture photos. The macro lens in on my camera about 90% of the time waiting for the opportunity to find a perfect texture. In most cases though, textures are not design ready right out of the camera. Below I'll cover 5 simple tricks that I use to enhance my textures in Photoshop.
I usually don't use all 5 of these steps on a single texture. Usually I'll use one or two of them depending on the image, and how it's going to be used. Below we have a simple wood texture straight from the camera. It's not bad, but we can easily make it much better.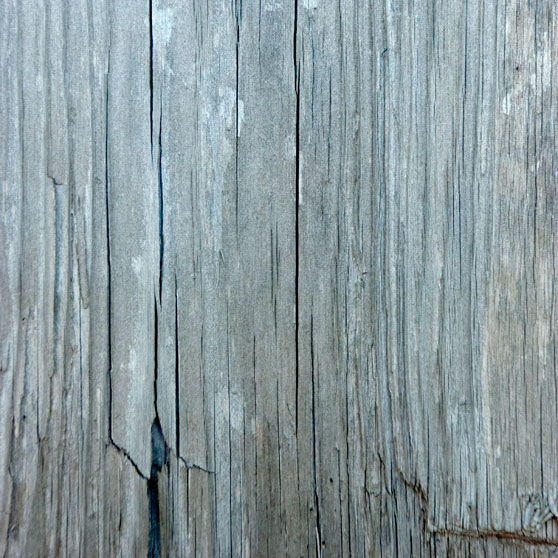
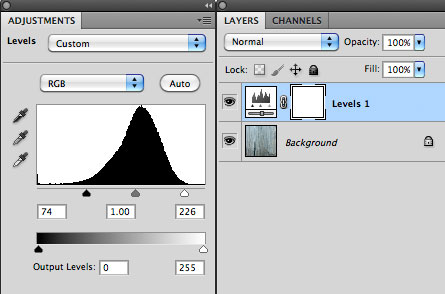 You'll notice that the levels form a hill in the center. If you drag the outer arrows in towards the beginning and end of the hill it will boost the contrast of the image.
 I hope these simple steps have given you and idea of how many different ways there are to enhance and transform your textures before applying them to your designs.
I usually don't use all 5 of these steps on a single texture. Usually I'll use one or two of them depending on the image, and how it's going to be used. Below we have a simple wood texture straight from the camera. It's not bad, but we can easily make it much better.

1. Duplicate and Overlay
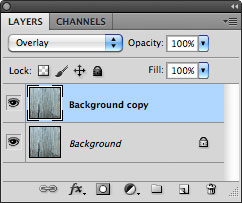
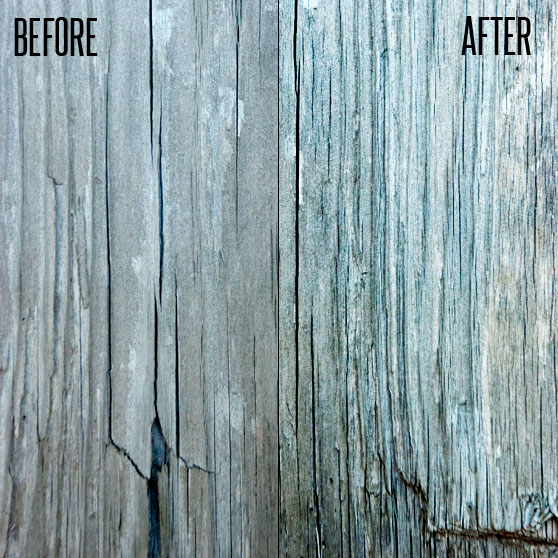
One very simple method to subtly enhance the contrast and color is to duplicate the texture layer and set the duplicate's blending mode to Overlay.

2. Levels Adjustment Layer
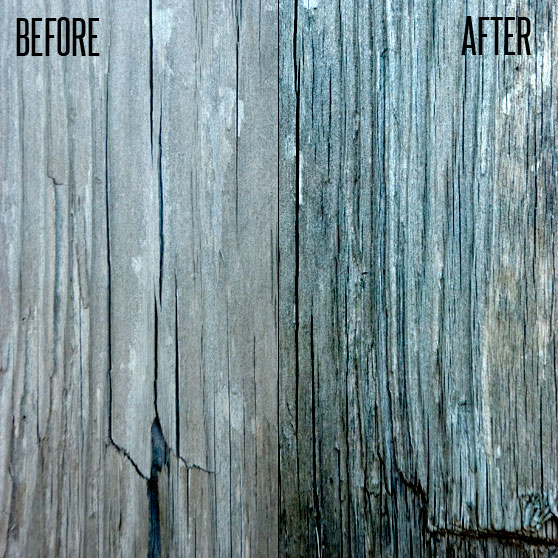
A fast way to boost the detail and contrast is to add Levels Adjustment Layer. You'll notice that the levels form a hill in the center. If you drag the outer arrows in towards the beginning and end of the hill it will boost the contrast of the image.

3. Smart Sharpen Filter
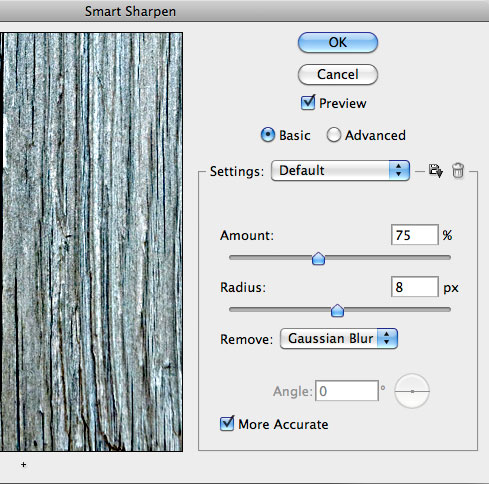
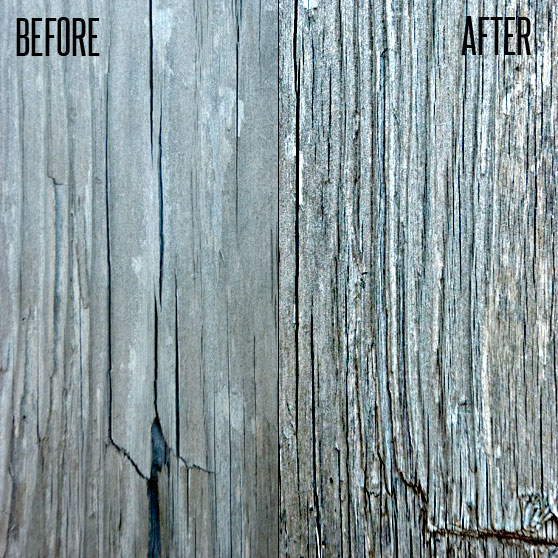
Applying a Smart Sharpen (Filter | Sharpen | Smart Sharpen) will give your texture a nice crisp appearance. Below are the settings I used on the wood texture.

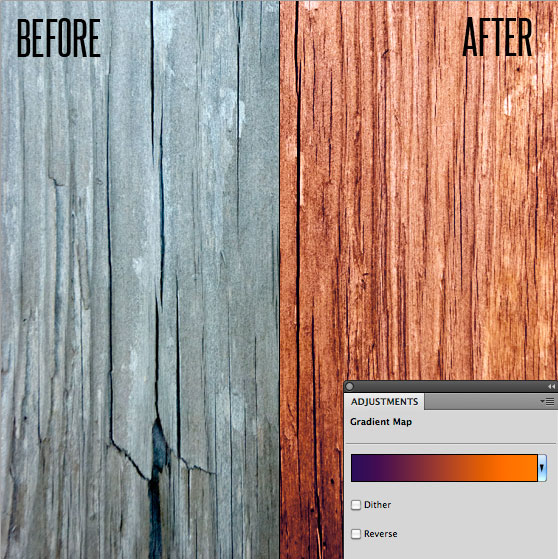
4. Gradient Map
The great thing about applying a Gradient Map Adjustment Layer is that you can adjust the color tone of a texture as well as boost the contrast. Add the adjustment layer, then set the layer's blend mode to Overlay.
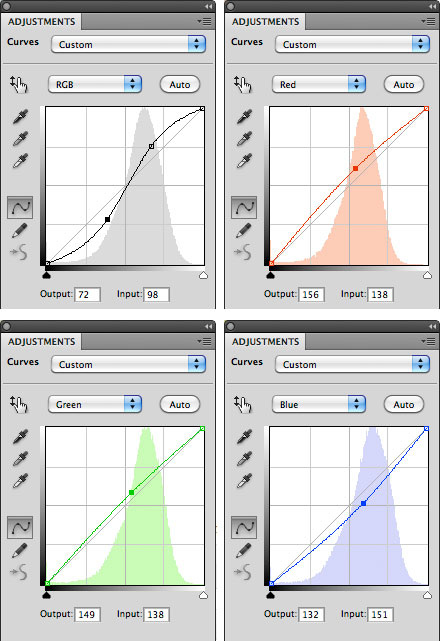
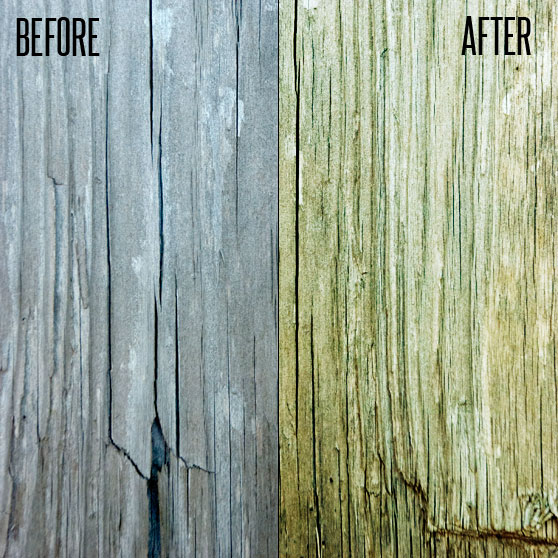
5. Curves Adjustment
Similar to a Gradient Map, the Curves Adjustment will allow you to adjust the color tone with a bit more control. Add a Curves Adjustment Layer, then apply adjustments to each channel separately. Below are the settings I used on the wood texture.
 I hope these simple steps have given you and idea of how many different ways there are to enhance and transform your textures before applying them to your designs.