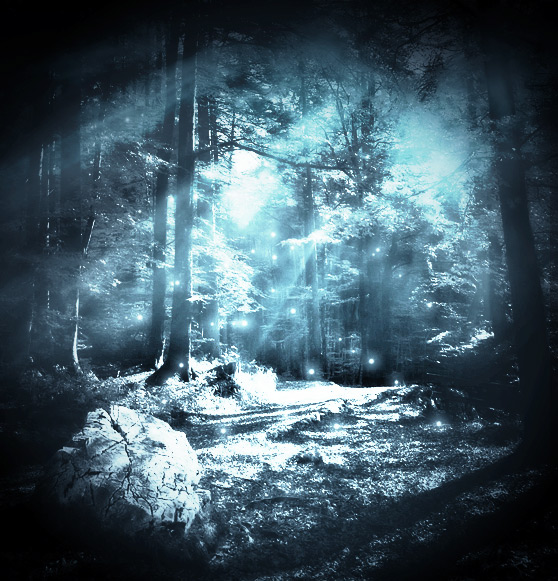
5 Incredible Methods to Enhance Your Designs with Light
For a designer that is just starting out, understanding the concept and benefit of using light in your artwork can be a bit daunting. Light can create depth and add a touch of realism to your work. IT can also set a mood or tone for your piece. It's important that you consider different methods for utilizing light in your designs. In the tutorial below, we will look at a few of those methods to help give you a stronger grasp on how lighting can be utilized in Photoshop.
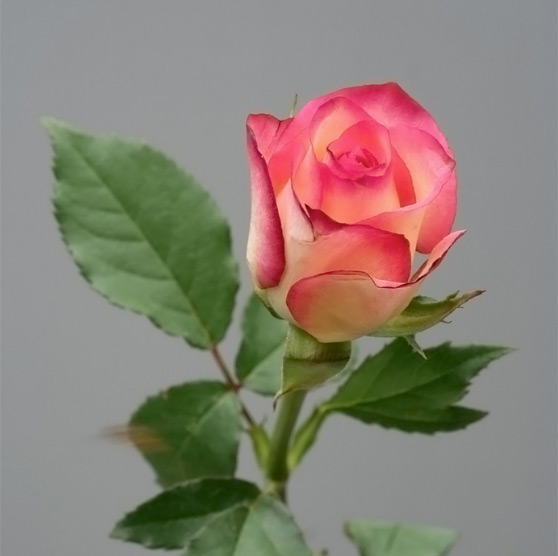 As you can see here the photo is very evenly exposed. The light is spread the same through the entire photo.
To begin, I want to duplicate the layer, then set the new duplicate layer's blending mode to overlay. Next, I want to create create a new solid color adjustment layer set to a dark gray. I used #565656. These steps are to enhance the colors a bit, and to create a base for the lighting effect.
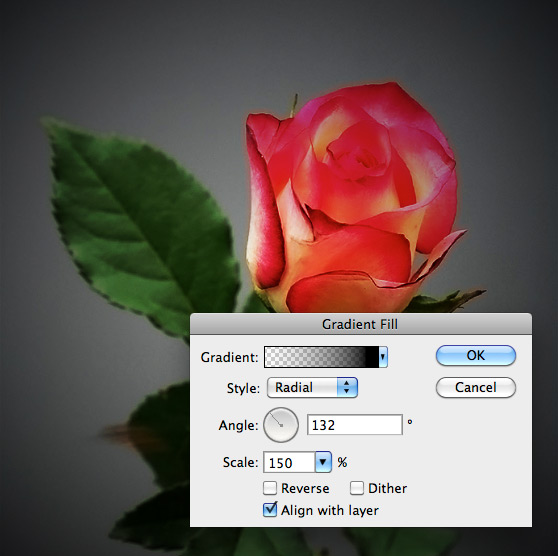
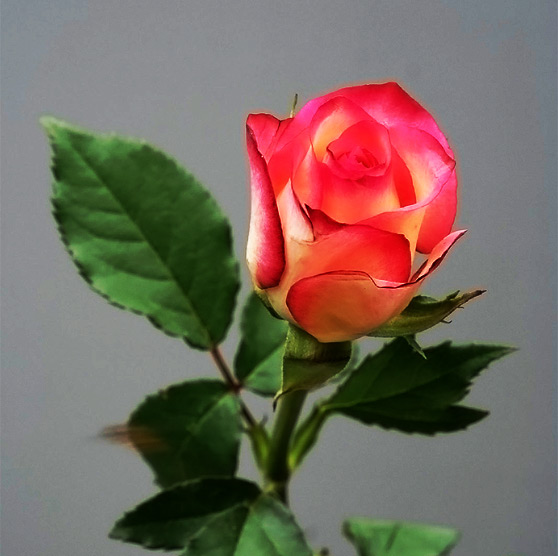 Now let's add some shadow. We'll do this with a single gradient adjustment layer with the following settings.
 Now we'll add some lights. Choose a soft white brush and paint on a new layer above all others with a blending mode set to Soft Light.
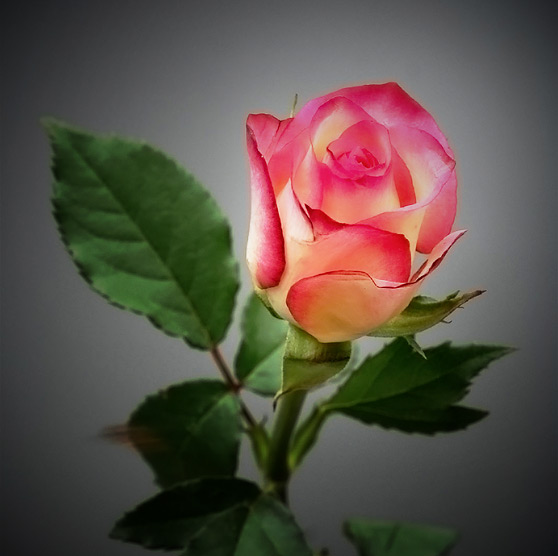 Now for the most intense light occurring directly over the rose we'll use a new layer with the same soft white brush. Set this layer's blend mode to Overlay.
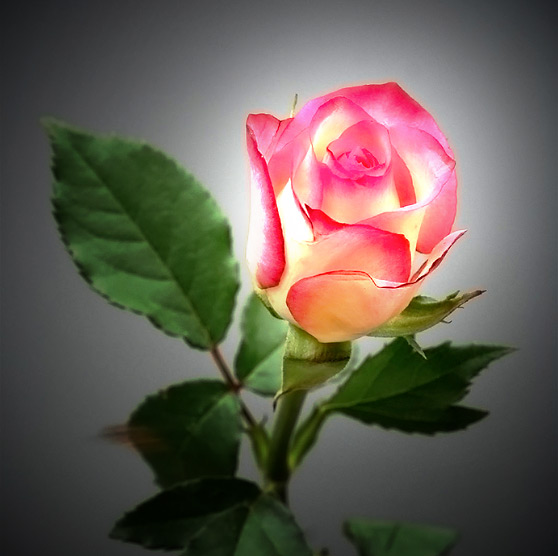 With a little bit of imagination this method can be utilized and modified in any number of ways to fit your project.
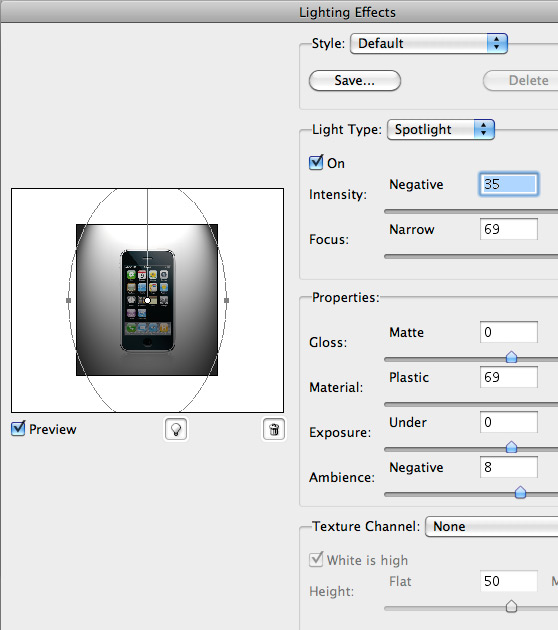
 Lets add a spotlight directly above the phone. You may have to adjust the spotlight by dragging the points in the preview on the filter window.
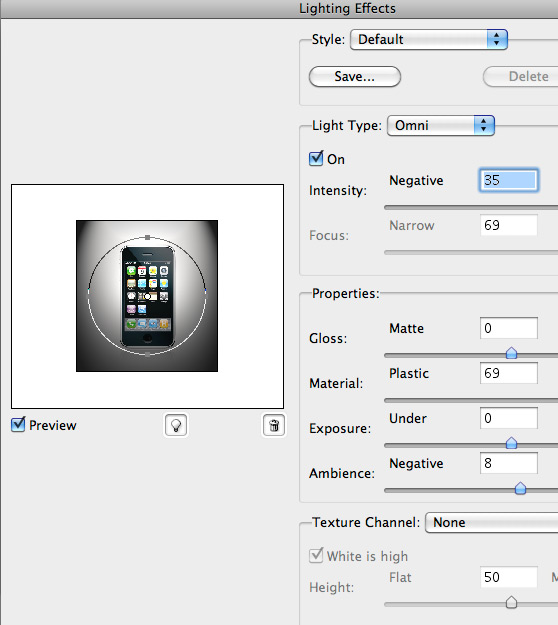
 After applying the spotlight, I loaded the filter again to apply an Omni Light directly over the phone.
 Below is my final image. As you can see there are a ton of options to play and experiment with in the Lighting Effects Filter.

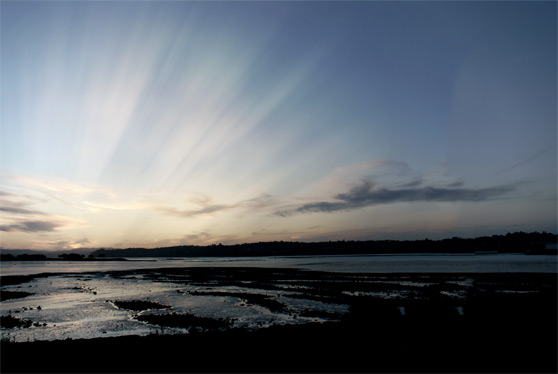
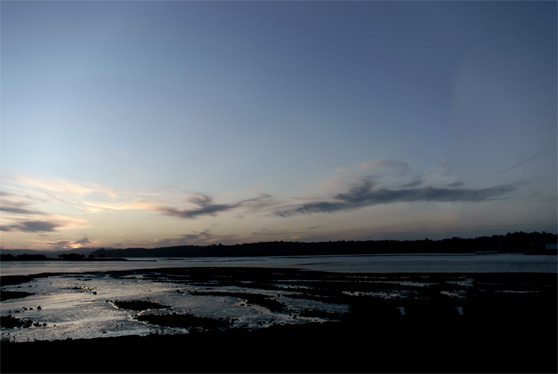 And after applying a brush from the set on a new layer above the photo.
 Before
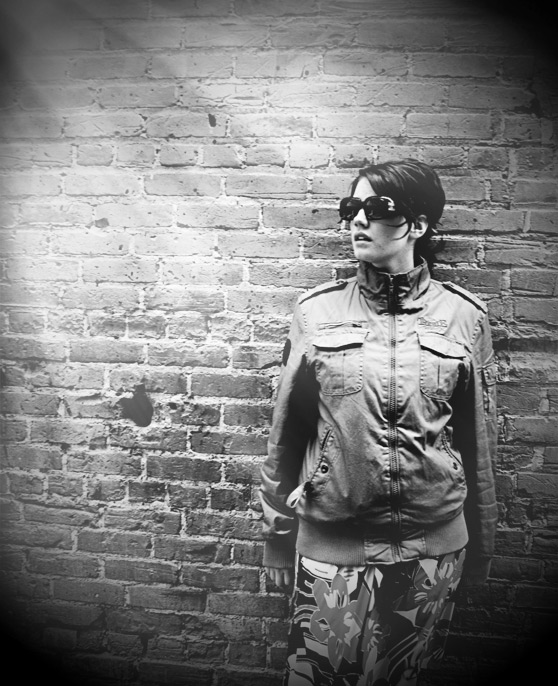 And after applying a brush and darkening the edges using the same gradient adjustment layer from the focal point example above.
There are countless resources on the web for lightning effects. Here is a short list of a few available at WeGraphics.
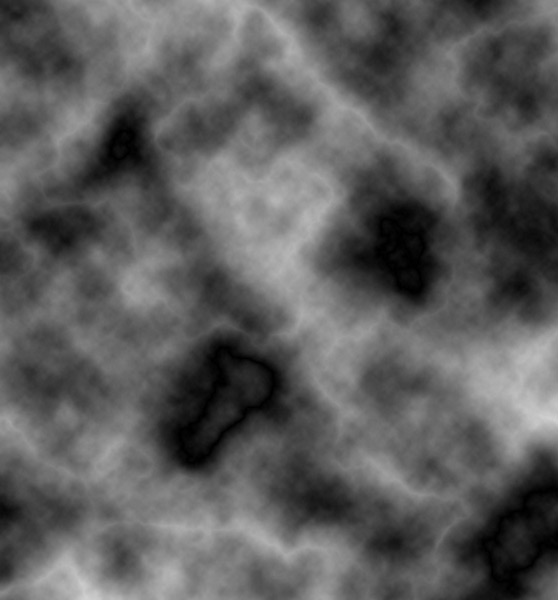 Now with a soft white brush, paint a small circle on a new layer below the clouds layer. When painting on this layer you will start to see some of the clouds show through.
 Now, with the pen tool, draw some lines, either freehand or using points. Draw them so it looks as though they are rising from the circle of light you drew in the first step.
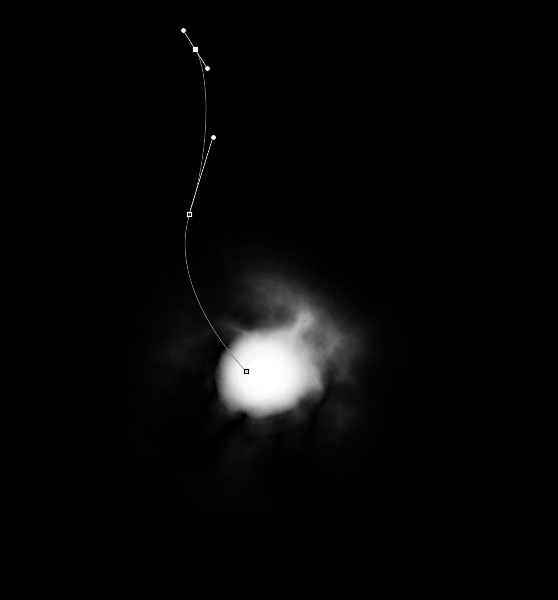 I set my brush to a soft white 14 pixel brush. Then selected the pen tool again and (Ctrl+clicked) the path and chose stroke path. Be sure that you stroke the path on a new layer so that it is separate from the circle you drew earlier. Now apply a little bit of glow via layer styles.
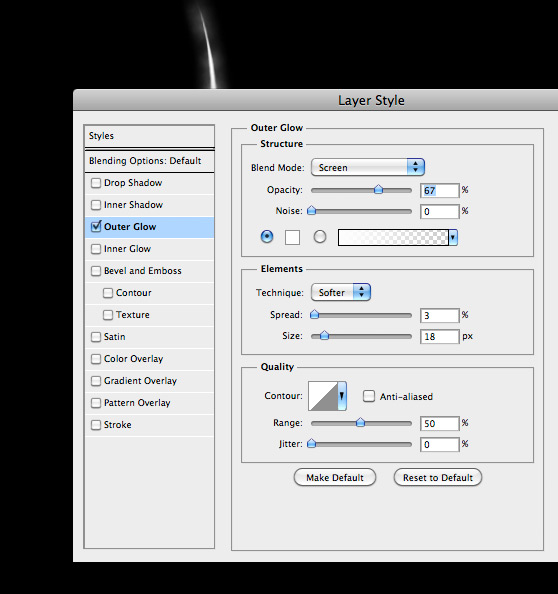 Once again you can see the clouds showing through the glow. Go ahead and repeat the previous step until you have several rays emanating from the circle of light.
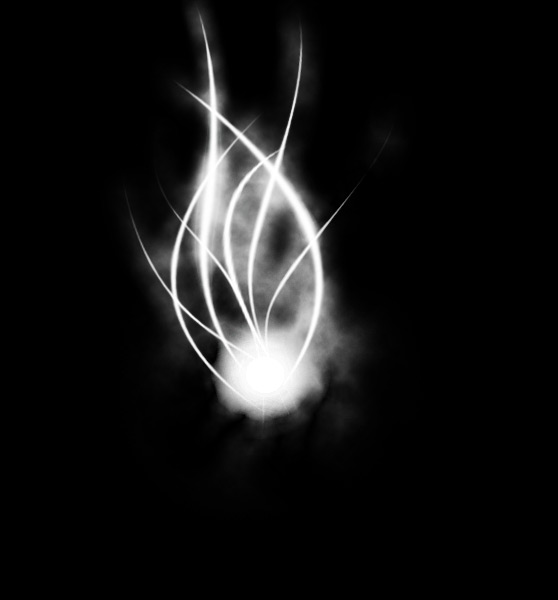 Now with another soft white brush, paint on the same layer as your circle of light to reveal a few more clouds.
 Lets add a little bit of color through a gradient adjustment layer. I used #e17a00 and #601900 through a linear gradient.
 Just for fun, I added some particles that I created using the Pencil Mark Illustrator Scatter Brush set. I created a layer with white particles and one with black particles, and set the opacity back to about 75%. I also erased a few that were over the main light area.
 I hope this section of the tutorial has given you some ideas to experiment with lighting effects in your art. It can be a lot of fun, and can render some interesting results.
 First lets convert the image to black and white. You can do this by clicking (Image | Adjust | Desaturate). Then let's duplicate the layer and run a light Gaussian Blur at 1.5. Then set this duplicate layer's blend mode to overlay. This gives the image a softer look.
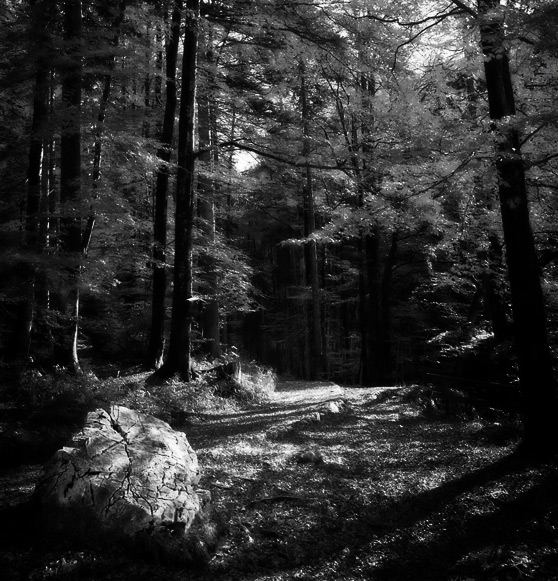 Now let's create a new color fill layer using a deep blue. I used #253a53. This will give the entire scene a blue-ish hue.
Now using a light blue color add some light rays using a brush from the Ultimate Lighting Effects set again.
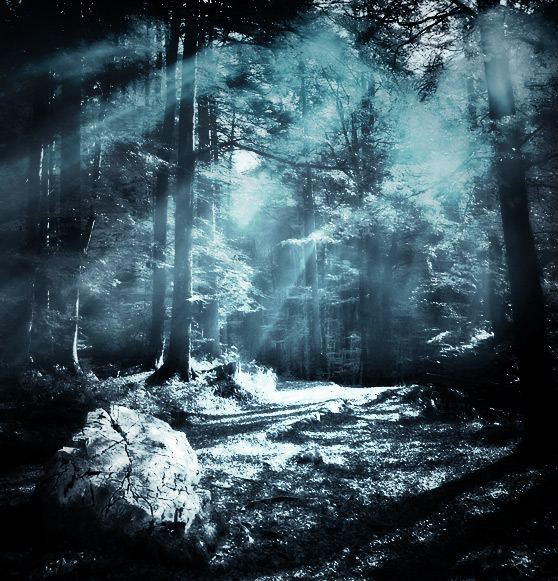 Next, lets darken the edges using the same gradient fill adjustment layer that we created back in the focal point study.
 For the final step, I want to add some dots of light. These could be fireflies or fairy dust... either way it helps to enhance the mood that we're creating. To do this grab a soft white brush set to around 7 or 8 pixels. On the Brush Setting palette adjust the spacing and click Shape Dynamics and Scattering.
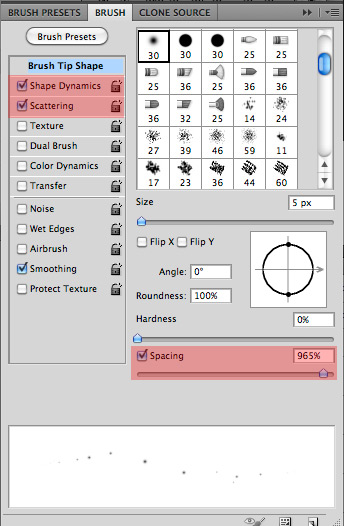 Under Shape Dynamics set the Size Jitter to something around 75%, and under Scattering set Scatter to the max 1000%. Now draw on the canvas in a random pattern. Make sure you are drawing on a new layer below the light rays. Apply an Outer Glow layer style to the dots (fireflies) using the following settings.
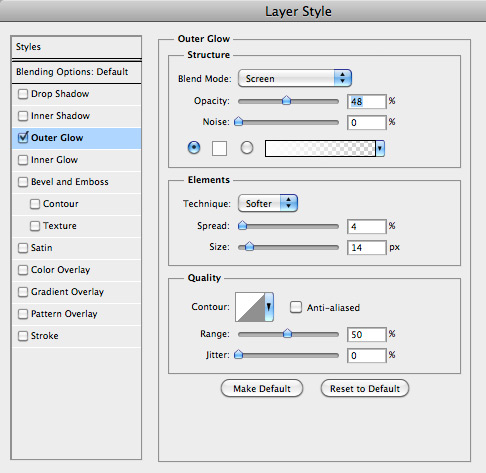 Below is my final result.

Creating a Focal Point with Light Using Soft White Brushes
In this first example we're going to look at creating a focal point, or in this case enhancing a focal point using light. This effect is very simple and achieved by adding 3-4 additional layers above the original photo. Below is my original photo. As you can see here the photo is very evenly exposed. The light is spread the same through the entire photo.
To begin, I want to duplicate the layer, then set the new duplicate layer's blending mode to overlay. Next, I want to create create a new solid color adjustment layer set to a dark gray. I used #565656. These steps are to enhance the colors a bit, and to create a base for the lighting effect.
 Now let's add some shadow. We'll do this with a single gradient adjustment layer with the following settings.
 Now we'll add some lights. Choose a soft white brush and paint on a new layer above all others with a blending mode set to Soft Light.
 Now for the most intense light occurring directly over the rose we'll use a new layer with the same soft white brush. Set this layer's blend mode to Overlay.
 With a little bit of imagination this method can be utilized and modified in any number of ways to fit your project.
Rendering Directional Lights via Filters
Photoshop has a built in filter for adding lighting effects. To access this filter click (Filter | Render | Lighting Effects). Note: In 64-bit versions of Mac OS, Lighting Effects is available only if Photoshop is running in 32-bit mode. For this example I'm going to use Lighting Effects to spotlight a product shot. Below is my original image. Lets add a spotlight directly above the phone. You may have to adjust the spotlight by dragging the points in the preview on the filter window.
 After applying the spotlight, I loaded the filter again to apply an Omni Light directly over the phone.
 Below is my final image. As you can see there are a ton of options to play and experiment with in the Lighting Effects Filter.

Using Custom Brushes to Create Light
A really fun way to utilize light in Photoshop is through custom brushes. In the examples below I'm using a recent set called Ultimate Lighting Effects here at WeGraphics. Before And after applying a brush from the set on a new layer above the photo.
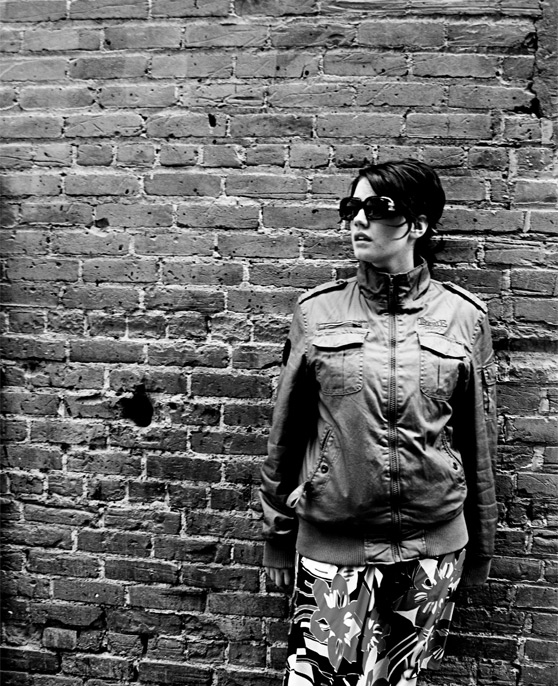
 Before

 And after applying a brush and darkening the edges using the same gradient adjustment layer from the focal point example above.
There are countless resources on the web for lightning effects. Here is a short list of a few available at WeGraphics.
- Ultimate Lighting Effects Brush Set
- Motion Light Effects Brush Set
- Bubbles of Light Textures
- Cosmic Light Brush Set
- Points of Light Brush Set
Creating Special Effect Lighting
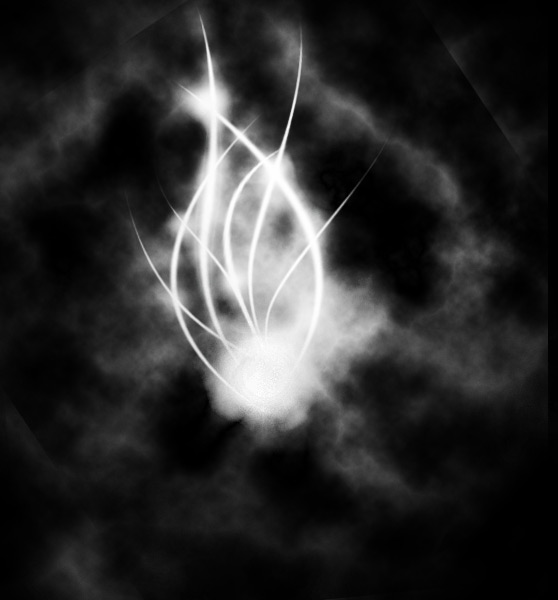
One of the most creative uses for light is through special effects. In the example below we're going to use simple shapes and paths to create an interesting light effect in a few layers. Let's start with a new document with a black background. Duplicate the background layer and render some difference clouds (Filter | Render | Difference Clouds). You may want to repeat the step until you get clouds that you are happy with. Set the cloud's layer blending mode to Overlay. Now with a soft white brush, paint a small circle on a new layer below the clouds layer. When painting on this layer you will start to see some of the clouds show through.
 Now, with the pen tool, draw some lines, either freehand or using points. Draw them so it looks as though they are rising from the circle of light you drew in the first step.
 I set my brush to a soft white 14 pixel brush. Then selected the pen tool again and (Ctrl+clicked) the path and chose stroke path. Be sure that you stroke the path on a new layer so that it is separate from the circle you drew earlier. Now apply a little bit of glow via layer styles.
 Once again you can see the clouds showing through the glow. Go ahead and repeat the previous step until you have several rays emanating from the circle of light.
 Now with another soft white brush, paint on the same layer as your circle of light to reveal a few more clouds.
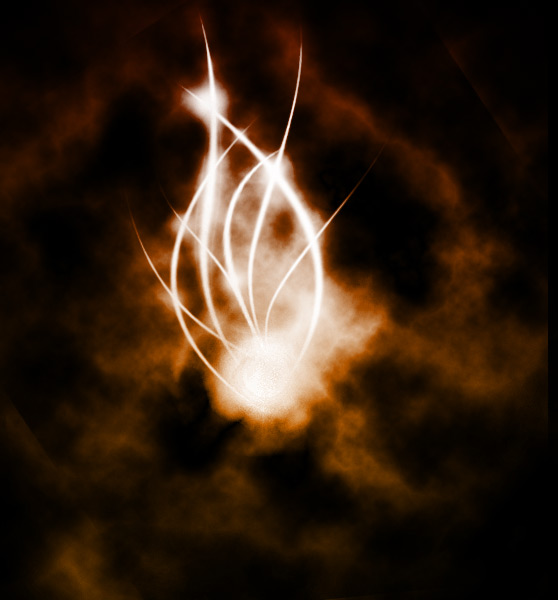
 Lets add a little bit of color through a gradient adjustment layer. I used #e17a00 and #601900 through a linear gradient.
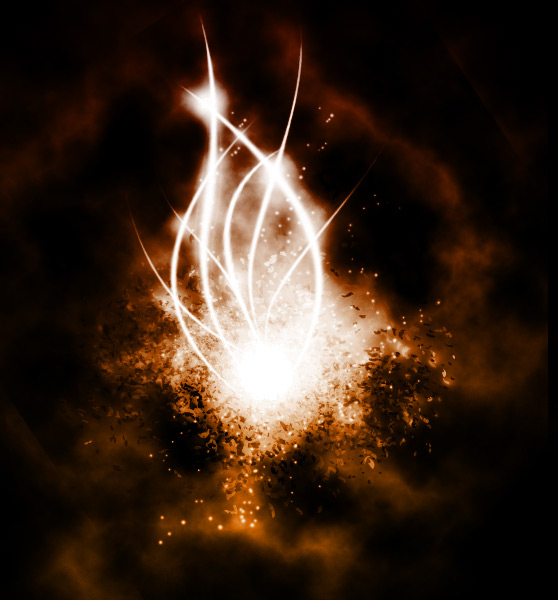
 Just for fun, I added some particles that I created using the Pencil Mark Illustrator Scatter Brush set. I created a layer with white particles and one with black particles, and set the opacity back to about 75%. I also erased a few that were over the main light area.
 I hope this section of the tutorial has given you some ideas to experiment with lighting effects in your art. It can be a lot of fun, and can render some interesting results.
Using Lighting to Create Mood
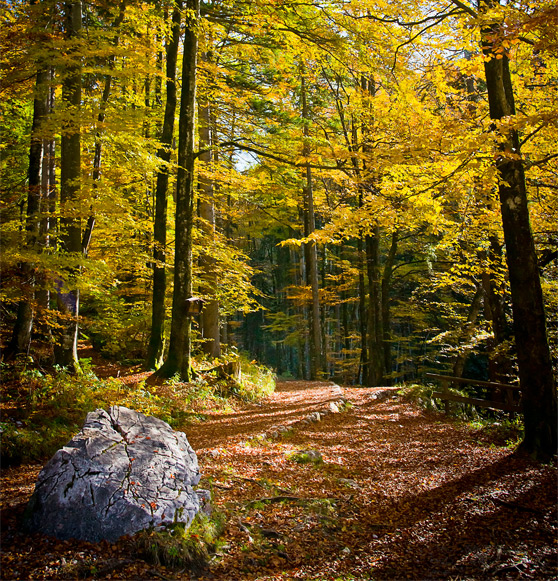
Earlier in the article I mentioned using light to create mood. In this last example we're going to do just that. Below is my original forest image. I want to turn this image into a moonlight scene using lighting effects. First lets convert the image to black and white. You can do this by clicking (Image | Adjust | Desaturate). Then let's duplicate the layer and run a light Gaussian Blur at 1.5. Then set this duplicate layer's blend mode to overlay. This gives the image a softer look.
 Now let's create a new color fill layer using a deep blue. I used #253a53. This will give the entire scene a blue-ish hue.
Now using a light blue color add some light rays using a brush from the Ultimate Lighting Effects set again.
 Next, lets darken the edges using the same gradient fill adjustment layer that we created back in the focal point study.
 For the final step, I want to add some dots of light. These could be fireflies or fairy dust... either way it helps to enhance the mood that we're creating. To do this grab a soft white brush set to around 7 or 8 pixels. On the Brush Setting palette adjust the spacing and click Shape Dynamics and Scattering.
 Under Shape Dynamics set the Size Jitter to something around 75%, and under Scattering set Scatter to the max 1000%. Now draw on the canvas in a random pattern. Make sure you are drawing on a new layer below the light rays. Apply an Outer Glow layer style to the dots (fireflies) using the following settings.
 Below is my final result.
