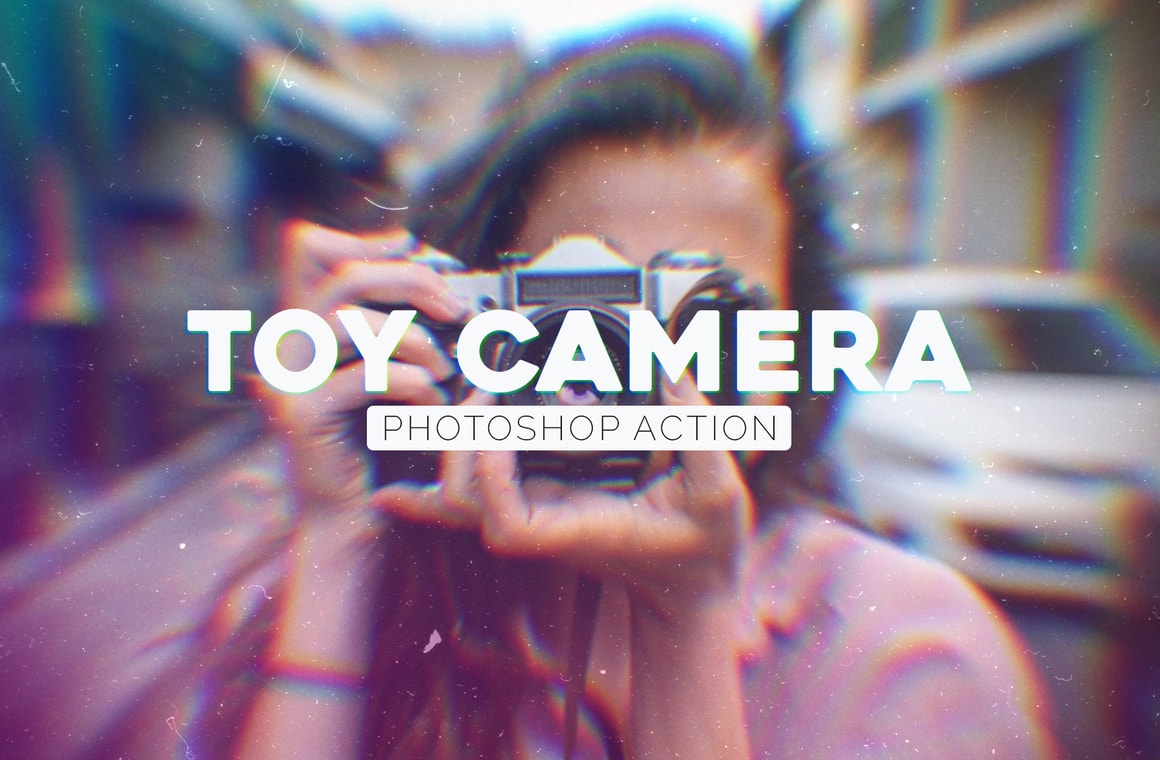

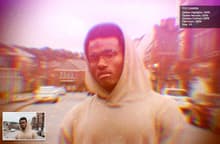
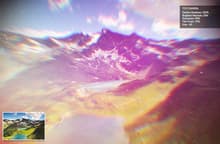
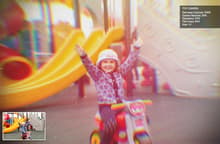
With the Toy Camera Photoshop Action you can easily get a realistic toy camera effect on your images with a single click of the mouse. Simply open your image in Photoshop and run the action. A perfect and easy to use action to give a retro look to your images. When the action finish, you can adjust the lens colors and position, enable or disable the film grain texture, move the dust and dirt texture and more to fine tune the end result.
The action comes with 2 different effects (normal and square images) for you to pick the one that works best with your image. Also, an Adjustments layer group is set for you to achieve different looks or to fine tune the end result.
How to install (action):
- Open Photoshop.
- In the Actions Panel click on the top right icon and from the dropdown menu select "Load Actions".
- Locate the "Medialoot - Toy Camera.atn" file and click on Load.
How to install (patterns):
- Open Photoshop.
- Go to Edit > Presets > Preset Manager.
- From the dropdown select "Patterns" and click on Load.
- Locate the "Toy Camera Patterns.pat" file and click Load.
- On newer Photoshop versions go to Window > Patterns.
- Click on the top right menu icon and from the dropdown menu select "Import Patterns".
- Locate the "Toy Camera Patterns.pat" file and click Load.
How to use:
- Open your image in Photoshop.
- In the Actions Panel expand the "Medialoot - Toy Camera" action container.
- Select any of the 2 included actions and click on the play button.
How to Change the Texture Position:
- Select the "Dust / Dirt" or "LensFX" layers.
- Pick the Move Tool (V) and freely drag the textures to any position you like.
How to Change the LensFX Color:
- Select the "Adjust Hue" layer.
- Go to Window > Properties.
- Drag the Hue slider to any position you like.


