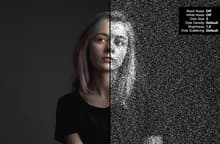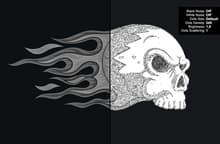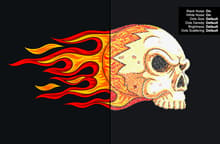


With the Stipple Shading Template for Photoshop you can instantly emulate a stipple shaded effect from any photo or graphic that you want. You just need to replace a single Smart Object and the file will be automatically updated with all the effects that you can later adjust to your liking.
After updating the Smart Object, you can adjust all the effects by modifying the "Effects" layer smart filters, change the background color and make adjustments by changing the levels, brightness, hue, saturation, gradient map and more. The included PSD file has a resolution of 300 dpi with a dimension of 4800 x 3200 px in RGB color mode perfect to be used on your print or digital designs.
How to update the Smart Object
- Open the "Stipple Shading Photoshop Template.psd" file in Photoshop.
- Double click on the "[Your Image Here]" Smart Object layer thumbnail.
- Replace the sample artwork with your own content.
- Save and close the Smart Object.
How to change Background Color
- Double click on the "[Change Background Color]" layer thumbnail.
- Pick any color from the Color Picker window and click OK.
How to change the Effects
- Expand the Smart Filters of the "Effects" layer by clicking on the down arrow located at the right of the layer name.
- Double click on any of the smart filters to edit it.
The effects list and what they control
As Photoshop do not allow to rename the smart filters, here is a reference of what they control in the order they appear in the file:
- Unsharp Mask - Sharpness
- Ripple - Dots Distortion
- Add Noise - Overall Black Noise
- Add Noise - Overall White Noise
- Gaussian Blur - Dots Softness
- Minimum - Dots Size
- Add Noise - (Do not modify this)
- Levels - Dots Density
- Levels - Brightness
- Gaussian Blur - Dots Scattering


