


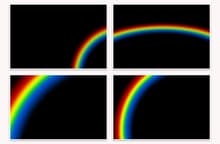
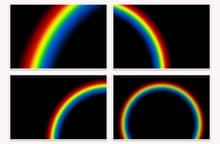
This pack of 12 Rainbows overlay textures are perfect for placing a realistic rainbow and add a bit of atmosphere to your photos.
Simply place one of the textures on top of your photo, set the Blending Mode to Screen in Photoshop and adjust the opacity to increase or decrease the texture intensity. You can also place 2 or more rainbow textures over the same image and adjust the opacity of each one individually to achive a whole new look.
The pack includes 12 JPG files with the rainbows in different sizes and positions at 4800 x 3200 pixels each and they are compatible with Photoshop, GIMP, Pixelmator, Affinity Photo and any other image editor which supports layers and blending modes.
How to Use with Photoshop
- Open your photo in Photoshop.
- Go to File > Place.
- Choose one of the Rainbow overlay textures.
- Resize the overlay to cover your photo and confirm.
- In the layers panel, choose Screen from the blending mode dropdown.
- Adjust the Opacity of the texture overlay layer.
Quick Tip:
Select the Rainbow layer and add a layer mask. Using a soft black brush paint over the layer mask to hide the areas that you do not want to be visible in the image.


