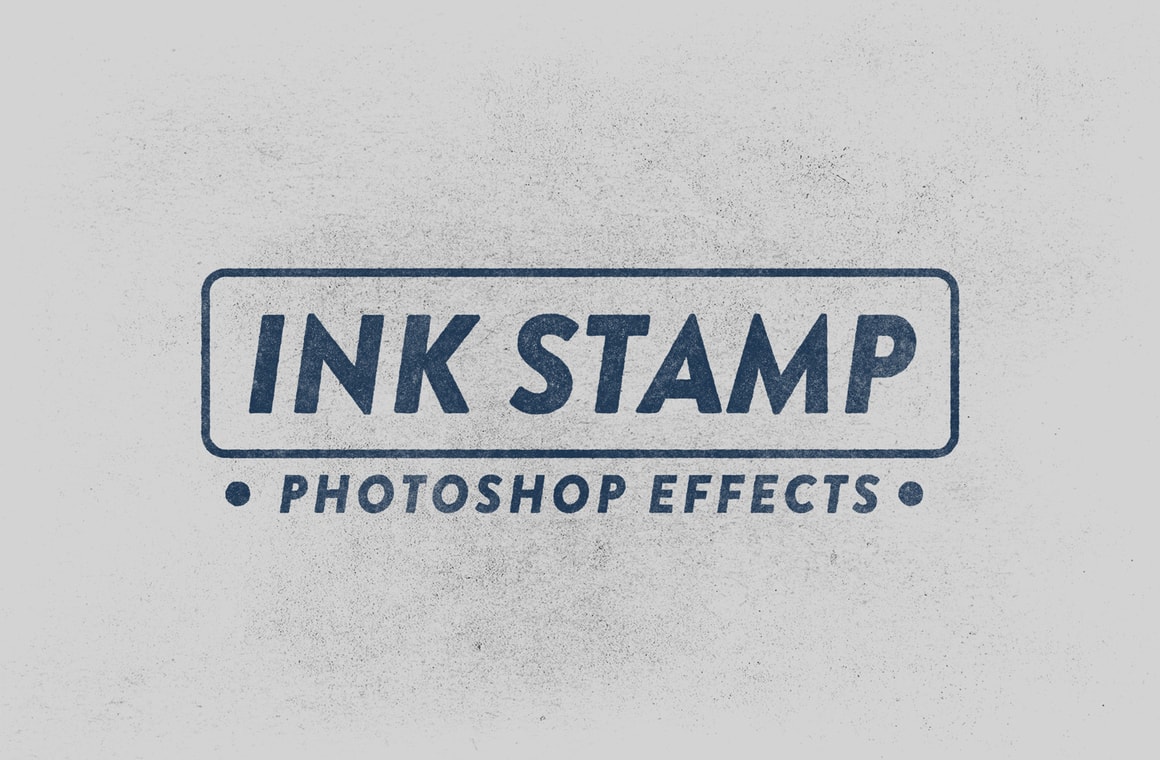


With the Ink Stamp Effect for Photoshop, you can now easily create a realistic Ink Stamp effect from any graphic that you want. Simply replace the Smart Object with your own design and the file will automatically apply the effect to transform it into a stamped one.
Perfect to give your designs a whole new look, you can use this effect on logos, badges, advertisiments, banners, headers or any other graphic you can think of. You can also change the stamp color easily as well to play with 15 different effects (which can be combined) 5 different washed textures, a separated ink border, another separated edge, 4 background textures and of course, change the background color.
Your download includes a single .psd file made at 3000 x 2000 px with a 72 dpi resolution with all the necessary elements to give your designs a ink stamp style.
How to use:
- Open the included .psd file in Adobe Photoshop.
- Double click on the first top layer named "Your Image Here".
- Place your graphic in the new document, save it and close it.
How to change the Stamp color:
- Double click on the "Stamp Color" layer thumbnail.
- Pick any color from the Color Picker window and click OK.
How to change the Background Texture color:
- Double click on the "Background Texture Color" layer thumbnail.
- Pick any color from the Color Picker window and click OK.
How to change the Background color:
- Double click on the "Background Color" layer thumbnail.
- Pick any color from the Color Picker window and click OK.
How to change the Stamp Effect:
- Expand the "Inks" layer group locate inside the "Stamp Effects" layer group.
- Turn on/off any of the 15 ink effects.
Some tips:
- Experiment turning on/off a few different stamp effects at the same time and changing the opacity.
- Turn on/off the "Stamp Effects" layer group mask to achieve a different effect.


