
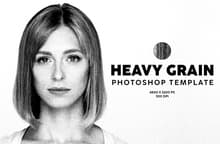
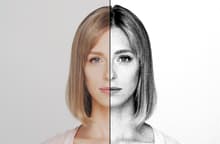

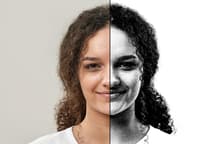
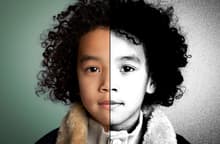
With the Heavy Grain Template for Photoshop you can instantly emulate a grain effect from any photo or graphic that you want. Simply replace the smart object with your own image and then pick any of the 4 included grain sizes (small - normal - large - extra large).
After updating the Smart Object, you can adjust the contrast, levels and exposure and easily change the colors to your liking by updating a single gradient map. The included PSD file has a resolution of 300 dpi with a dimension of 4800 x 3200 px in RGB color mode perfect to be used on your digital designs.
How to update the Smart Object:
- Open the "Heavy Grain Template.psd" file in Photoshop.
- Double click the red labelled "[Your Image Here]" Smart Object layer thumbnail.
- Replace the sample artwork with your own content.
- Save and close the Smart Object.
How to change the colors:
- Double click on the thumbnail of the "[Change Gradient Map Color]" layer.
- In the Properties window, click on the gradient map thumbnail.
- Pick any color from the Color Picker window for each of the color stops in the Gradient Editor and click OK.


