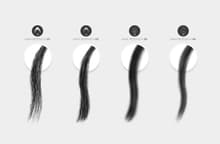
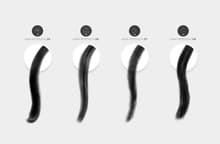
The Hair Retouching Brushes pack comes with 12 different brushes ready to repair the most tricky part of a photo, the hair. Ideal to repair small or large areas the 8 "hair retouching" brushes will make your work easier, but also if you want to add a few flyaway hairs, the pack includes 4 different ones to cover all your needs. Simply select the brush you want to use, reduce or enlarge the brush size according to your needs and start painting over your subject hair.
Due the great versatility of these brushes they are also very usefull to add new hair, erase unwanted areas of your subject or even paint an entire new hair on your creations.
Note: To unleash the full potential of these brushes, we highly reccomend to use them with a pressure sensitive stylus pen.
How to install:
- Open Photoshop.
- Go to Edit > Presets > Preset Manager.
- From the dropdown select "Brushes" and click on Load, locate the "Medialoot - Hair Retouching Brushes.abr" files and click Load.
How to use:
- Open your photo in Photoshop or create a new document.
- Select the Brush tool (B) and choose the brush you wish to use from the 12 ones included.
- Set a foreground color and start painting.
Quick tip:
Start with an average brush size of 50 for the "hair repairing" ones, and if needed, increase the size in 10px intervals. Always draw short strokes with the stylus to have full control and change the brush size frequently to achieve a better repairing effect.


