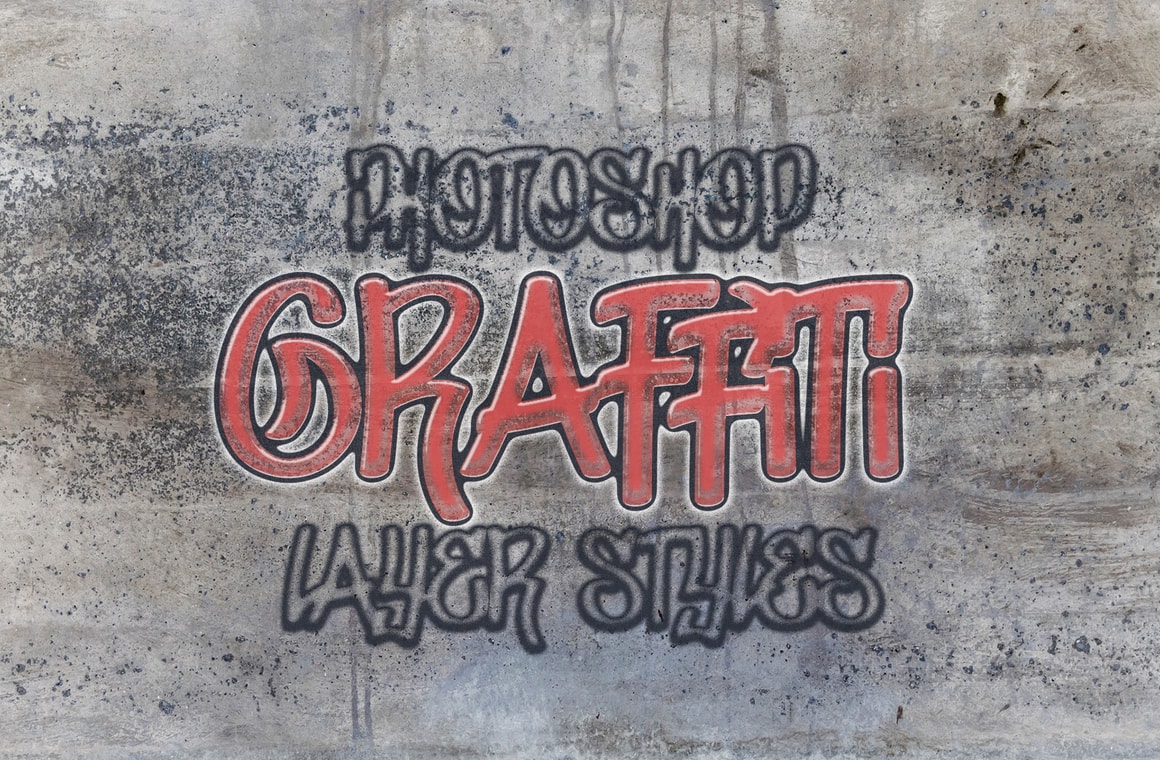
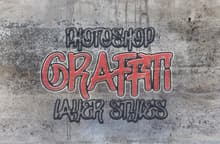


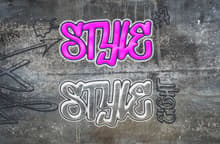

In this pack you will find 10 Graffiti layer styles for Photoshop that you can use over any object: type, text, raster or vector shapes. With only one click, you can easily transform a flat colored layer into a realistic graffiti one and choose between 10 different types of graffiti effects.
These layer styles are just perfect to be used on headlines, small pieces that you want to make it look like graffiti or even to make a background full of images with a graffiti style for your website. These layer styles will only require one single layer to achieve a realistic effect, but you can also tweak some layer styles settings to achieve a new one or even combine 2 or more for a custom style.
How to install
- Open Photoshop and go to Edit > Presets > Preset Manager.
- Choose 'Styles' from the dropdown menu and click on 'Load'.
- Locate the 'WeGraphics - Graffiti Layer Styles.asl' file and click OK.
- Click 'Done' on the Preset Manager window.
How to use
- In your Photoshop file, select the layer you want to make look like a graffiti one.
- In the Styles Panel (Window > Styles) click over any of the 10 Graffiti Styles to apply the choosen style to that layer.
Some Tips
- If you are using a text layer, we recommend to use a font with a minimun of 300 px size.
- For outlined shapes, we recommend a minimum of 40 pt stroke.
- If you want to scale up/down your final image, be sure to check the "Scale Styles" option in the Image Size dialog box.
- If you want to scale up/down the effects of a layer, right-click over the 'fx' icon of the selected layer in the Layers Panel and choose 'Scale Effects' from the dropdown menu (perfect for small text).


