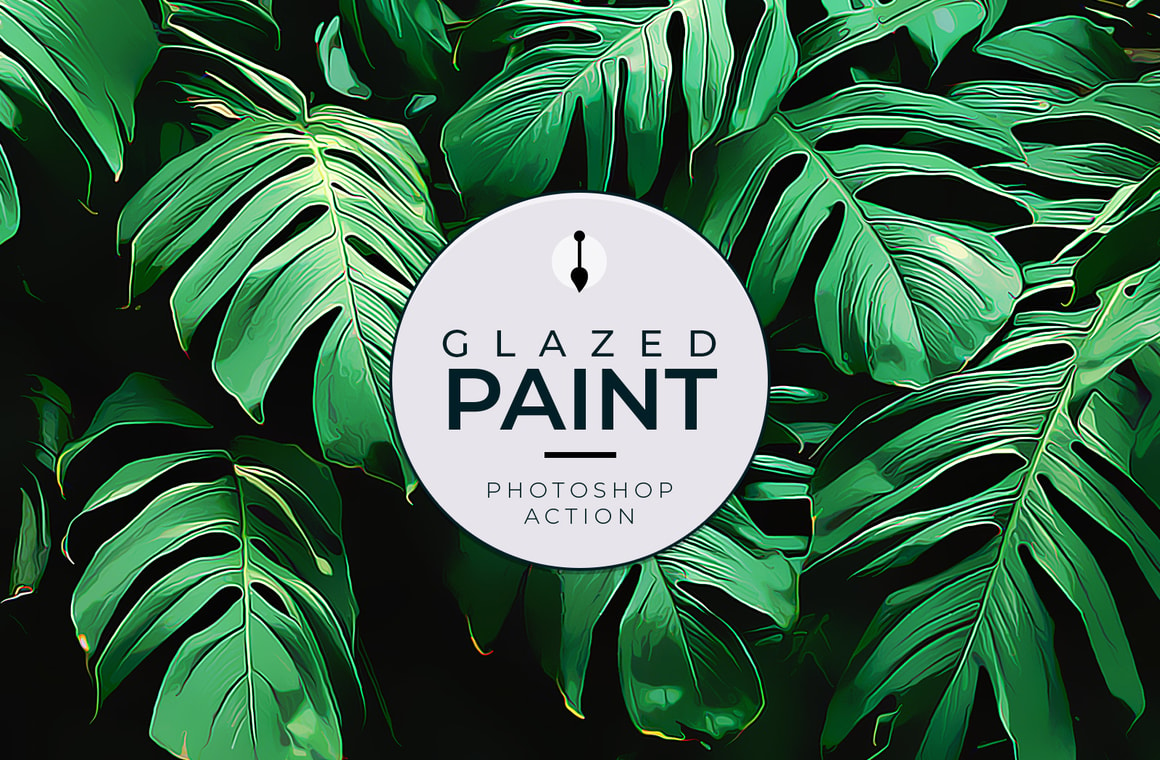


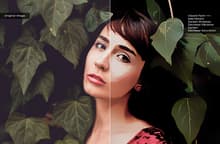
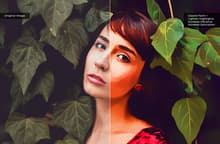
With the Glazed Paint Photoshop Action you can easily give to any of your pictures a glazed painting look & feel with a professional end result while keeping your original image intact.
With this Photoshop Action and with just 1 click, you can give your images a professional glazed painting look without any advanced Photoshop knowledge. All you need to do is open your image, select the Glazed Paint action and click on the play button. The action works with any image size and resolution, and a professional result is guaranteed. Once the action finish, you may choose from 4 different glazed paint effects levels, add details, or adjust the layer opacity of each effect to combine 2 or more of them to get different results and the exact look you are looking for.
Also, the action will setup a layer group where you can individually adjust the highlights, shadows, increase or decrease the vibrance and saturation and more.
How to install
- Open Photoshop.
- In the Actions Panel click on the top right icon and from the dropdown menu select "Load Actions".
- Locate the "WeGraphics - Glazed Paint.atn" file on your computer and click on Load.
How to use
- Open your image. Be sure that is set as the background (if not, go to Layer > New > Background from Layer).
- In the Actions Panel expand the "WeGraphics - Glazed Paintt" action container.
- Select the "Glazed Paint" action and click on the play button.
Note: This action will not convert your raster picture into a vector one, it will only give your image a vector look & feel.


