How to Digitally White Wash a Wood Texture in Photoshop
No need to get your hands dirty with digital DIY
This tutorial will share with you a cool technique that I discovered when attempting to recreate a white washed wood effect using nothing but a regular old wood texture and Photoshop. This technique works surprisingly well with almost any wood texture providing you are comfortable with identifying and correcting areas that need tweaking.
Preview
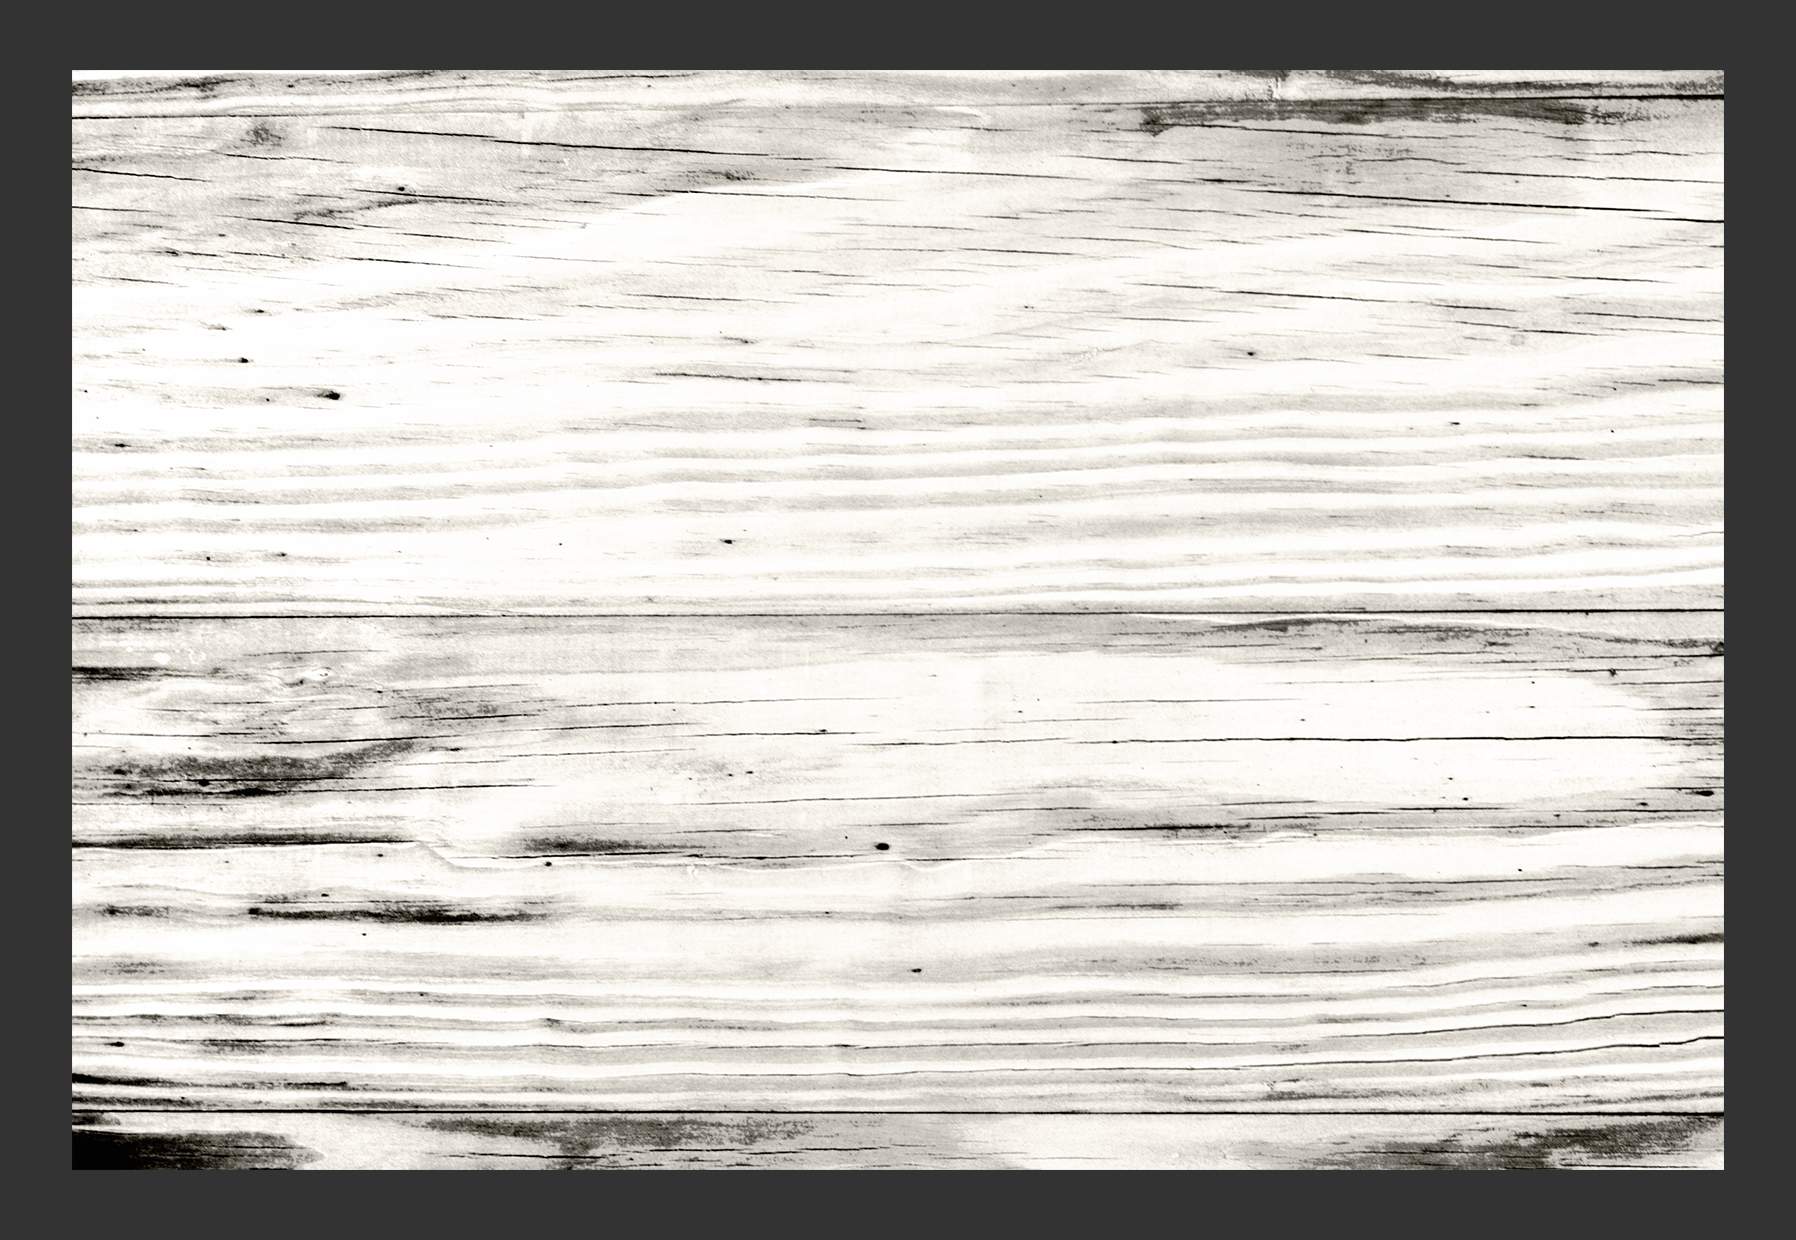
Here is a quick preview of the effect that we will be recreating using this texture from the Old Wood Plank Textures set here on WeGraphics.
Step 1
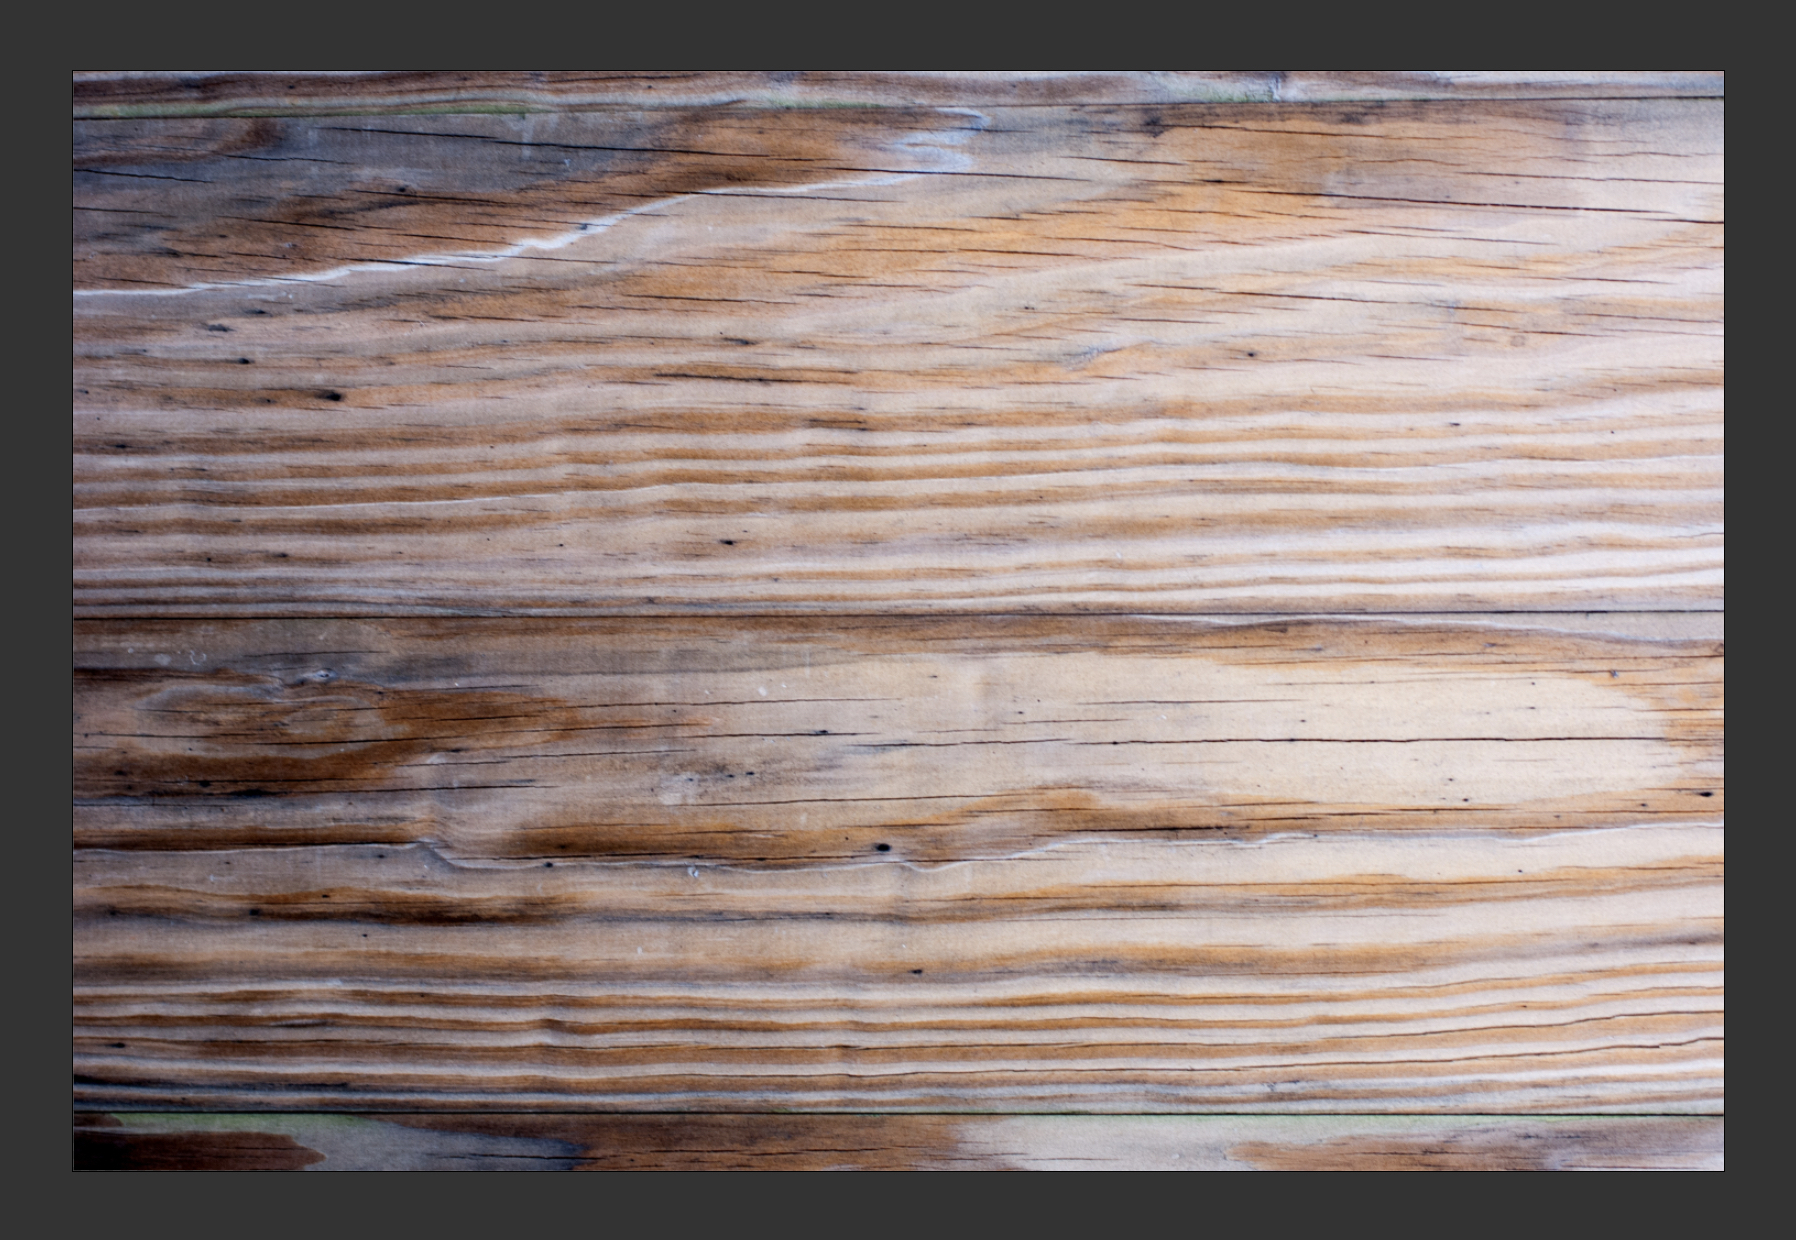
Open this texture from the Old Wood Plank Textures set in Photoshop CS6 or newer and double click on the background layer to unlock it.
Step 2
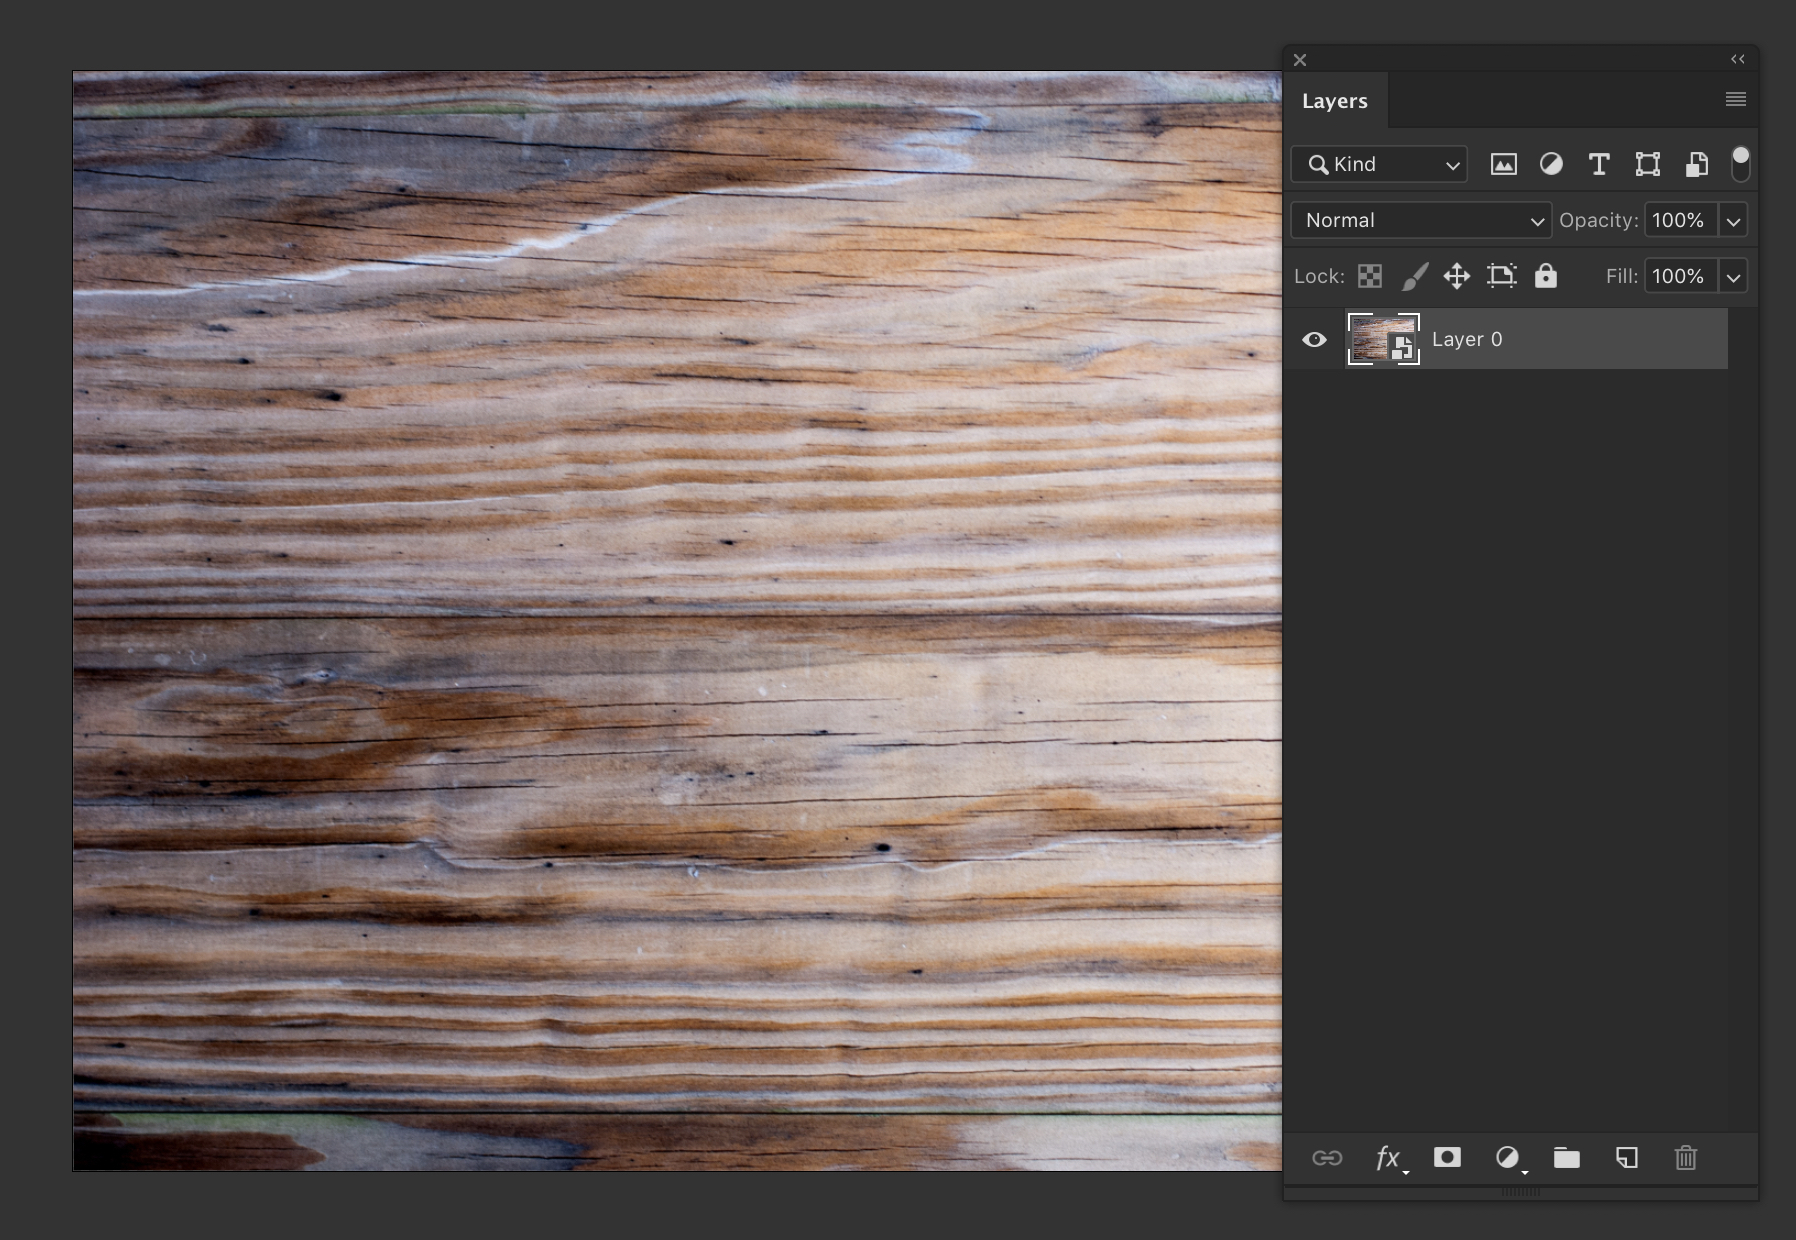
Right click on the the wood texture layer and choose Convert to Smart Object.
Note: This step may or may not be necessary depending on the adjustments you do the texture, but it's always a good idea to get into the habit of converting to smart object before making adjustments an image.
Step 3
Before anything else we need to prep the texture as best we can. This may include removing blemishes or correcting lighting. In this instance we need to balance the lighting which is currently darker on the left than the right.
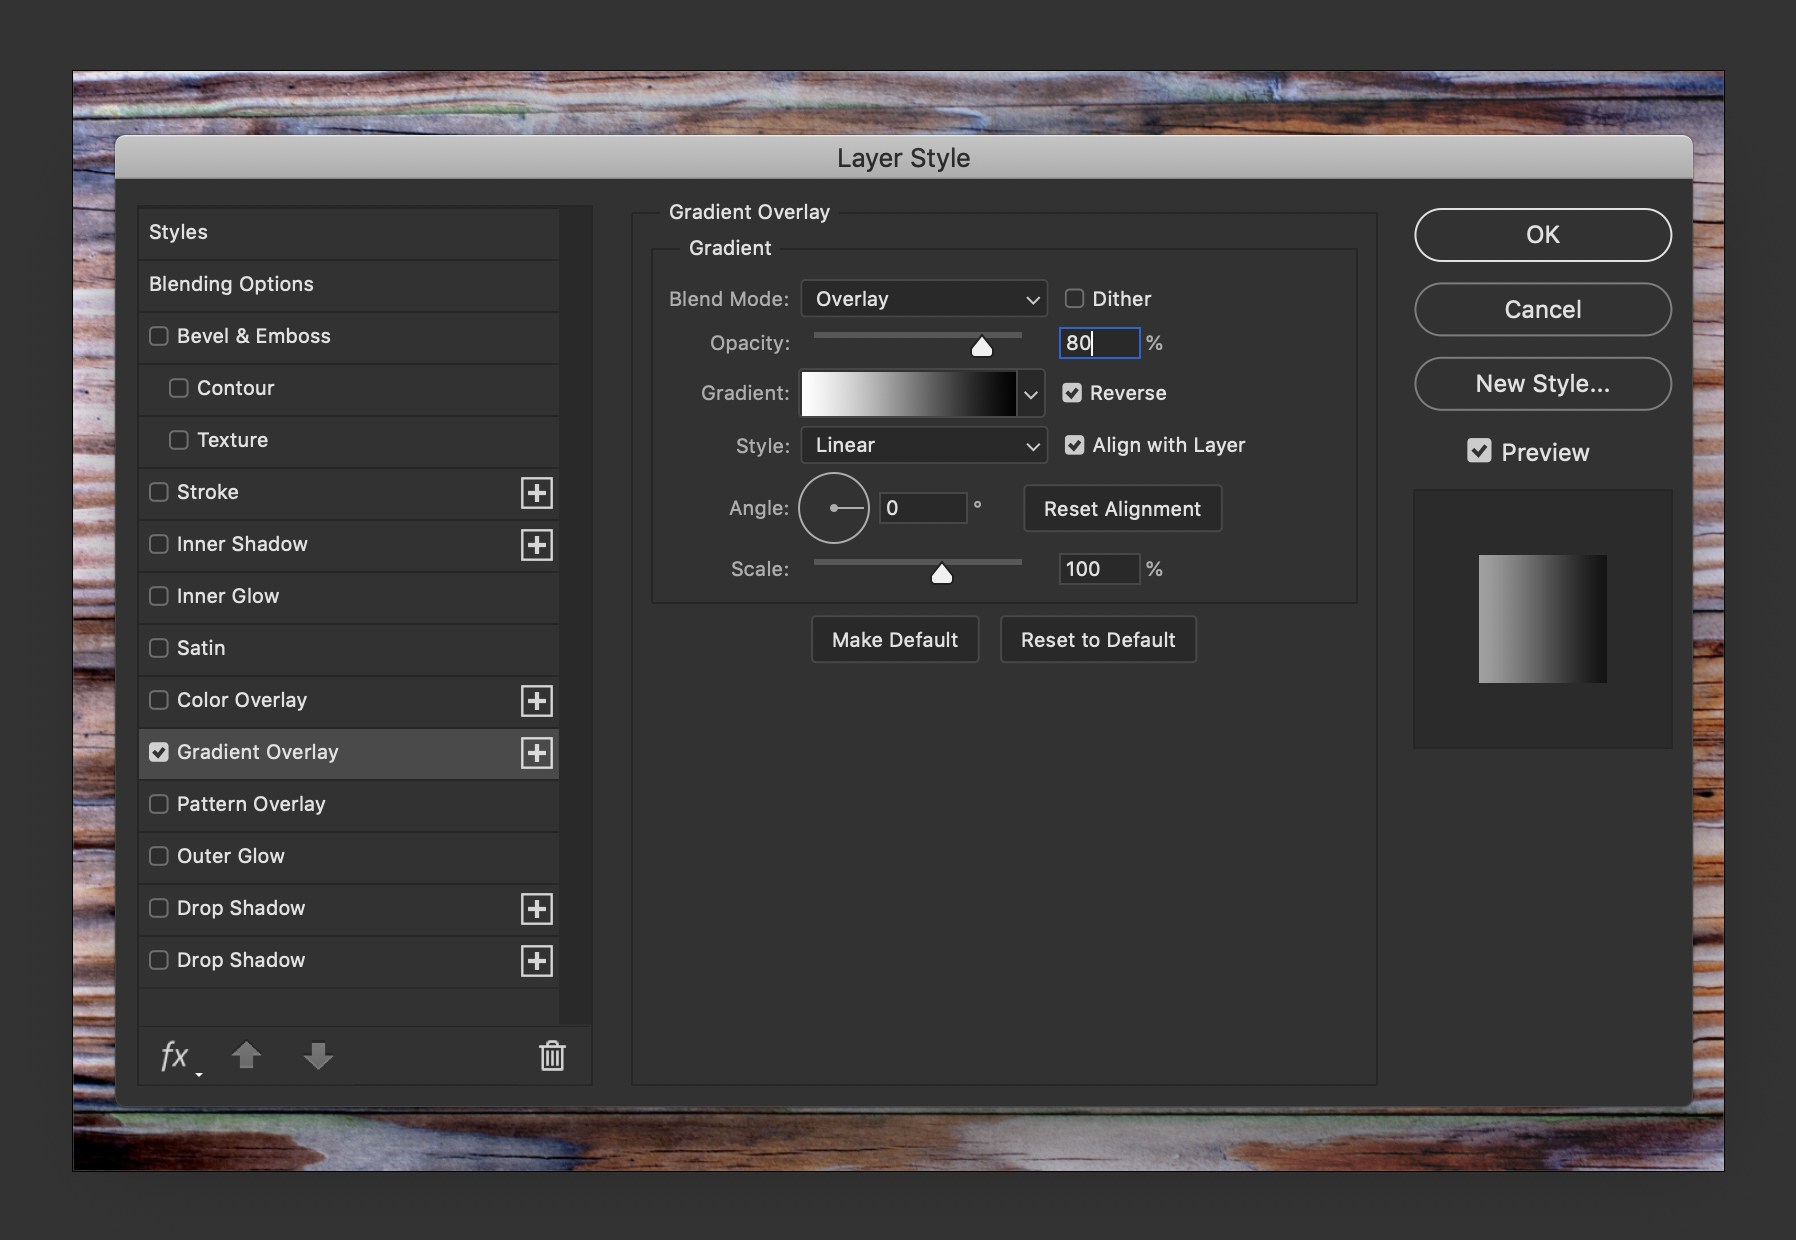
Double click on the wood texture layer to bring up the Layer Styles window. Choose Gradient Overlay and apply these settings:
- Blend Mode: Overlay
- Opacity: 80%
- Gradient: Black to White
- Reverse: Yes
- Scale: 100%
Click OK to confirm
Step 4
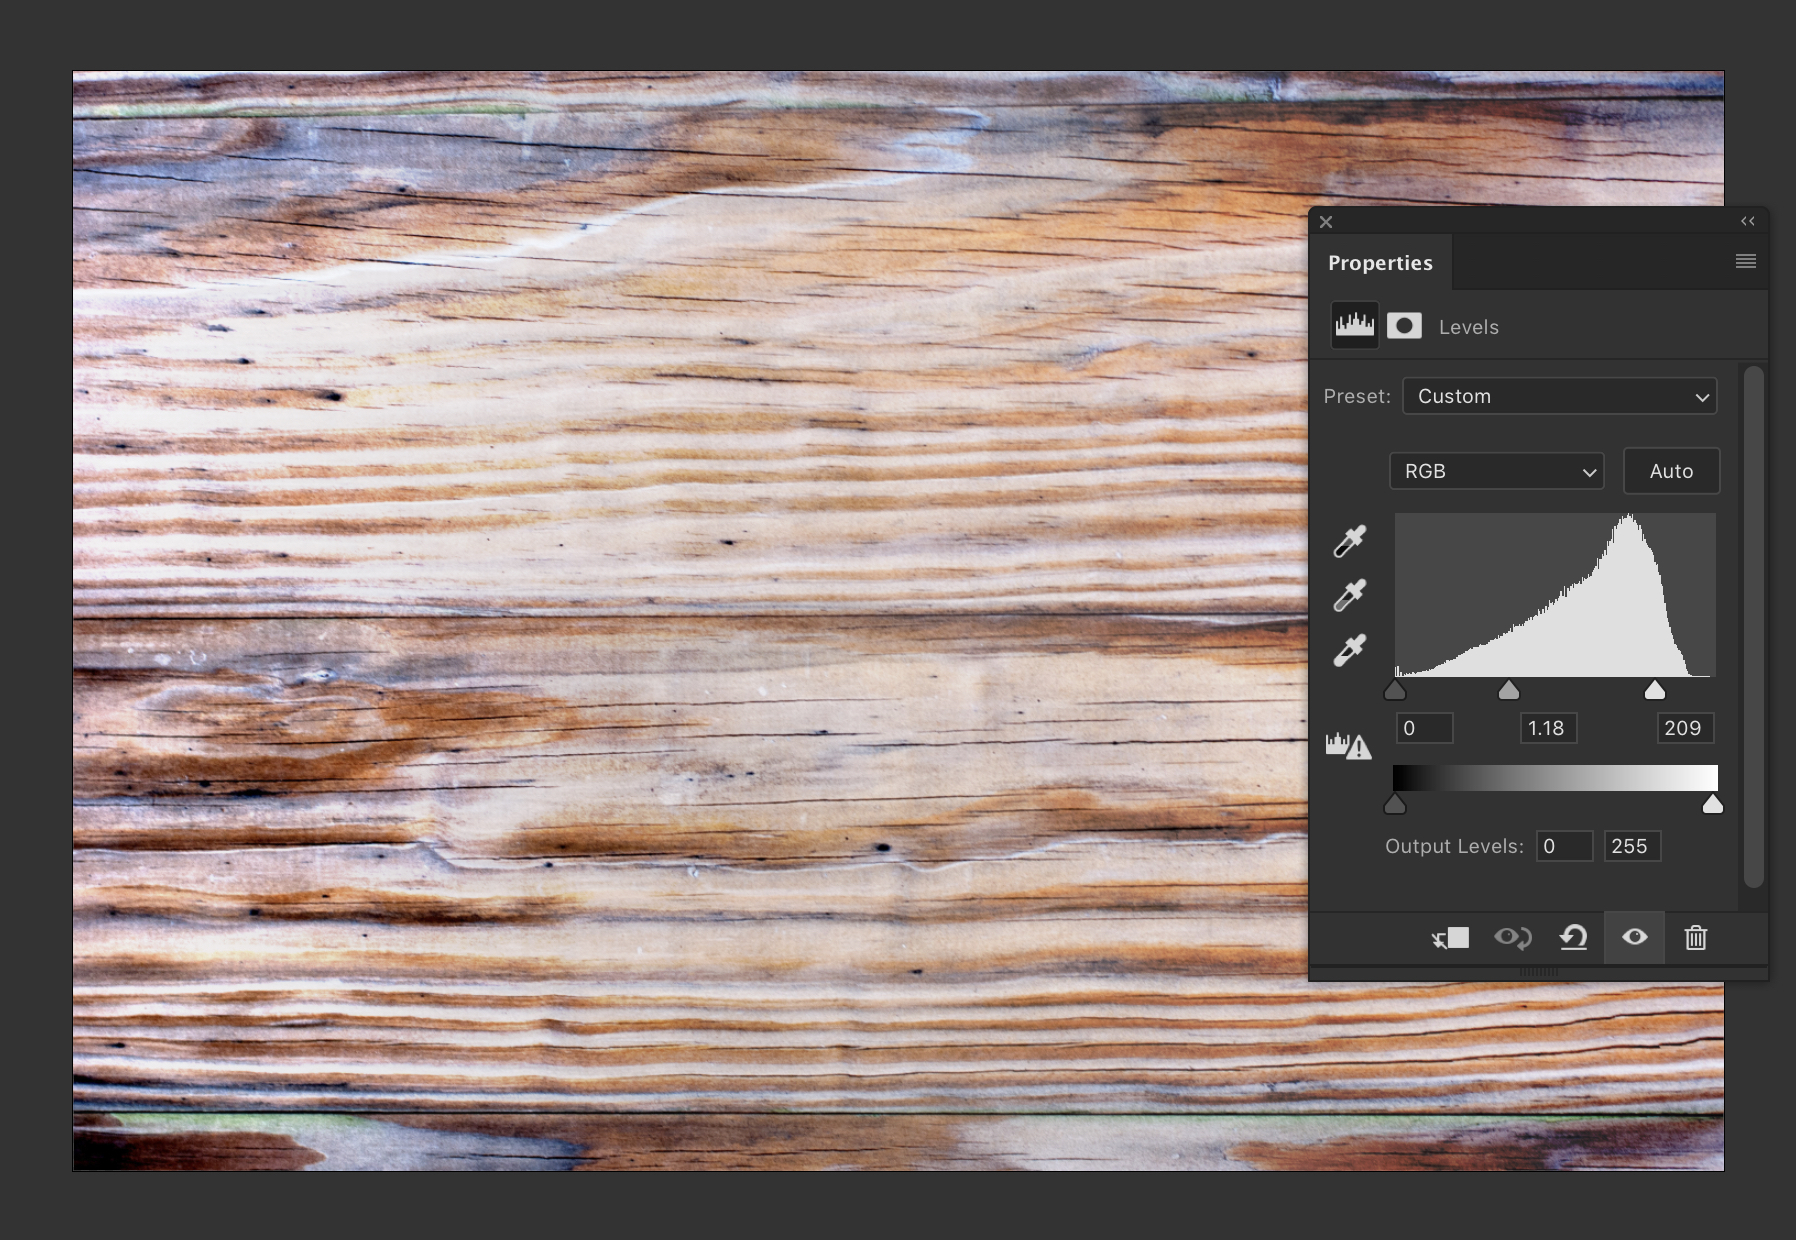
Add a new Levels adjustment layer to tweak the lighting and bring out more of the grain texture.
- Shadows Input: 0
- Midtone Input: 1.18
- Highlights Input: 209
Step 5
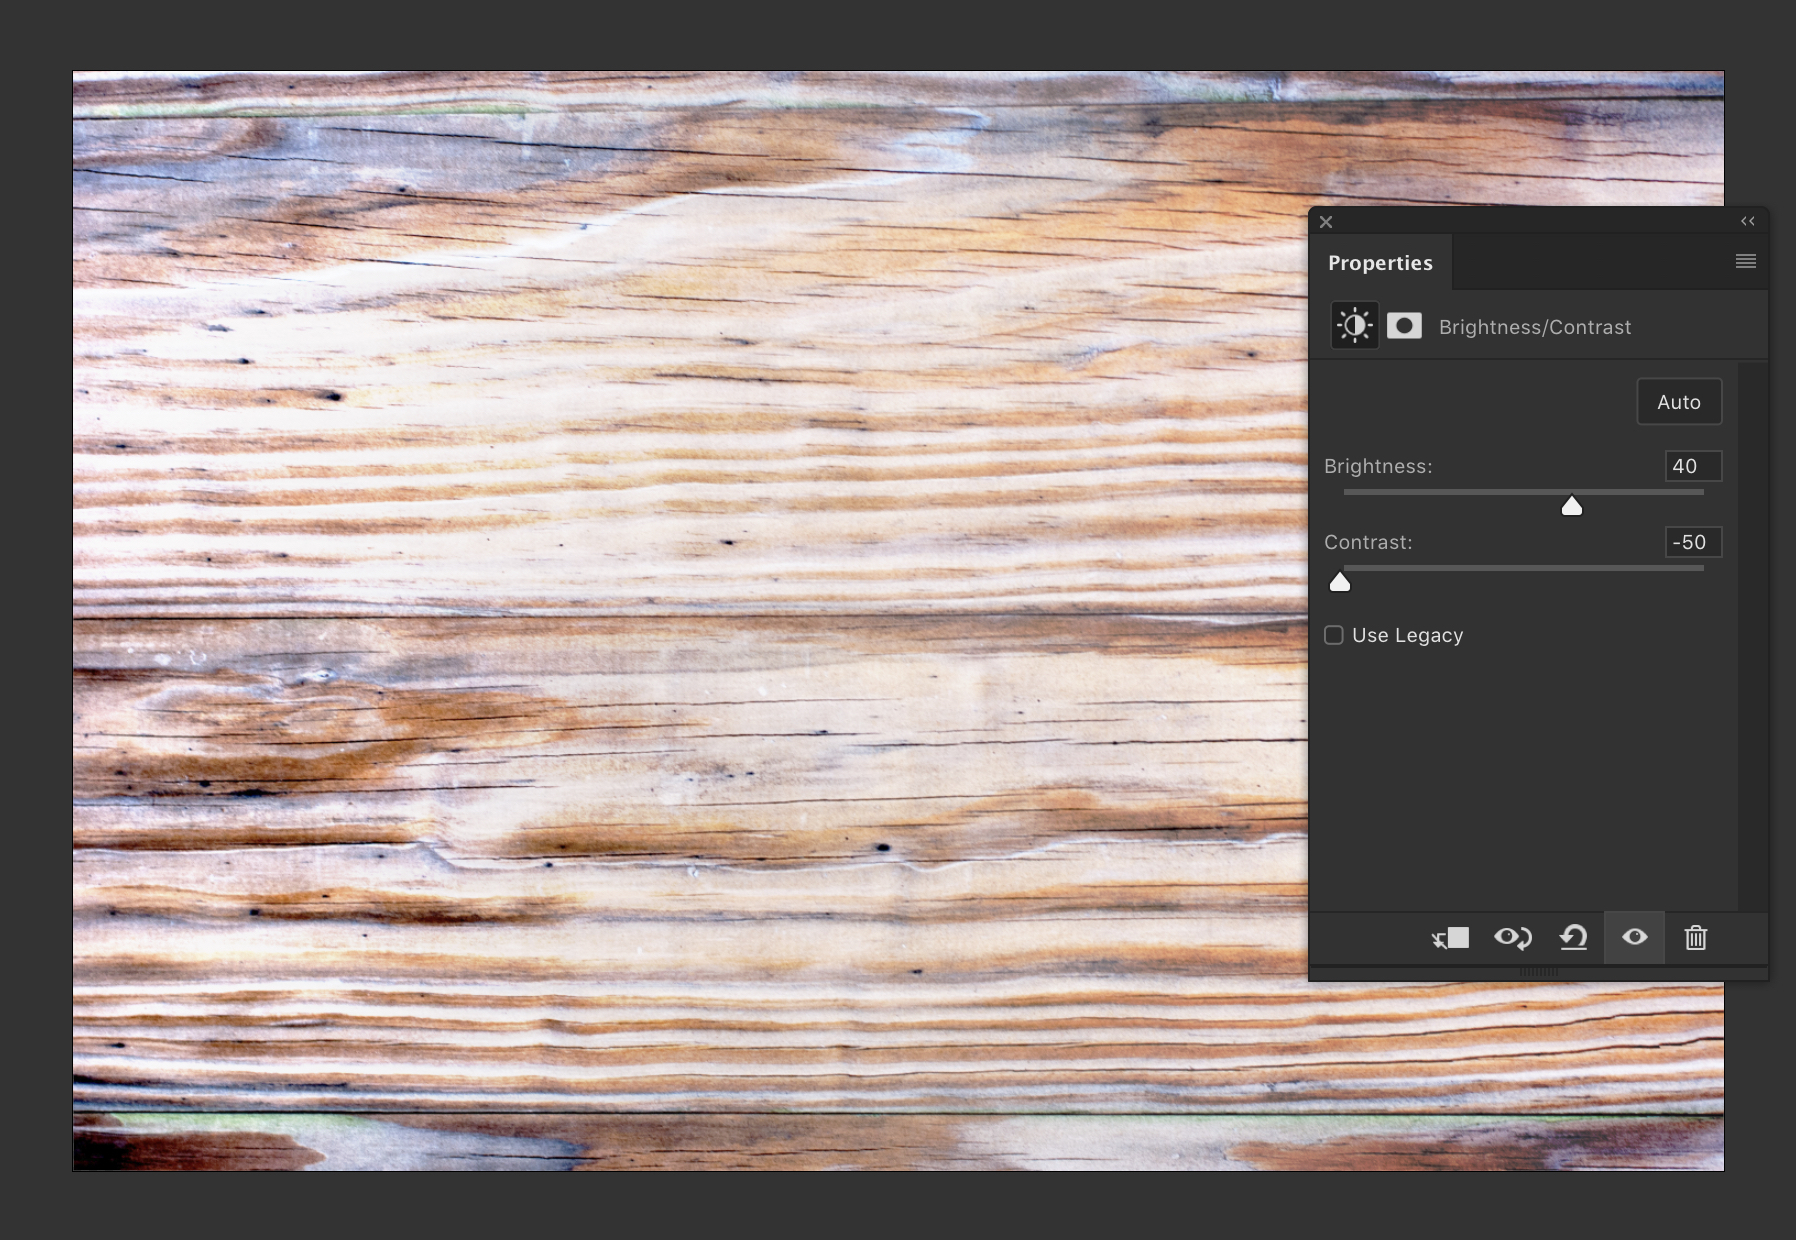
Add a new Brightness/Contrast adjustment layer to soften the harshness of the contrast and at the same time brighten the texture
- Brightness: 40
- Contrast: -50
Step 6
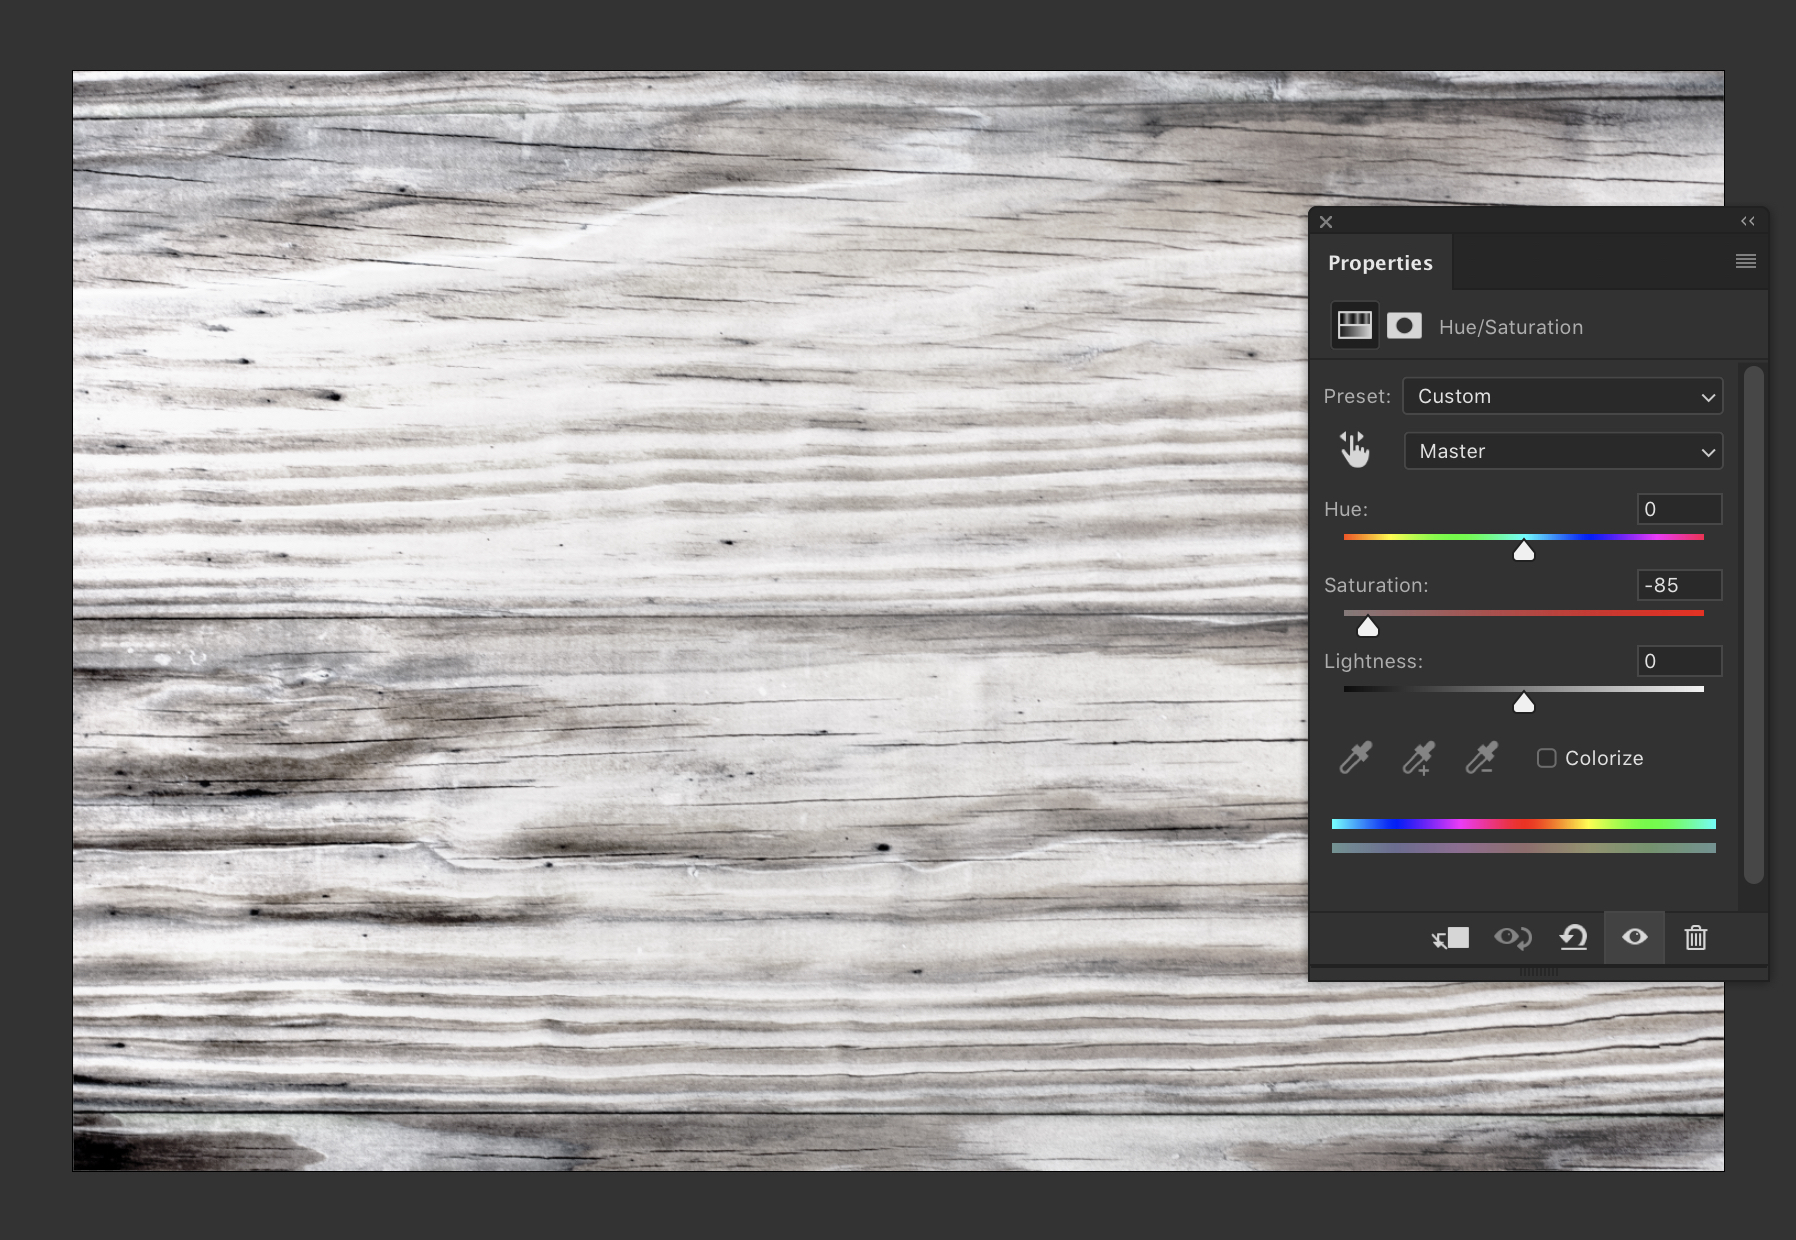
Add a new Hue/Saturation adjustment layer to remove most of the color and really see the grain detail
- Hue: 0
- Saturation: -85
- Lightness: 0
Step 7
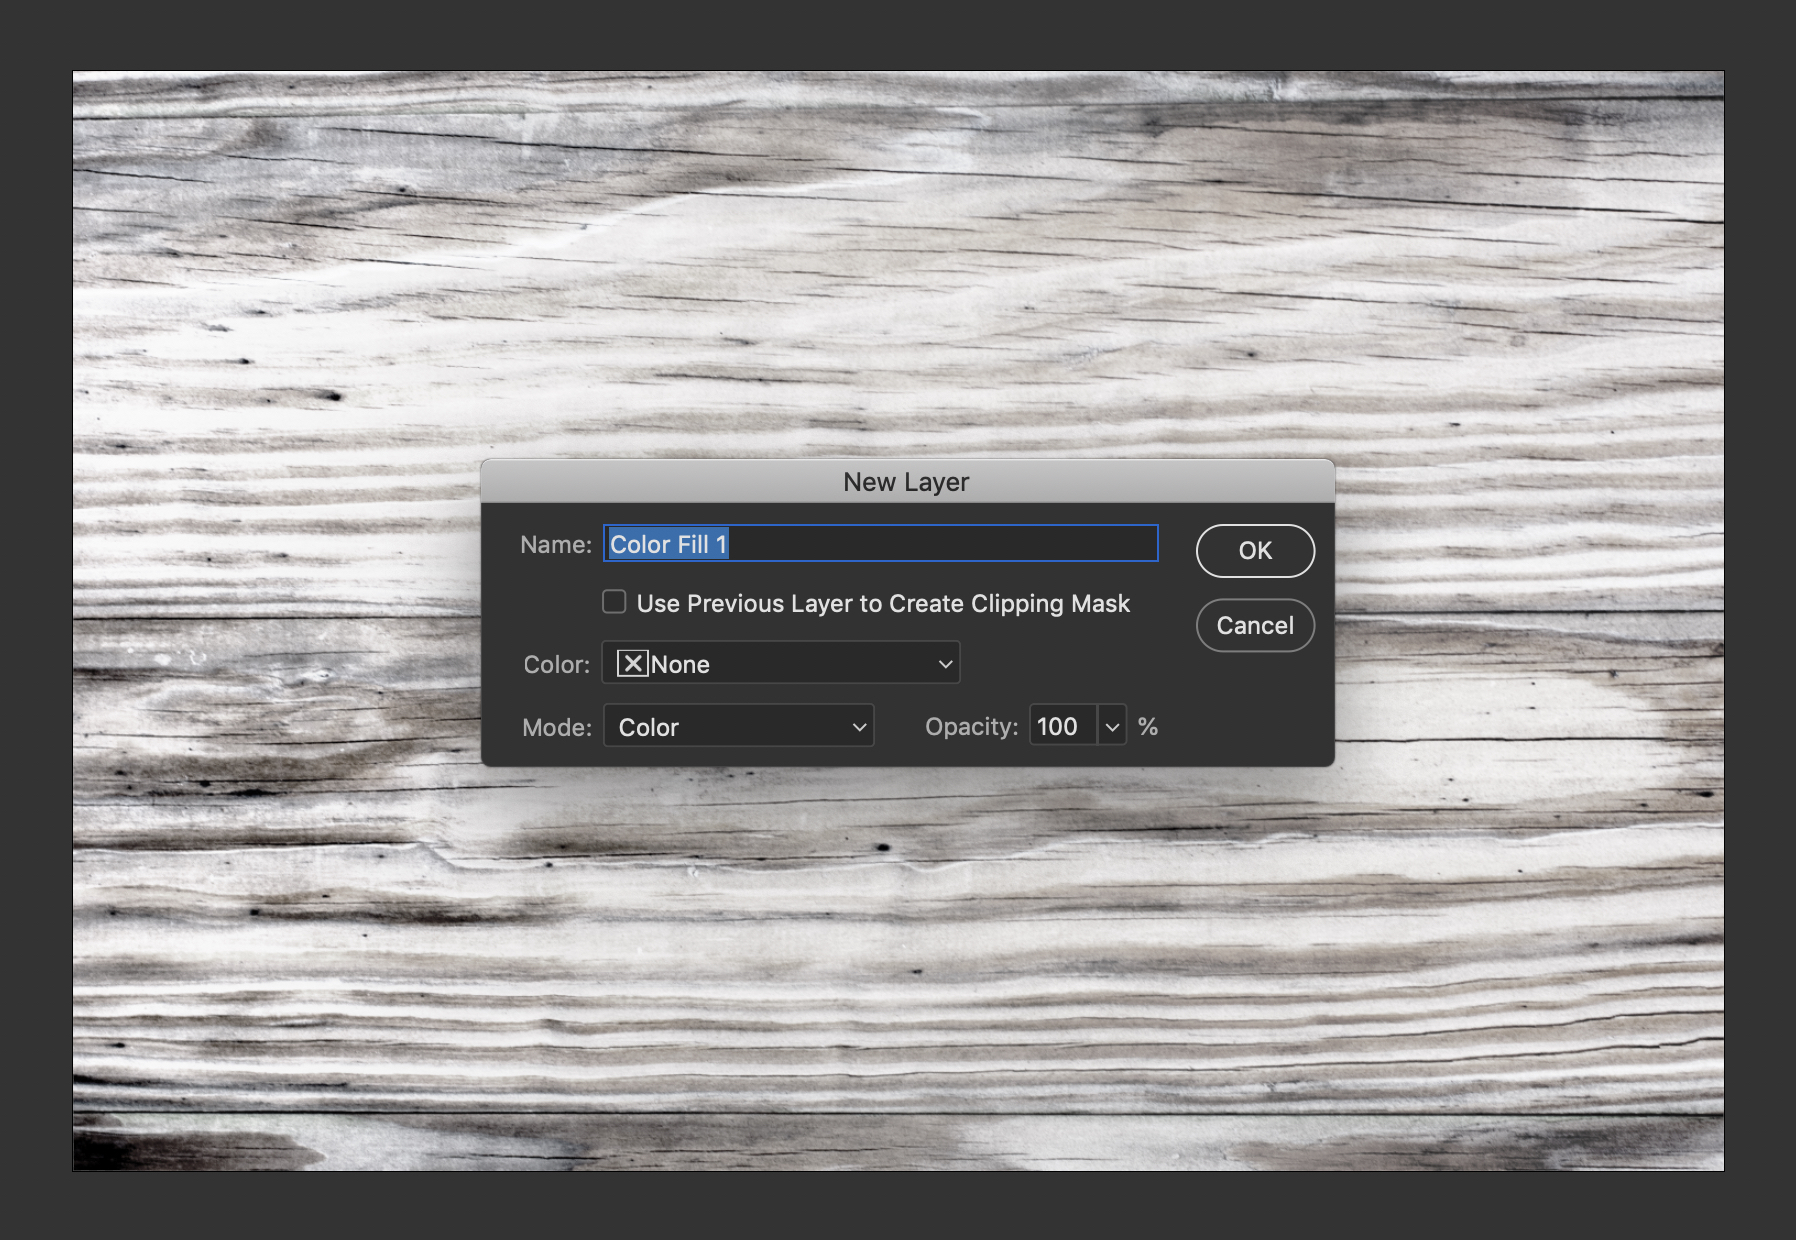
Go to Layer > New Fill Layer > Solid Color and choose the blend mode Color.
Click OK to confirm
Step 8
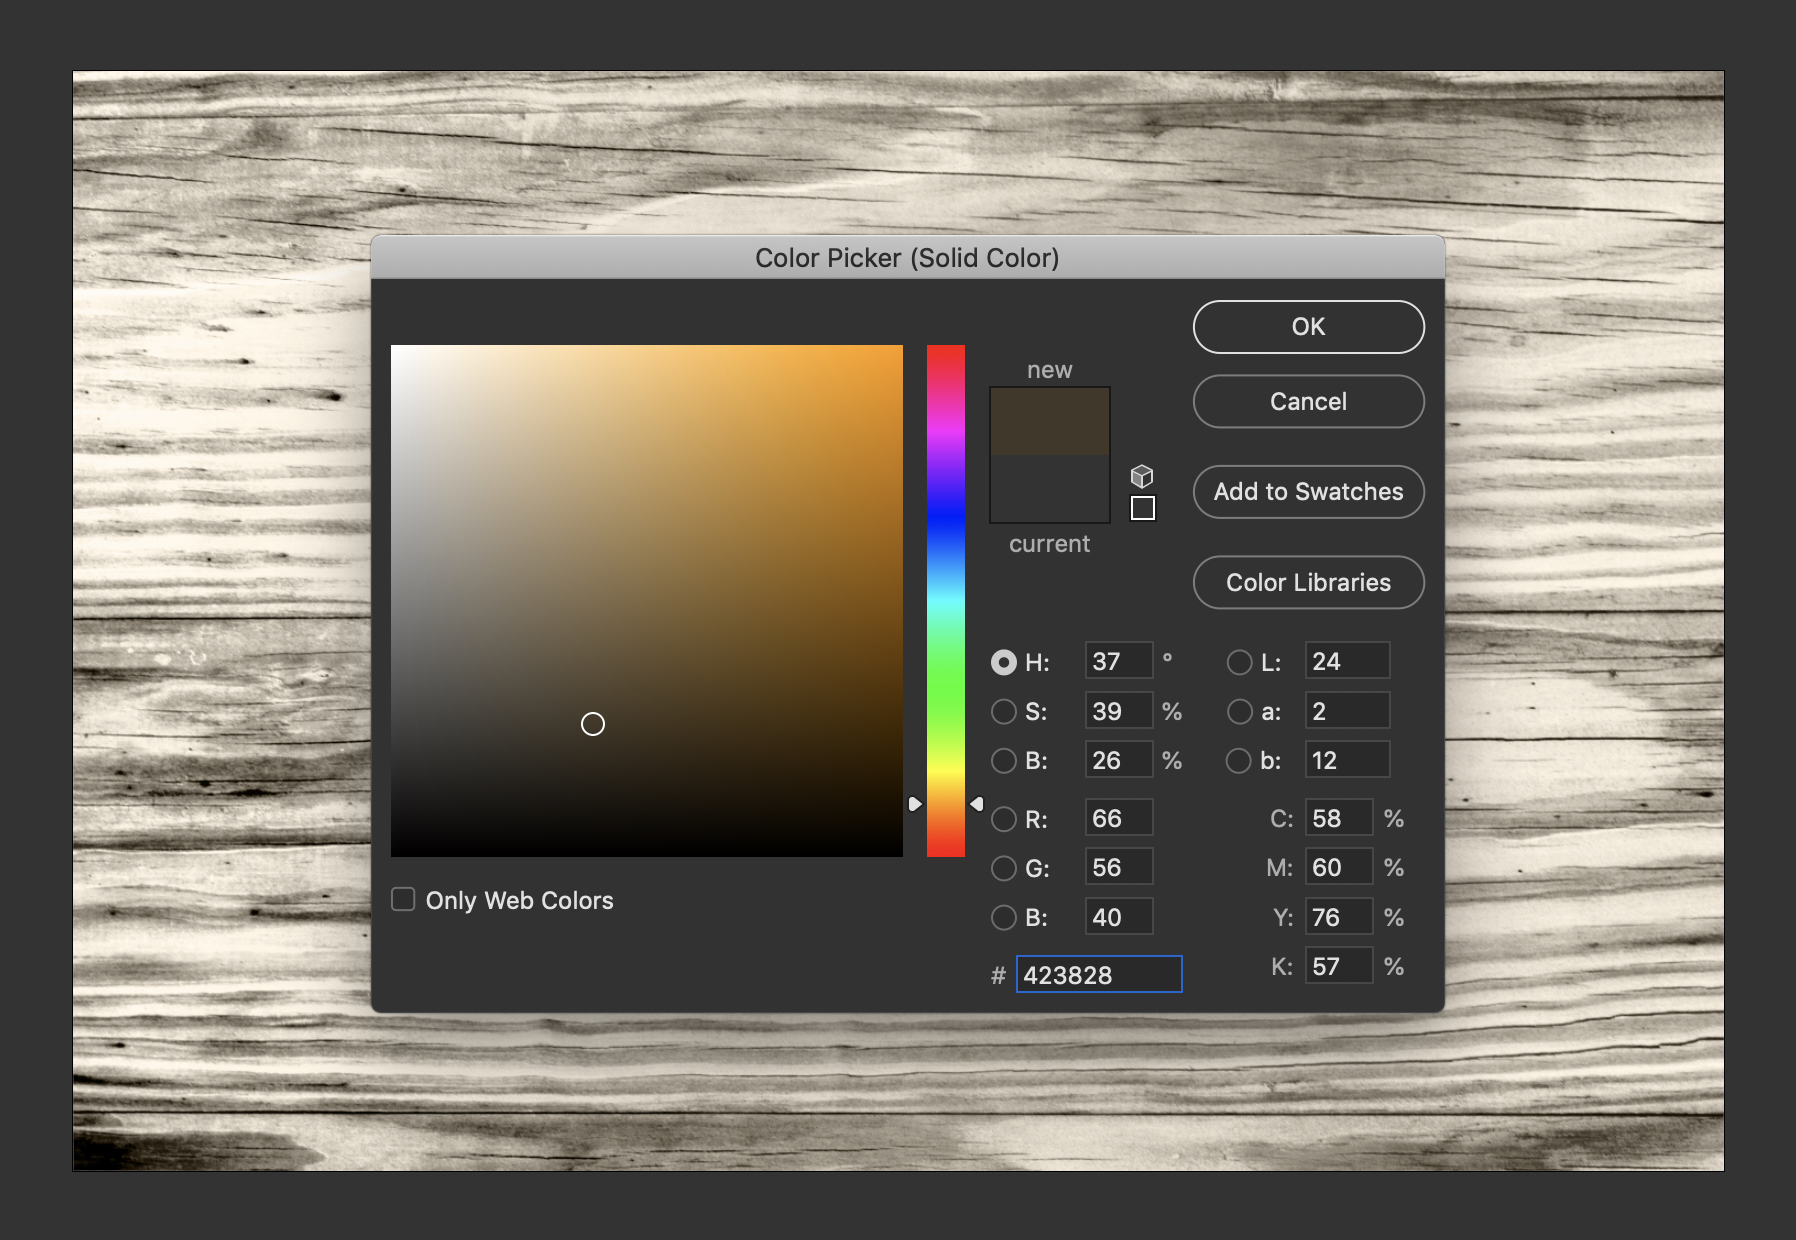
In the color picker window, choose a desaturated brown color (#423828).
Step 9
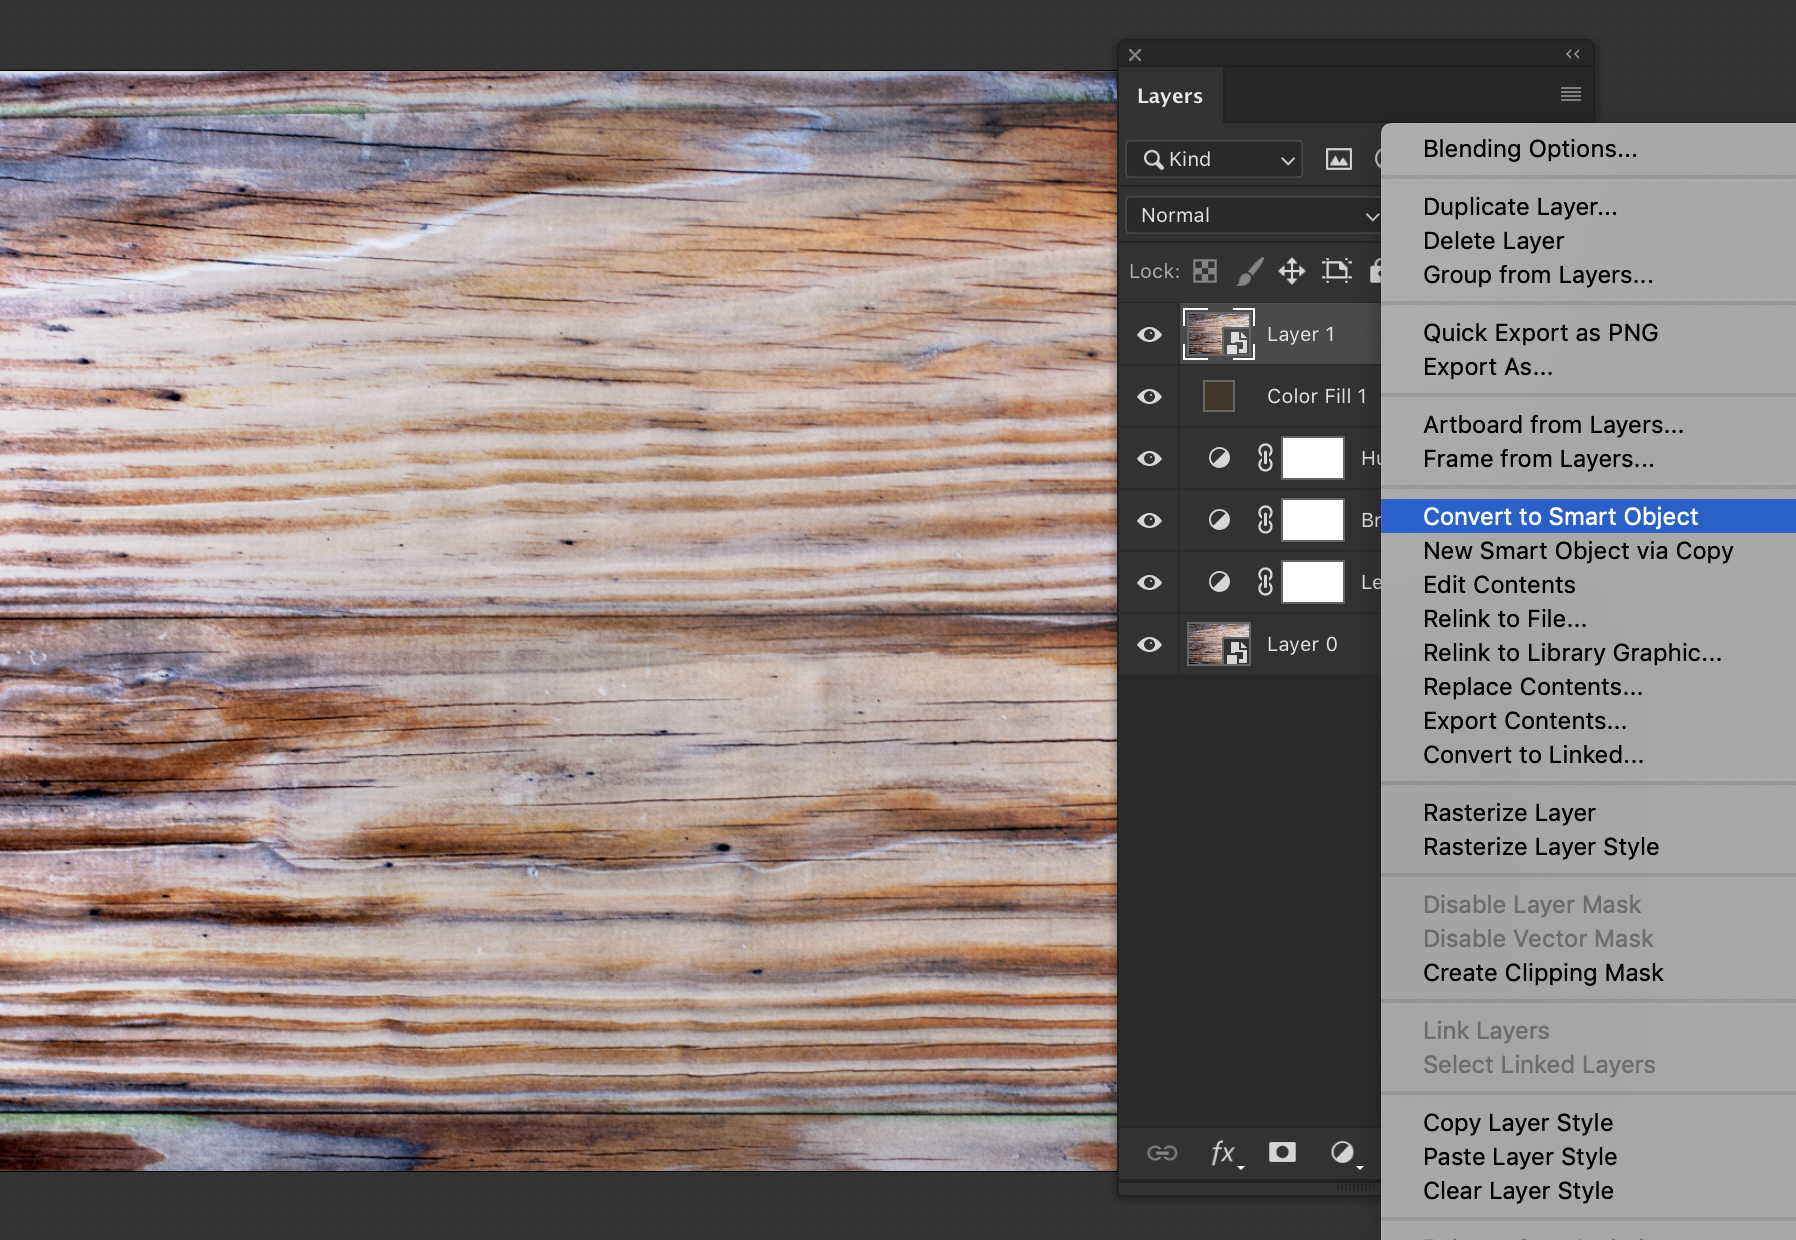
Duplicate the base texture layer and move it to the top of the layer order.
Right click on the duplicated layer and choose Convert to Smart Object again (we don't want the following changes to apply to the original smart object)
Step 10
Right click on the new smart object and choose Edit Contents...
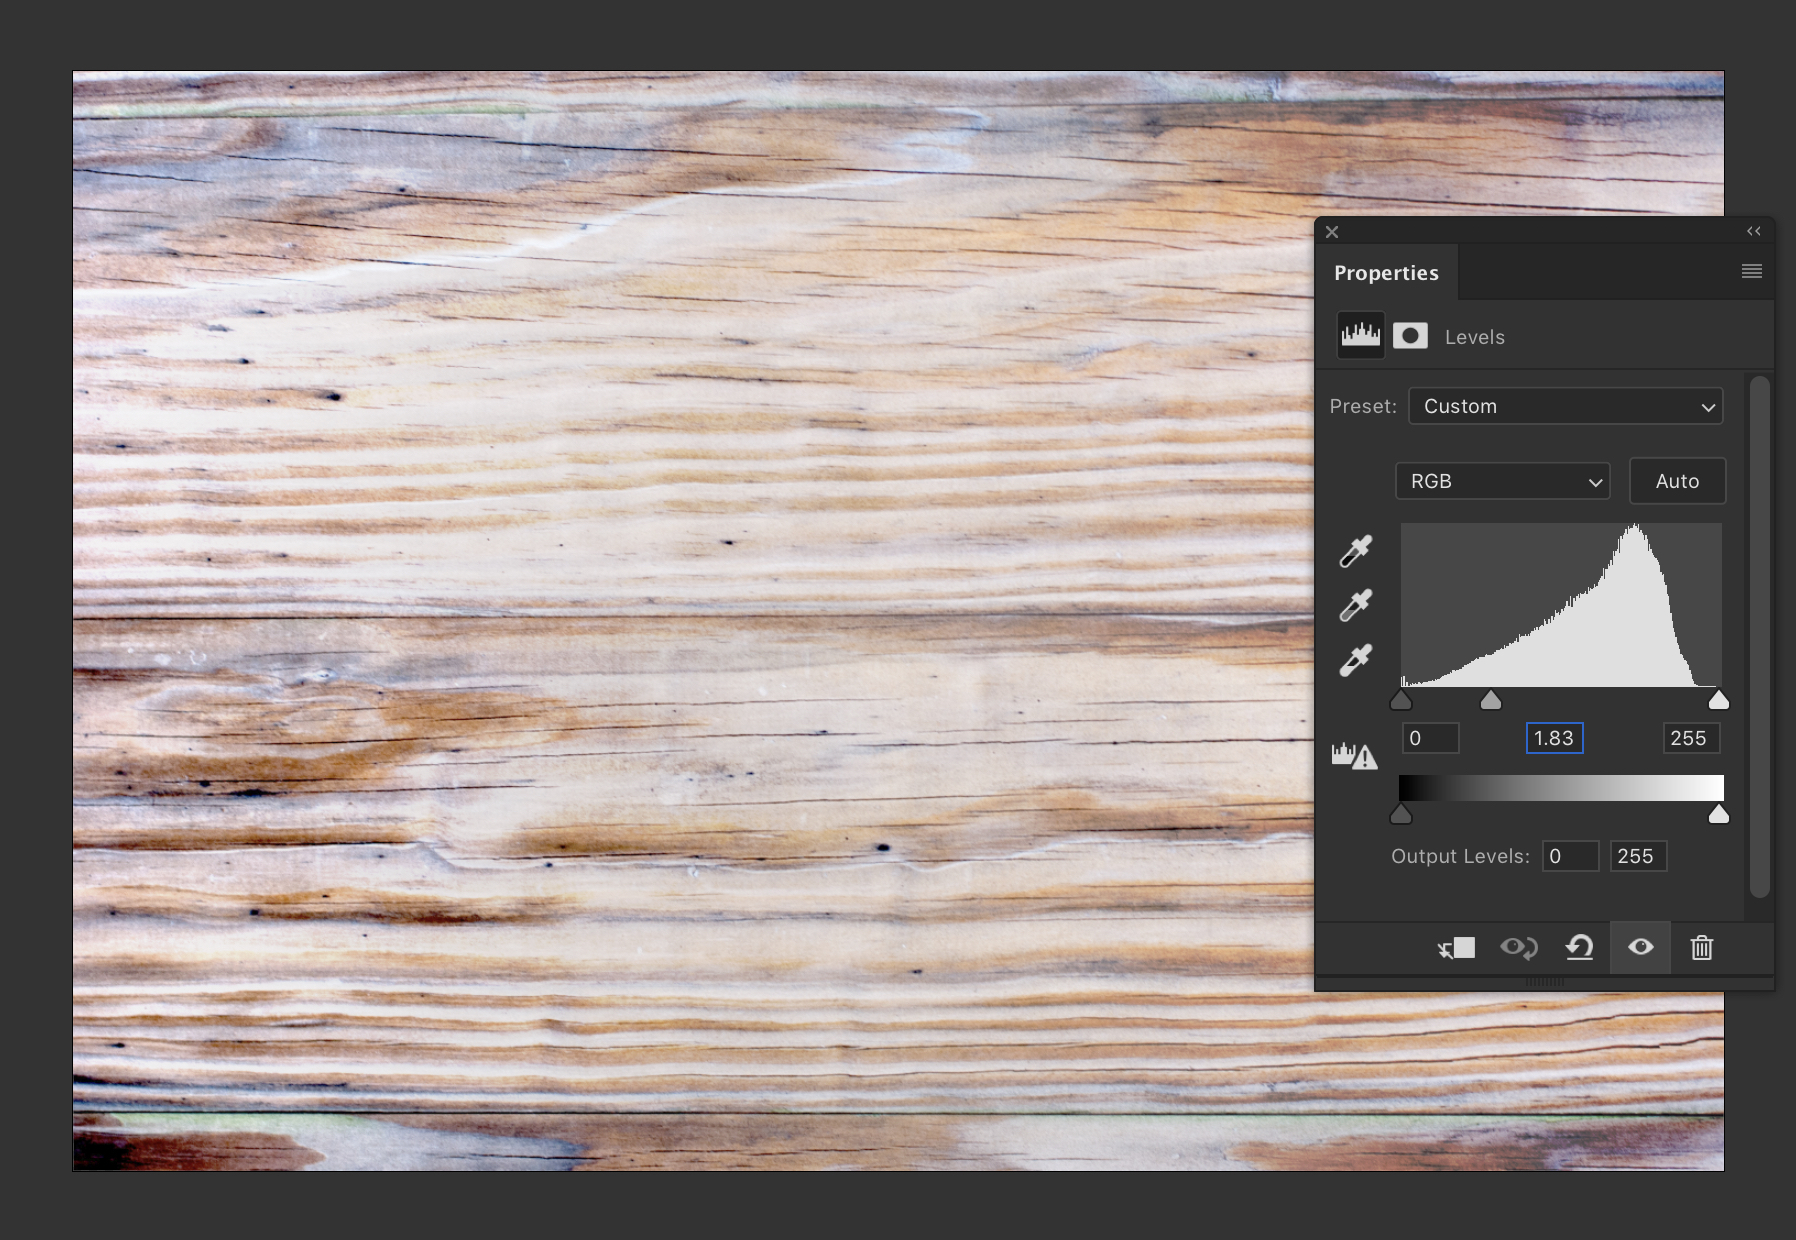
Add a new Levels adjustment layer with the following settings:
- Shadows Input: 0
- Midtone Input: 1.83
- Highlights Input: 255
Step 11
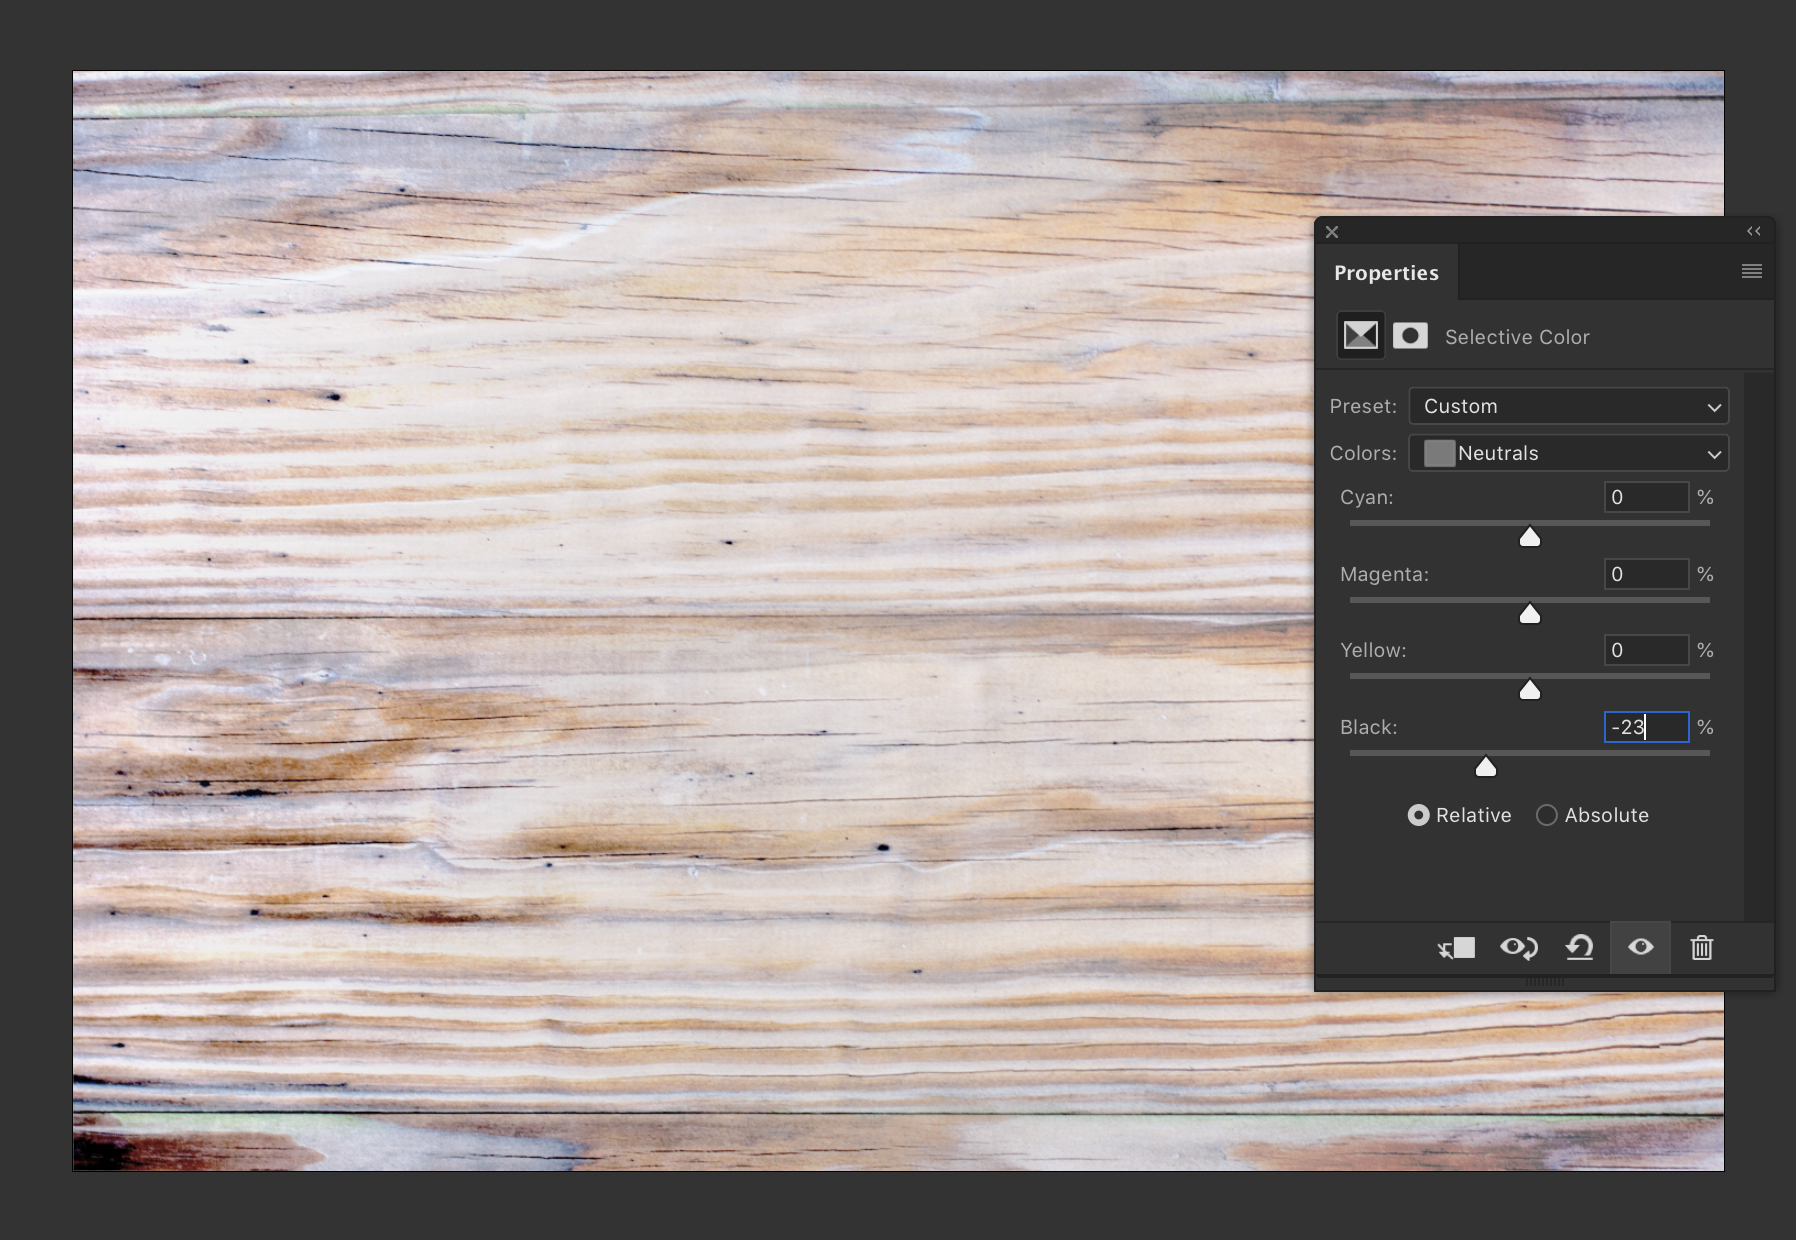
Add a new Selective Color adjustment layer and select Neutrals from the Colors option list.
Enter -23% for the Black value.
Step 12
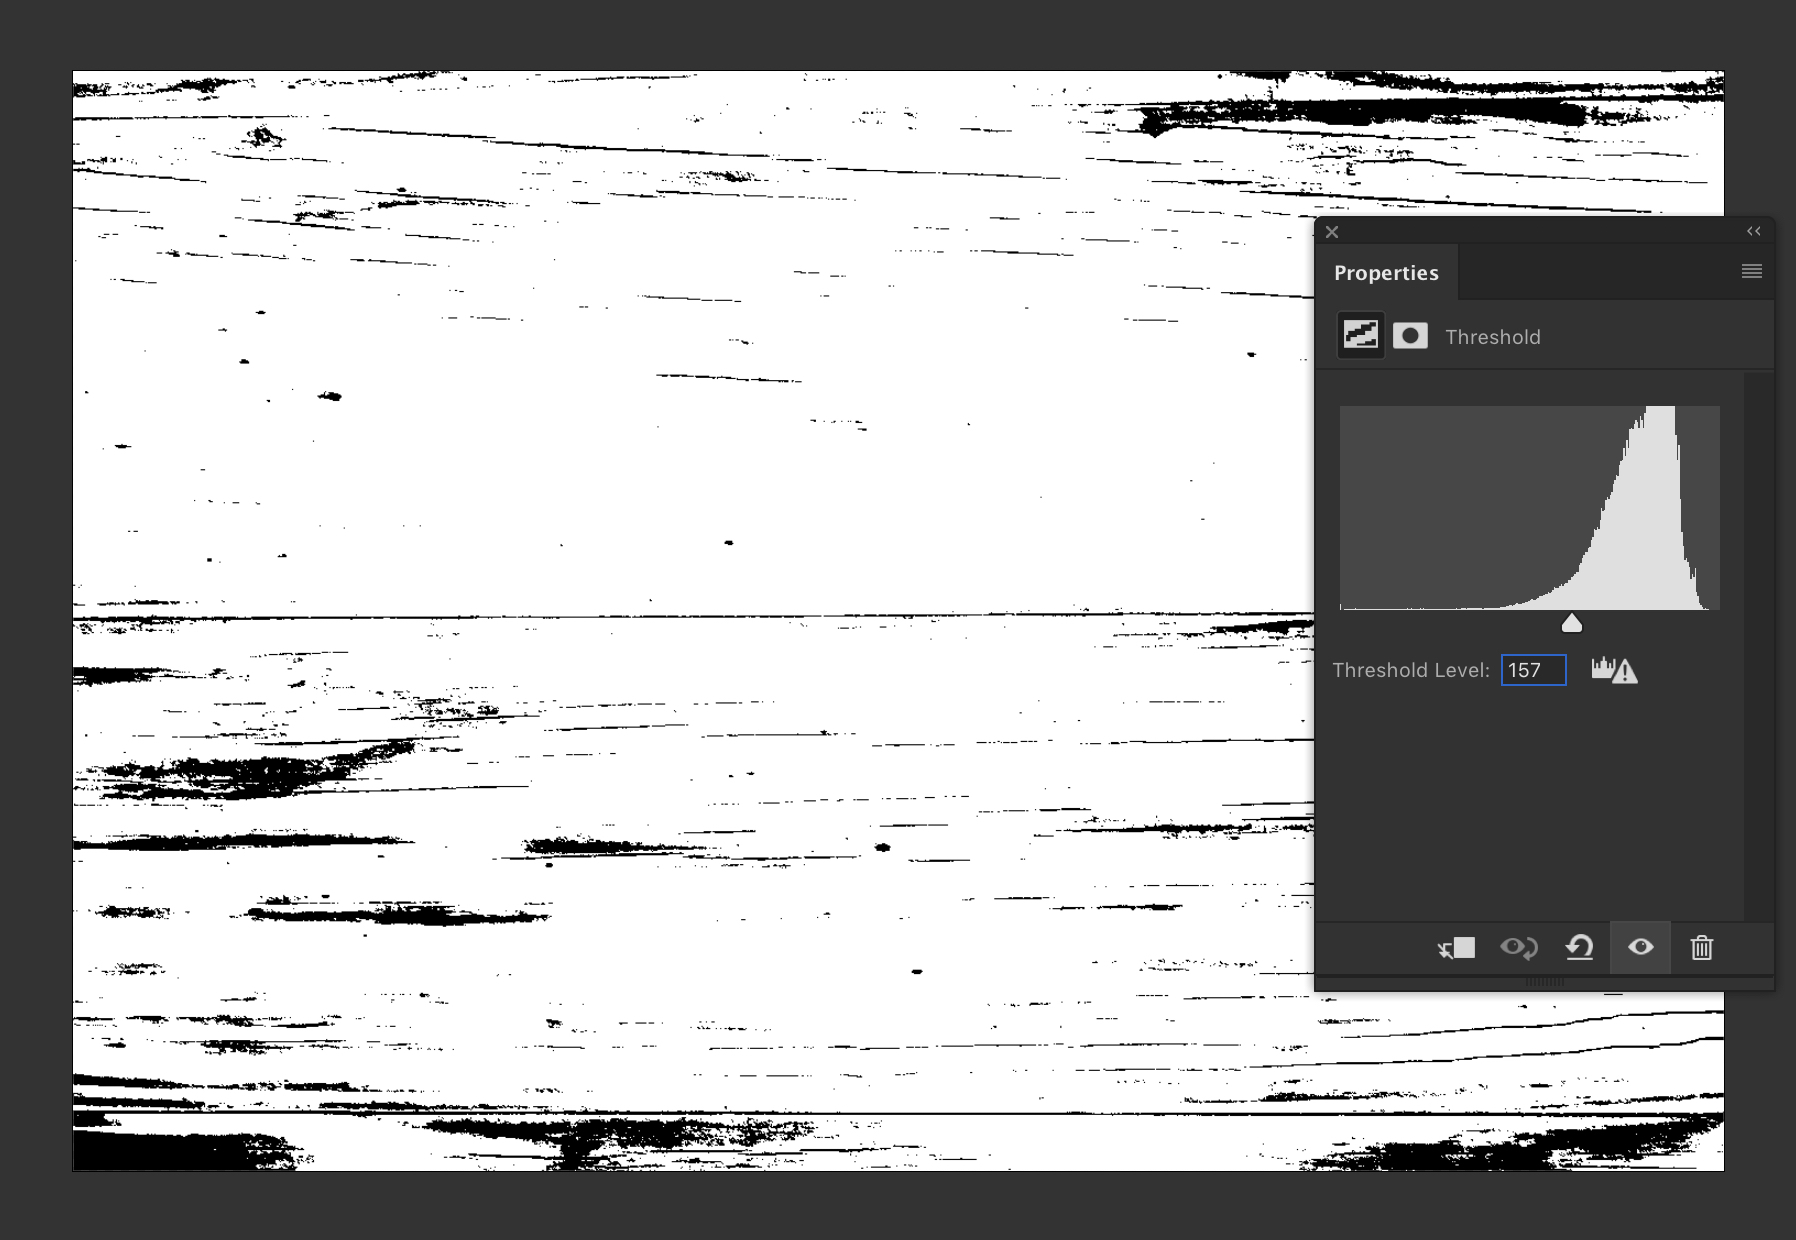
Add a new Threshold adjustment layer and set the Threshold Level to 157.
The goal of this step is to isolate only the darkest areas of the texture. The result should be at least 80% white with only a few black areas remaining. This is what we will using to wash out the colors of the main texture, so think of it as a mask of kinds; only the black areas will be unaffected by the white wash effect.
Step 13
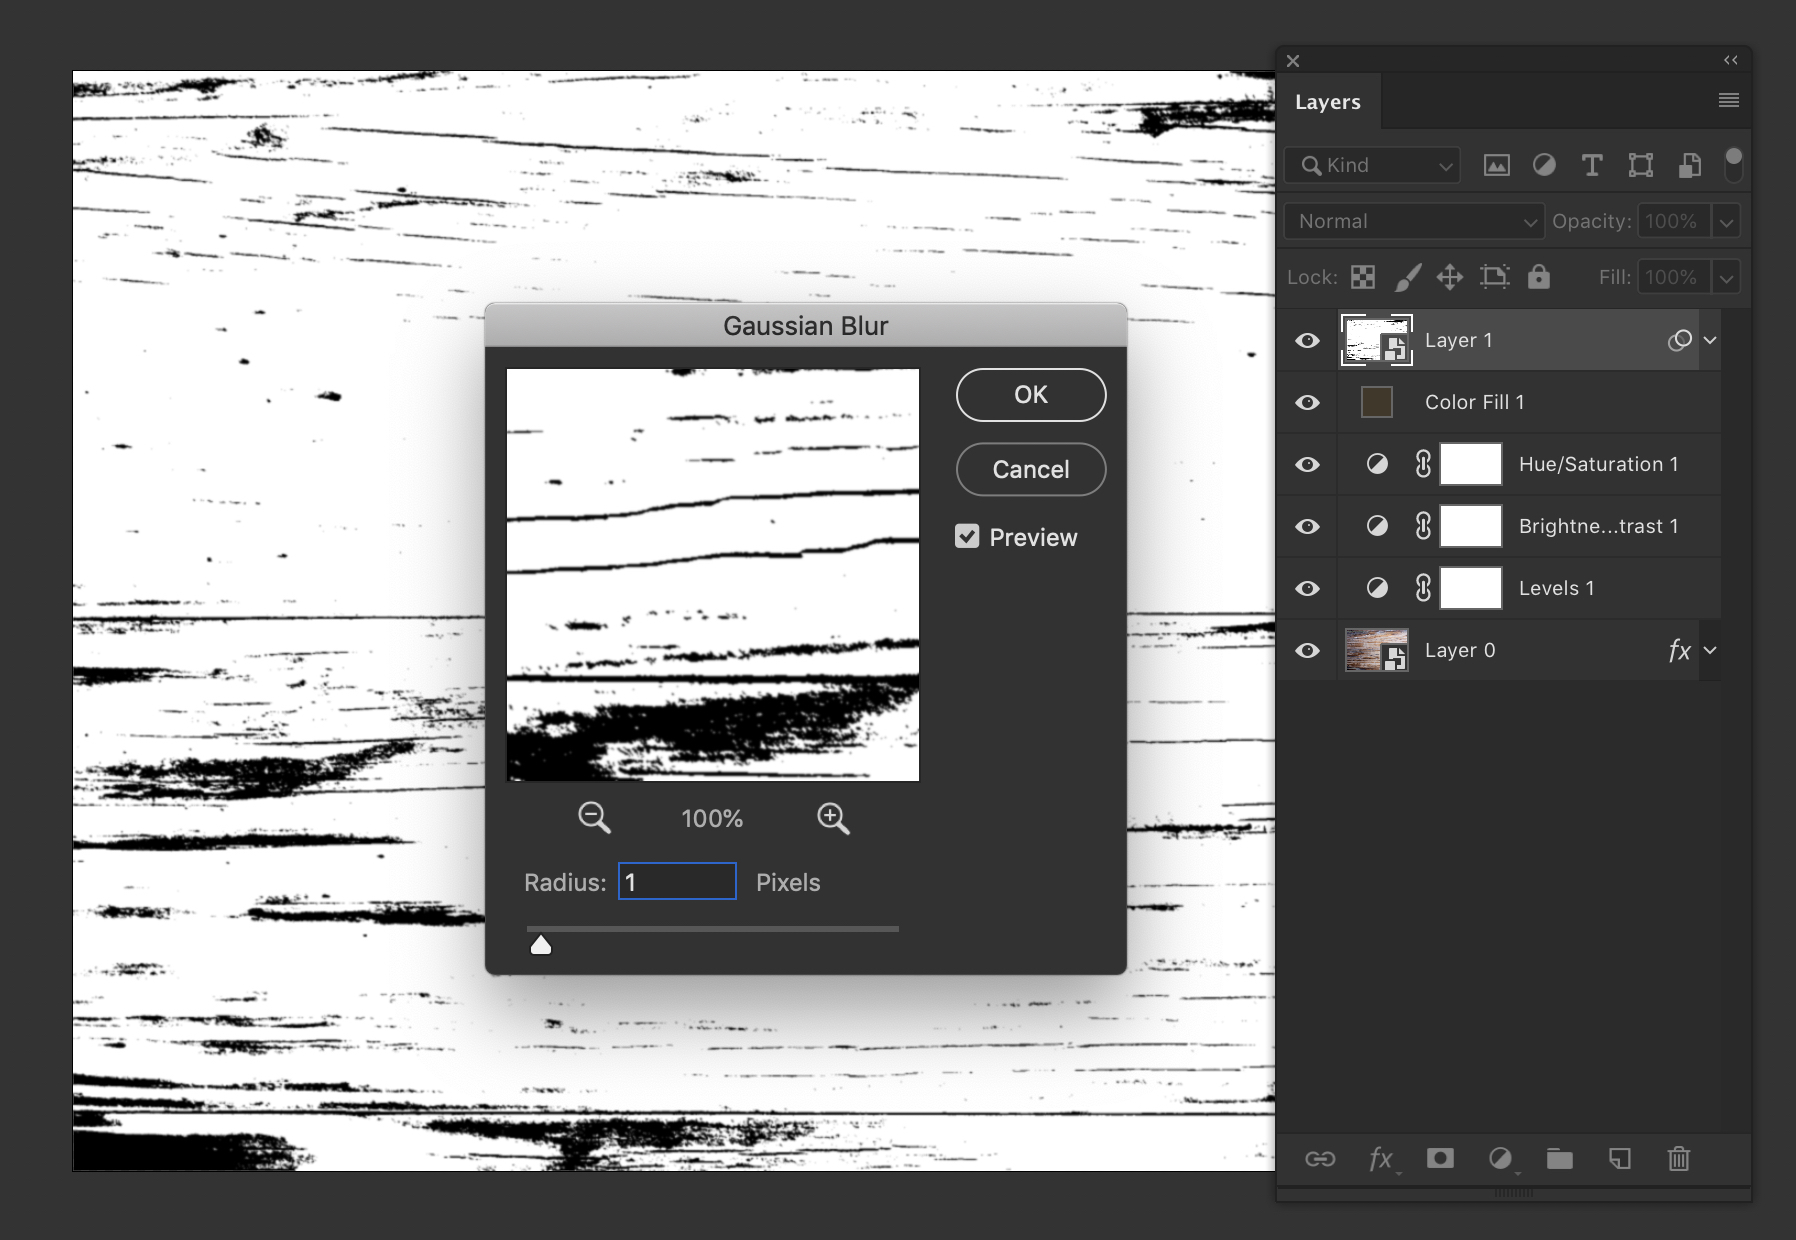
Save and close the smart object to return to the original document.
Go to Filter > Blur > Guassian Blur... and enter 1 Pixels for the Radius value.
Click OK to confirm.
Step 14
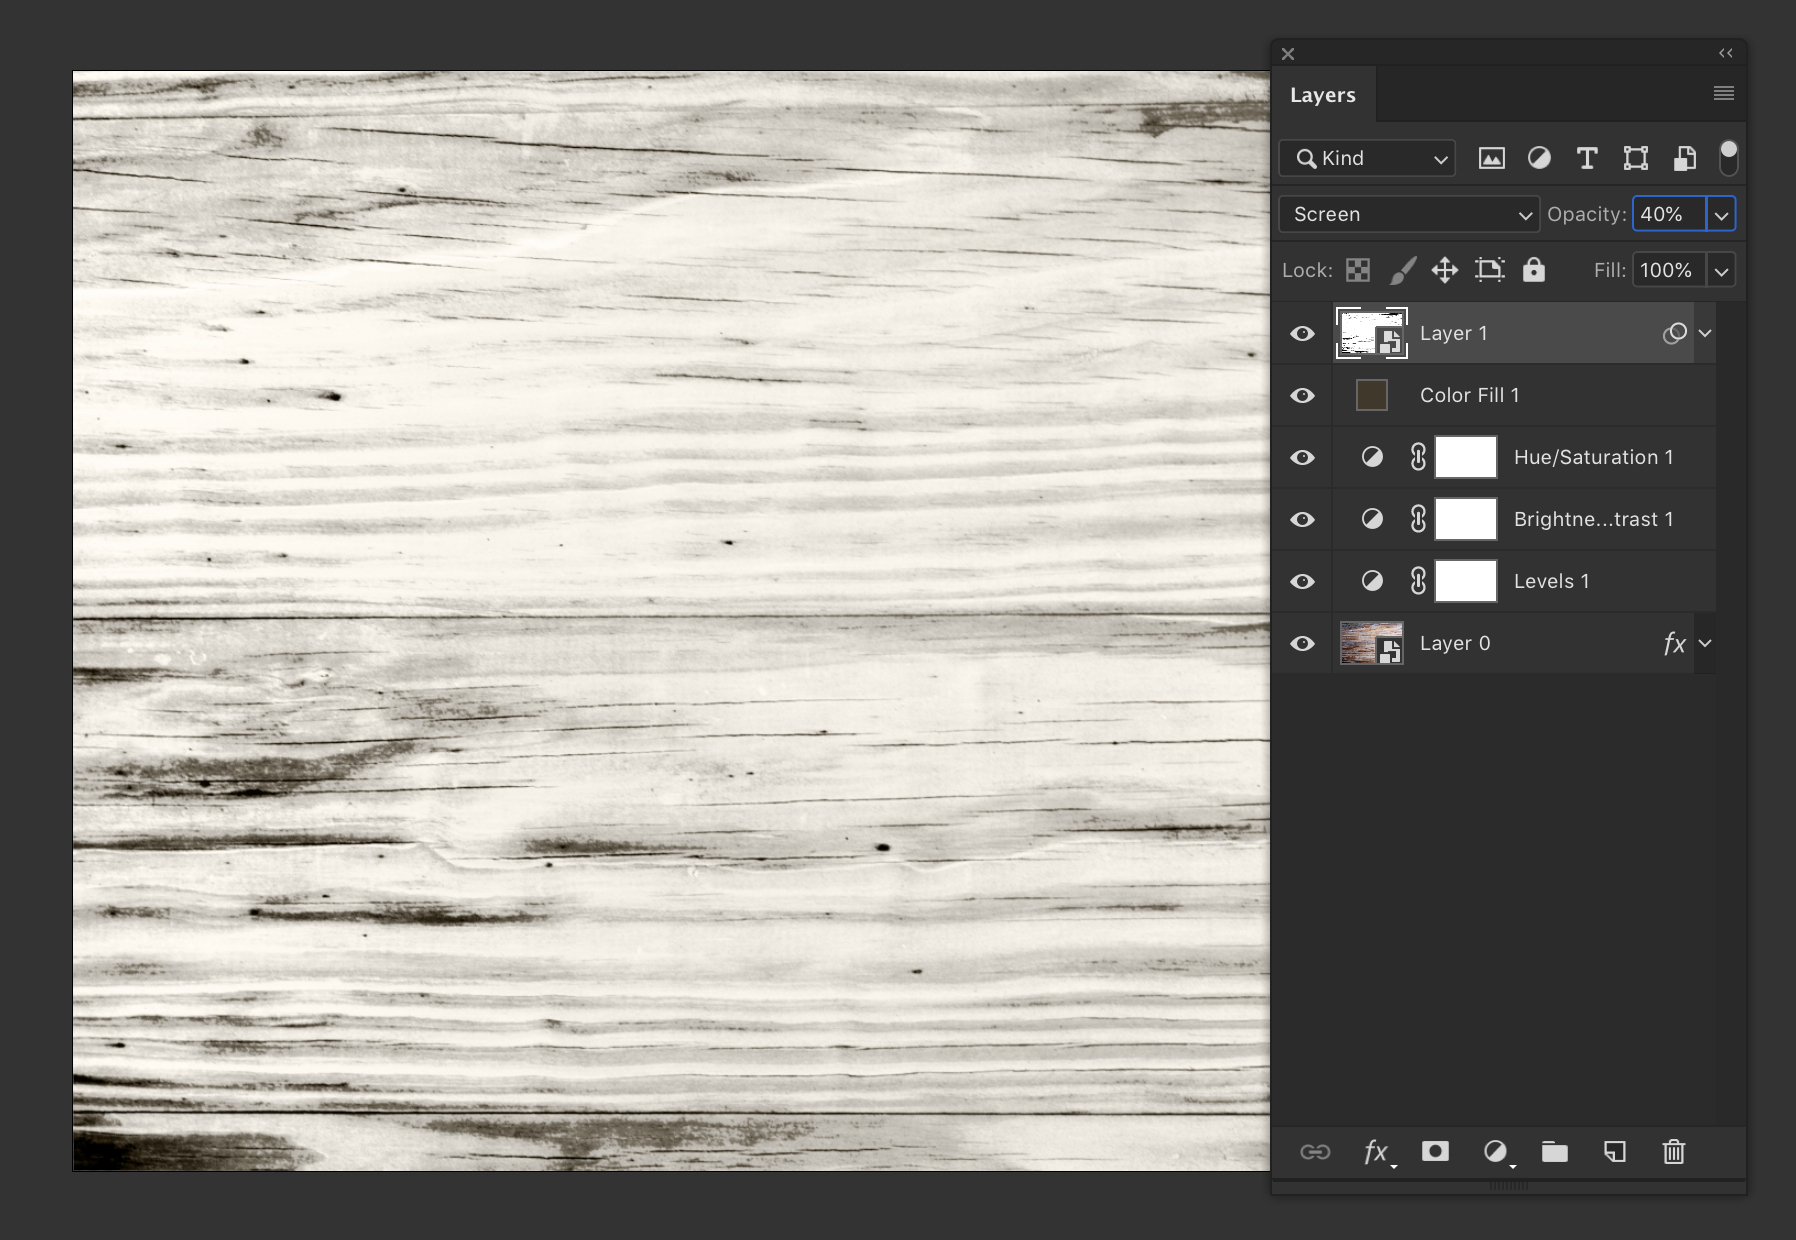
Set the blend mode of the threshold smart object layer to Screen and the Opacity to 40%.
The texture should now be starting to look flat and washed out. Feel free to go back into the smart object and tweak the Threshold value if needed.
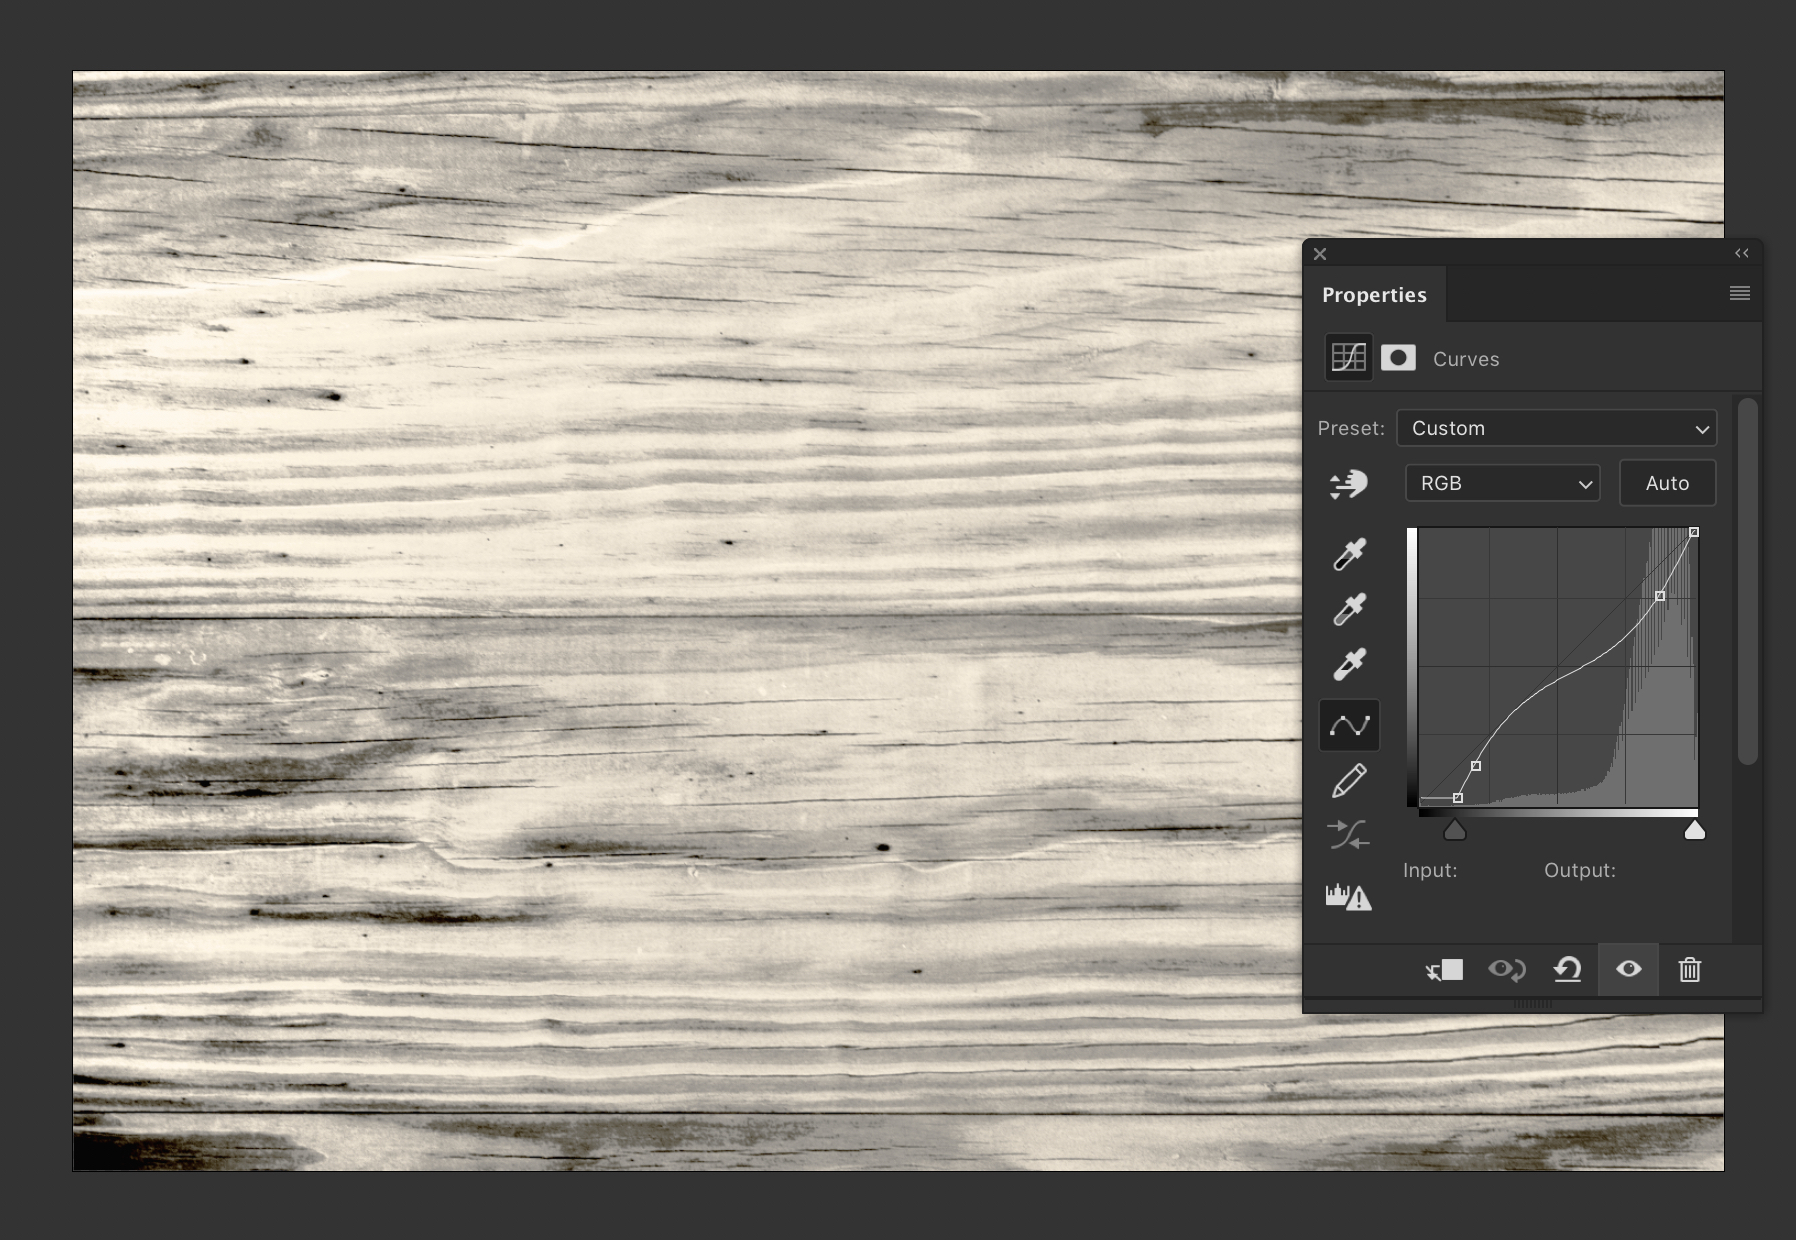
Step 15
Add a new Curves adjustment layer and recreate the values shown in the screenshot below:
Step 16
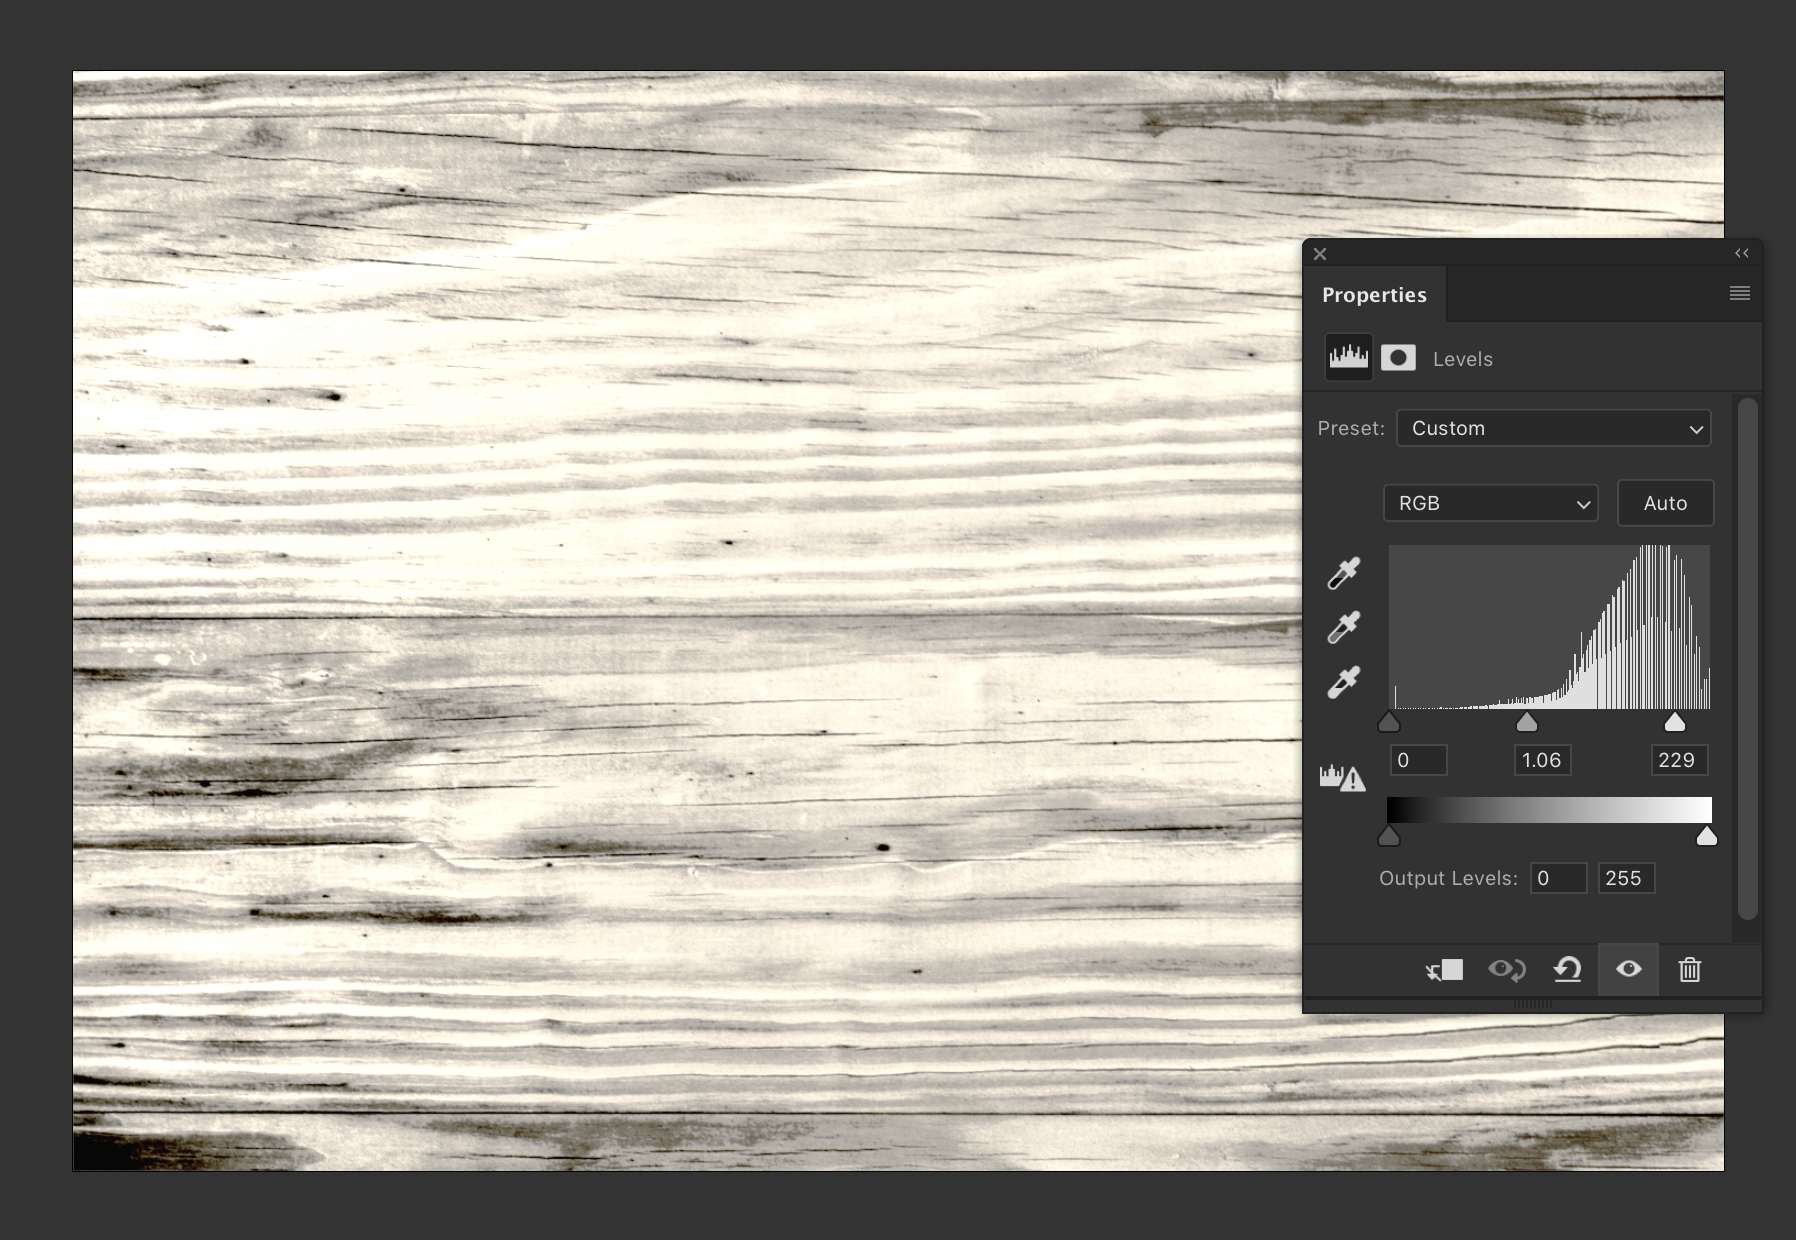
Add a new Levels adjustment layer and enter the following values:
- Shadows Input: 0
- Midtone Input: 1.06
- Highlights Input: 229
Step 17
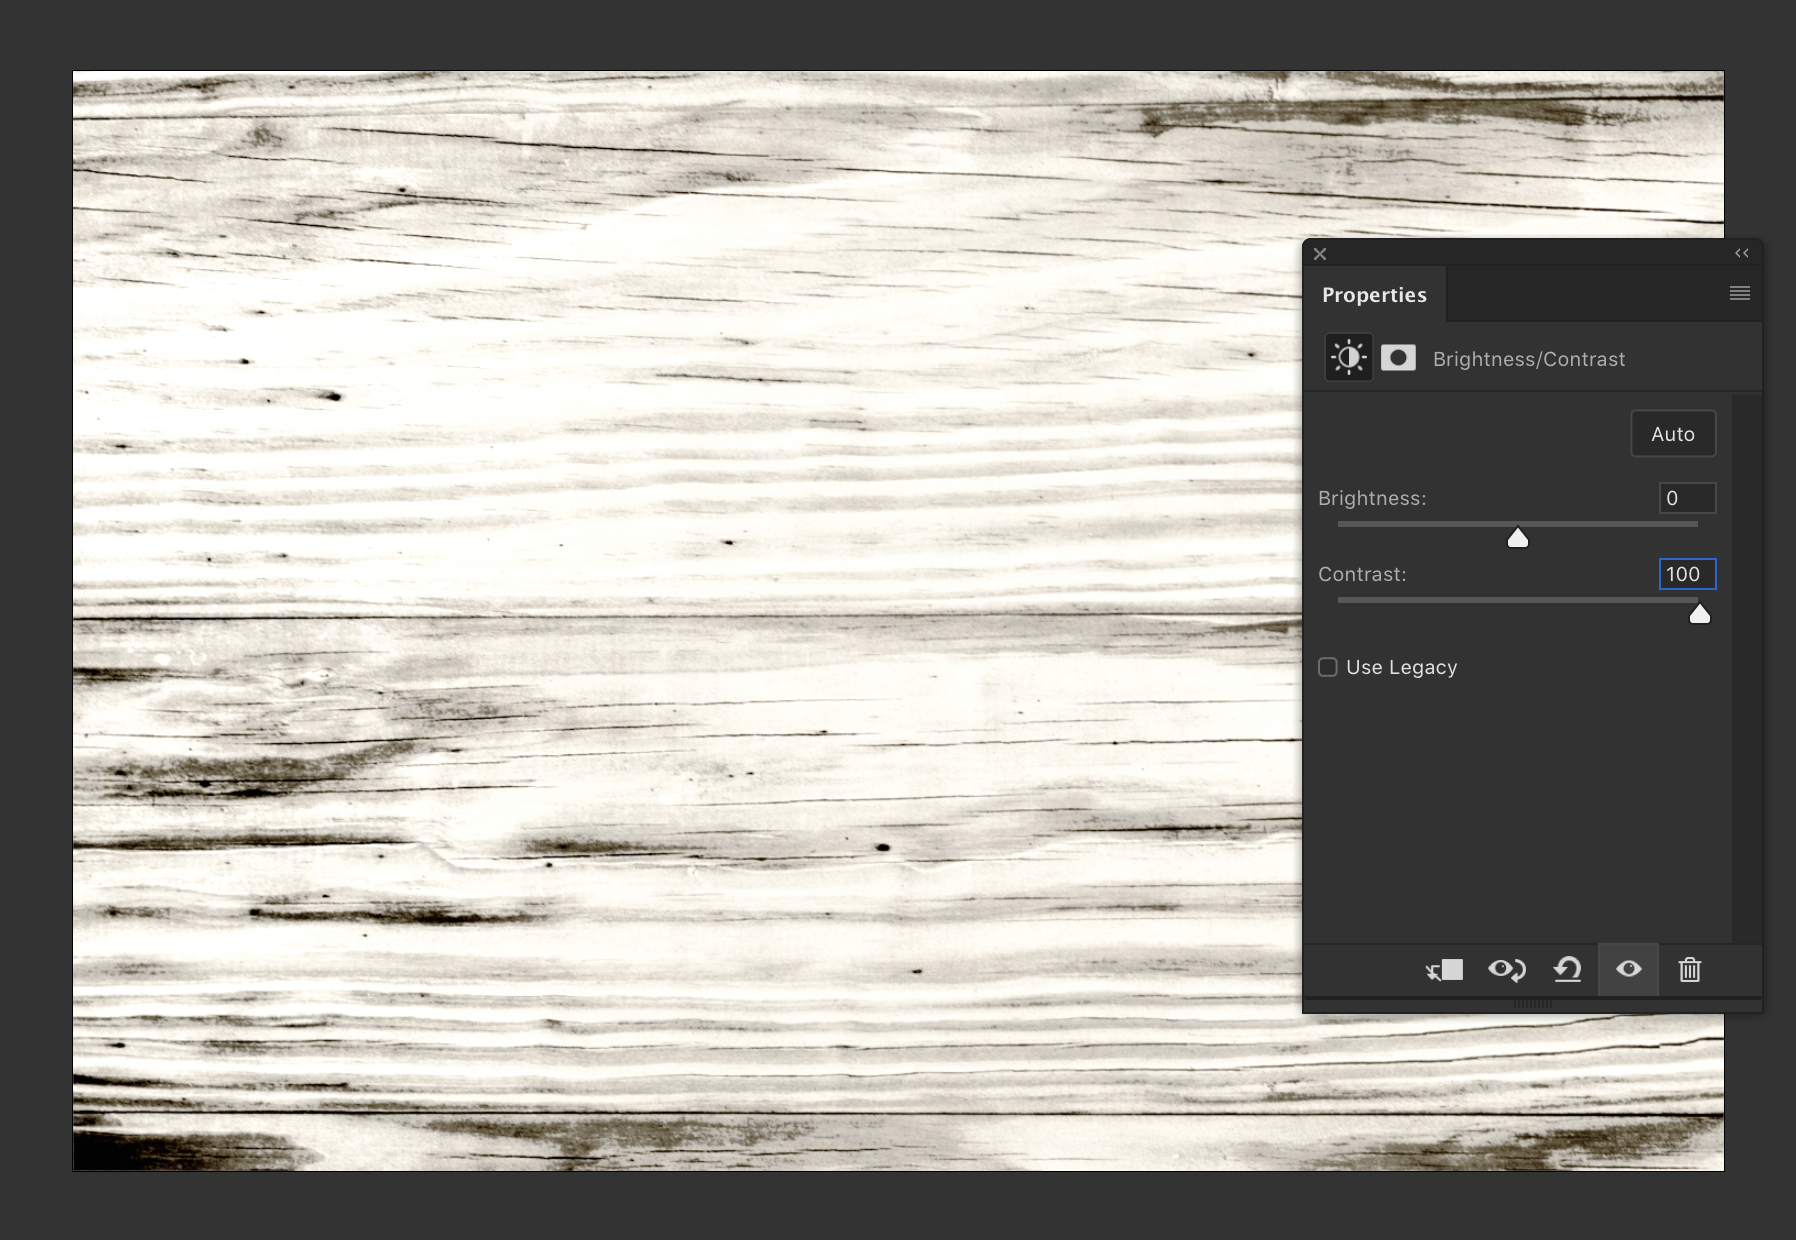
Add a new Brightness/Contrast adjustment layer and enter the following values:
- Brightness: 0
- Contrast: 100
Step 18
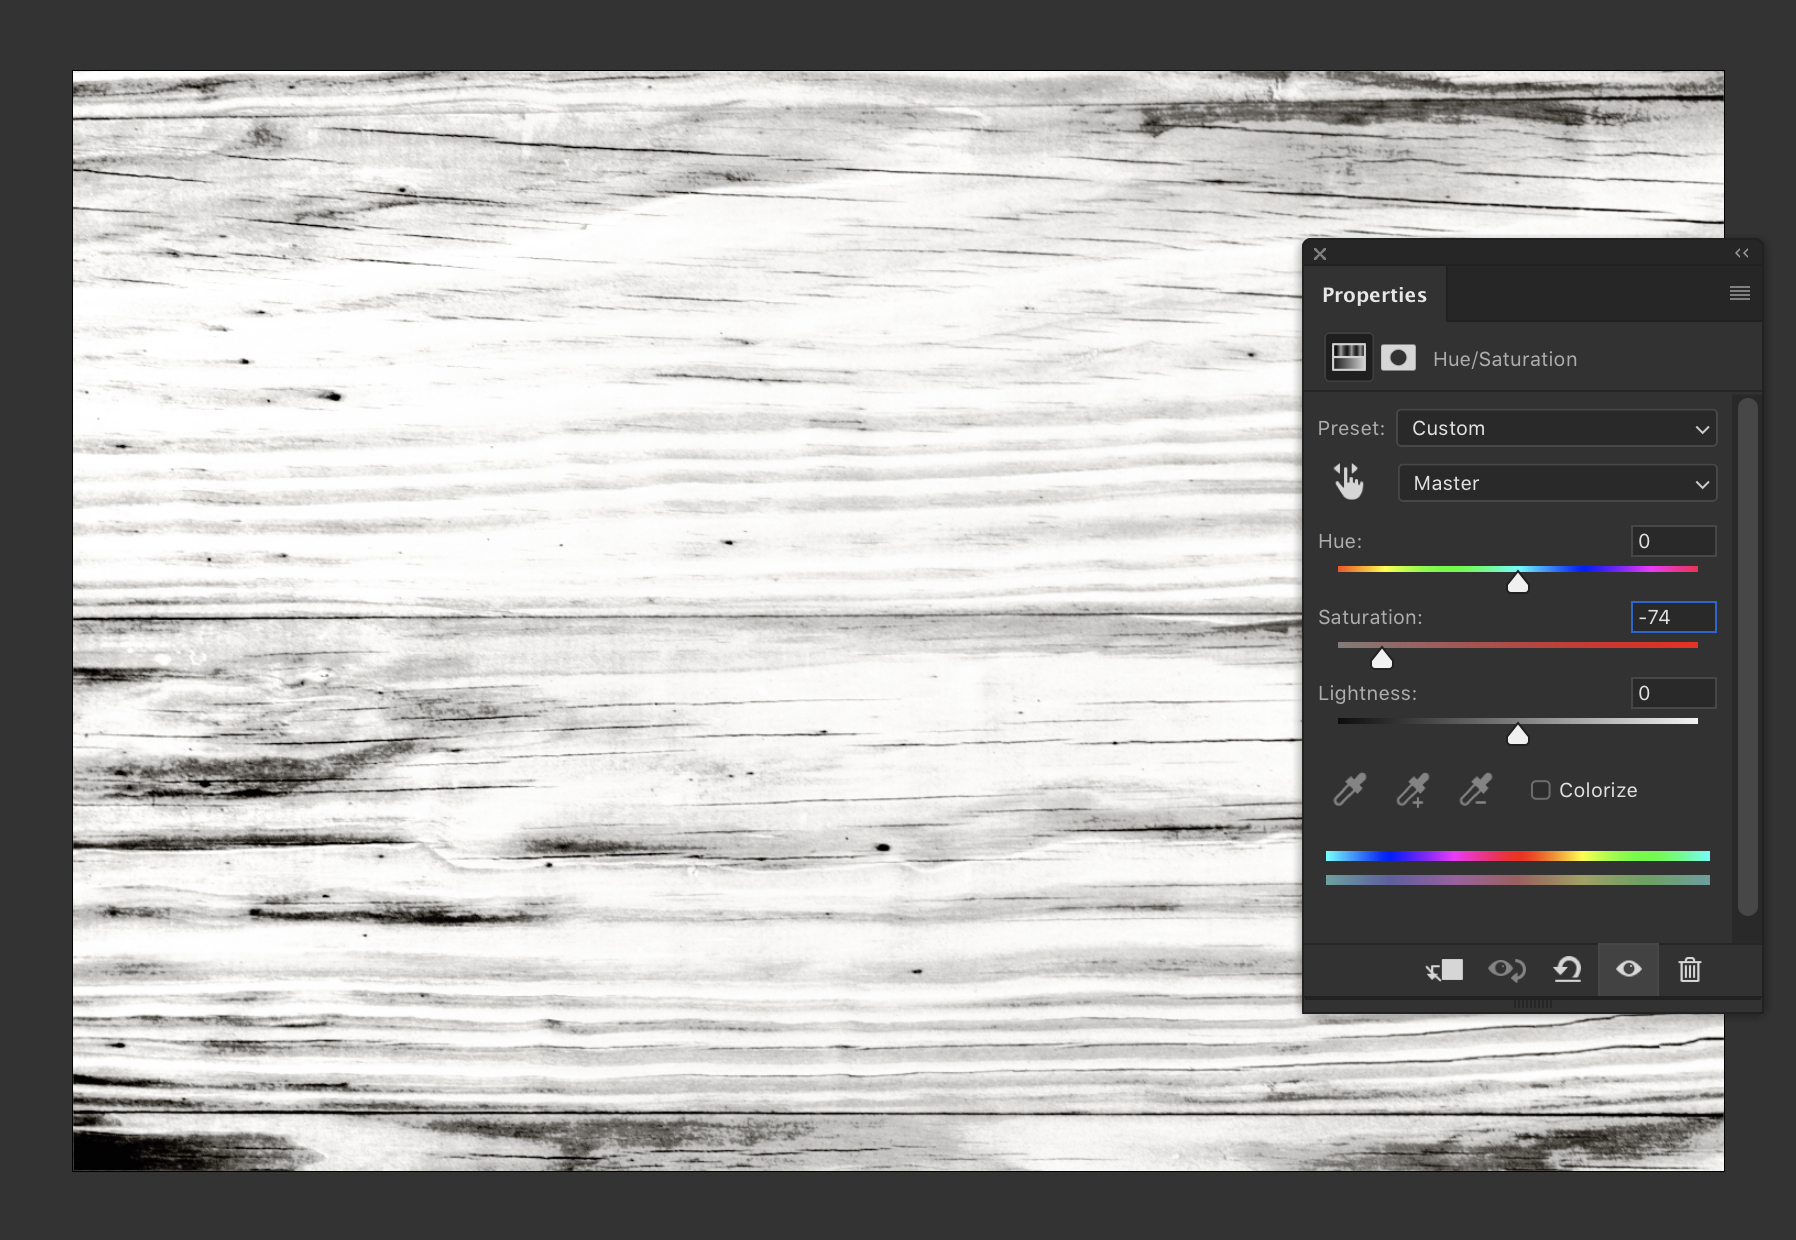
Add a new Hue/Saturation adjustment layer to once again remove most of the color
- Hue: 0
- Saturation: -85
- Lightness: 0
Step 19
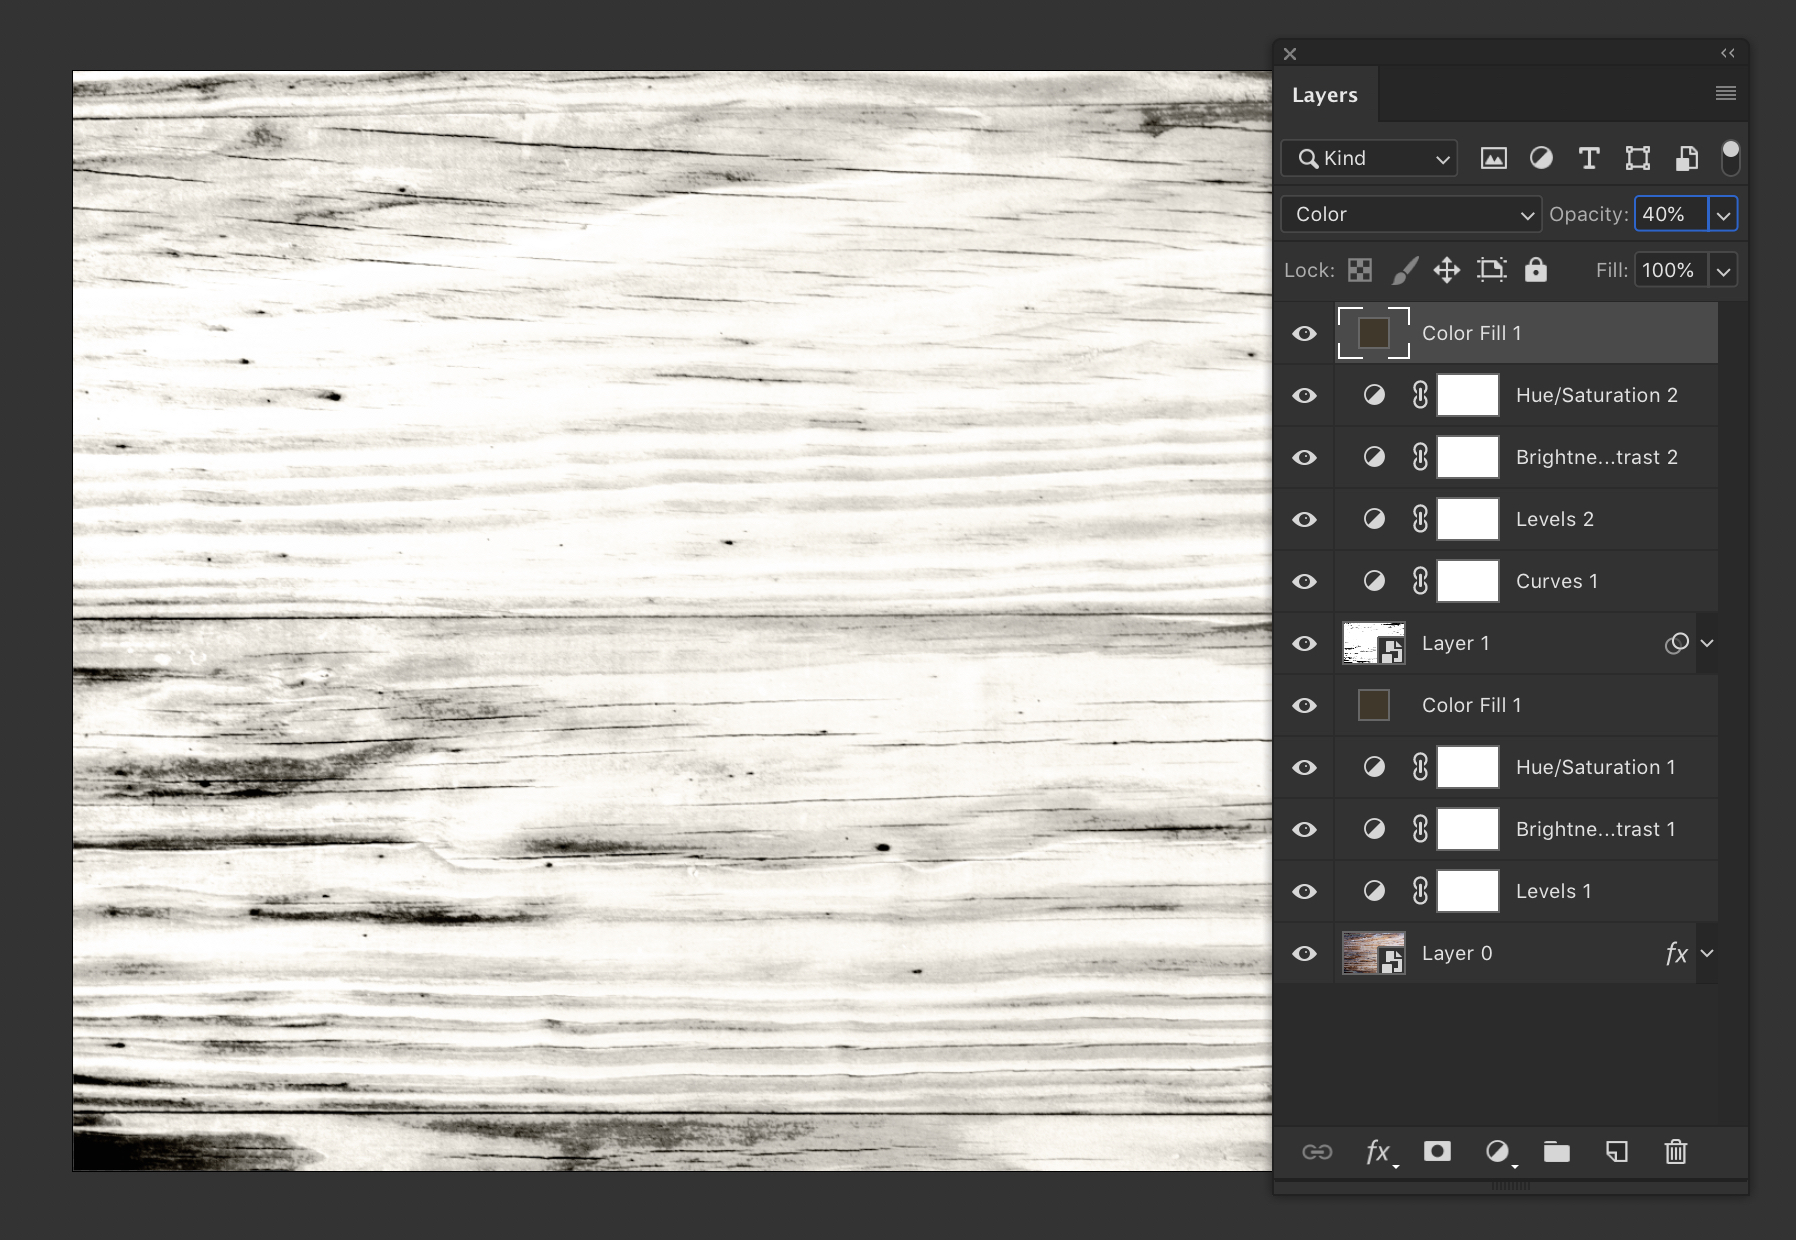
Duplicate the color fill layer from earlier and move it to the top of the layer order.
Set the Opacity to 40% or adjust to your preference.
Result & Conclusion
Here is the end result. In my opinion this is a very convincing white wash effect, and the best part is that you didn't need to get your hands dirty (Digital DIY FTW).

As mentioned earlier, this effect will work with almost any wood texture, however some will of course have very results than others. I recommend saving the PSD you have created as a template for other wood textures and tweaking the layers as necessary to suit other textures.
